
Monthly Archives: March 2015
For years, I’d spent considerable money on probiotic supplements, some of them $50 a small bottle (or more). After that, I made water kefir using grains and a kit I’d bought on eBay, which was an interesting experiment in learning how to make yummy freeze-dried strawberry soda. Much cheaper, but it was altogether way too high in sugar.
Flash forward to two months ago when I got a hint from a friend in the know that I could just use some fruit, honey and sea salt to make a fine probiotic drink with a better carb profile…without babysitting any grains or the like. He used some apples, berries and a little bit of honey sans the sea salt for his version, which was where I started. Experimenting some more, I decided to use a time-tested formula that many cancer survivors (and thrivers) I know use for juicing: apples, carrots and ginger root. Except I would ferment them instead of juicing them.
I ended up with a great recipe containing live probiotics that is not only healthful and quite tasty, but produces zero waste in the bargain. Big on taste, zero waste.
Onward. Please gather the following items…and use organic where possible:
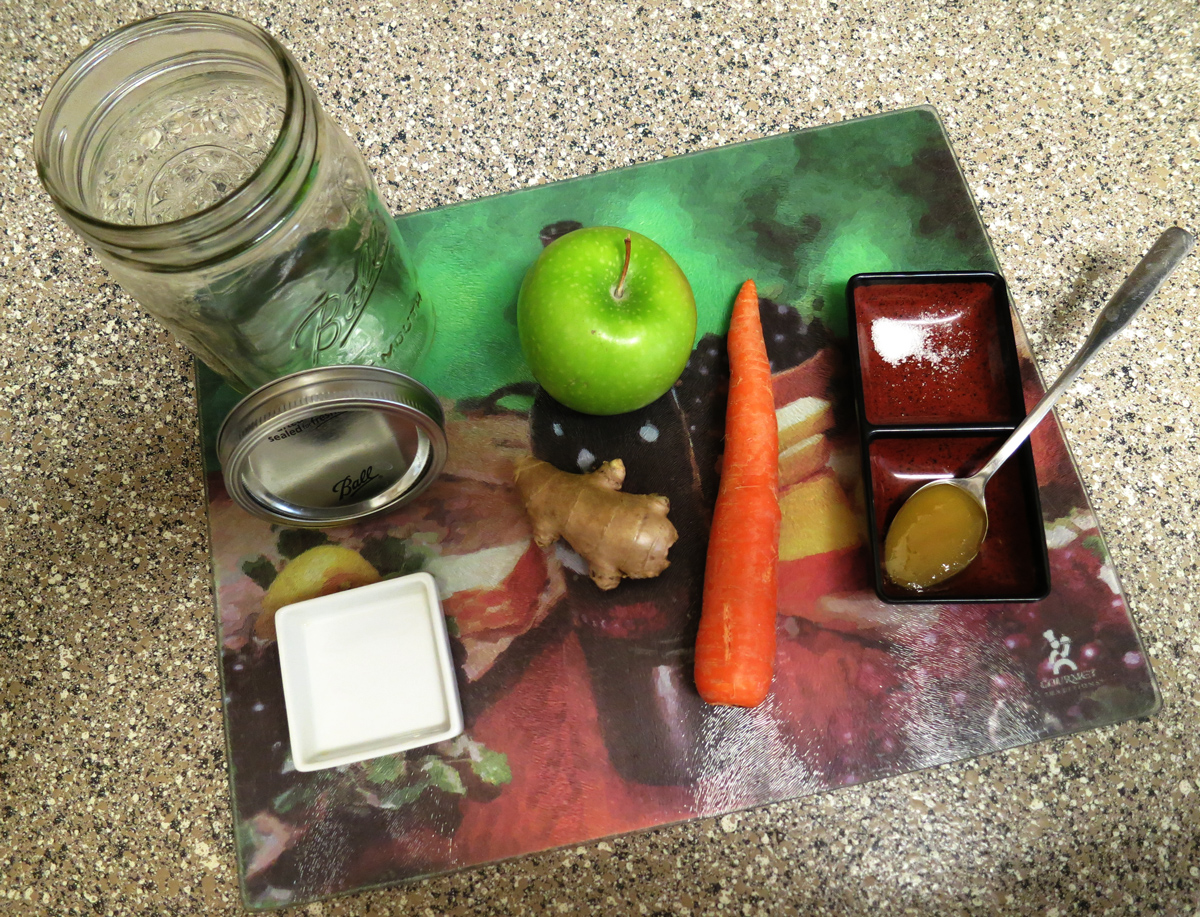
- Green Apple
- Mid-sized Carrot
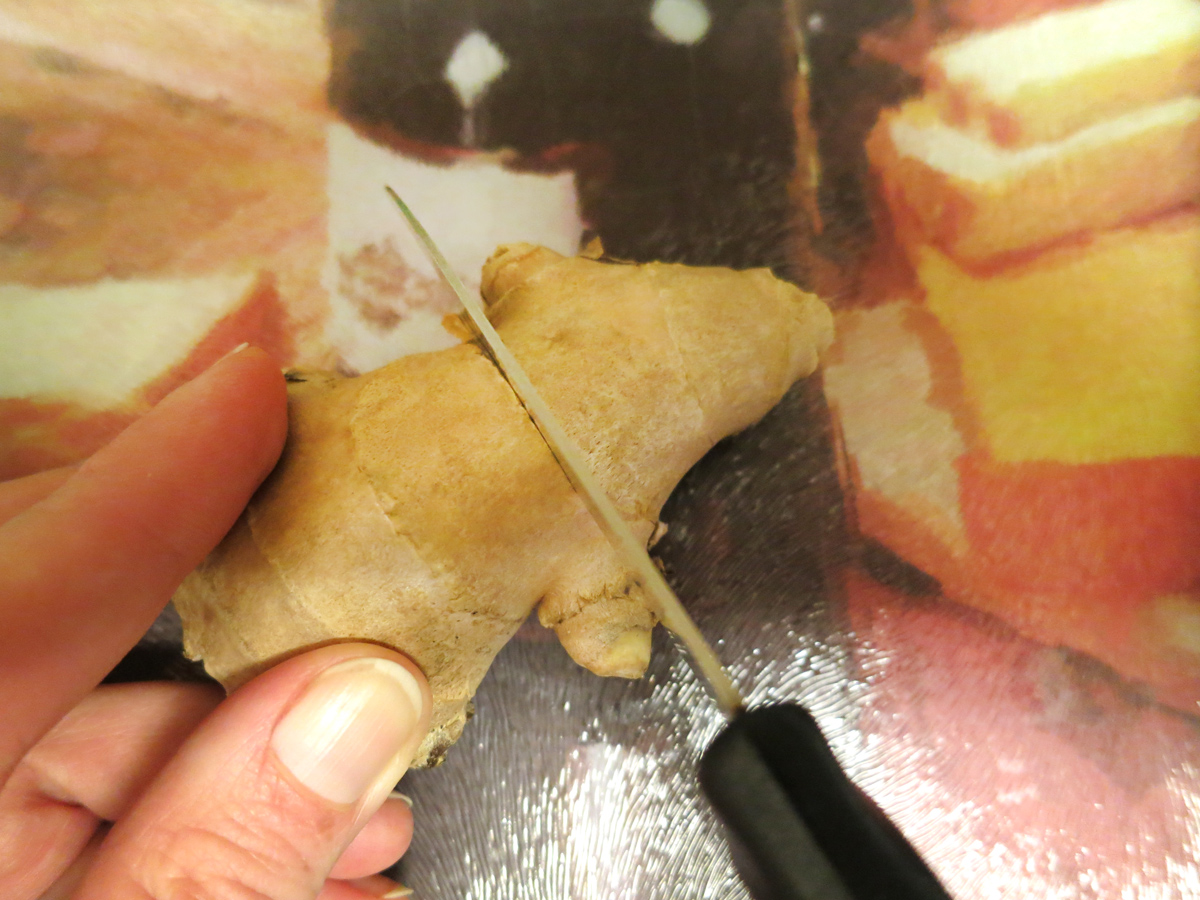
- About 4 cm of Ginger Root (thick, thin, less or more to your taste)
- Heaping Teaspoon of Honey (I use a long teaspoon like the ones I use to stir my iced tea, not a measuring spoon – see pic above)
- 2 – 3 Hearty Pinches of Sea Salt
You will also want to have on hand:
- Small Ceramic (a small ceramic is good – I use a cheesecake ceramic dish borrowed from the Bellagio)
- Wide Mouth Quart or Liter-sized Mason Jar
- Water (Spring is best – enough to nearly fill the Mason Jar)
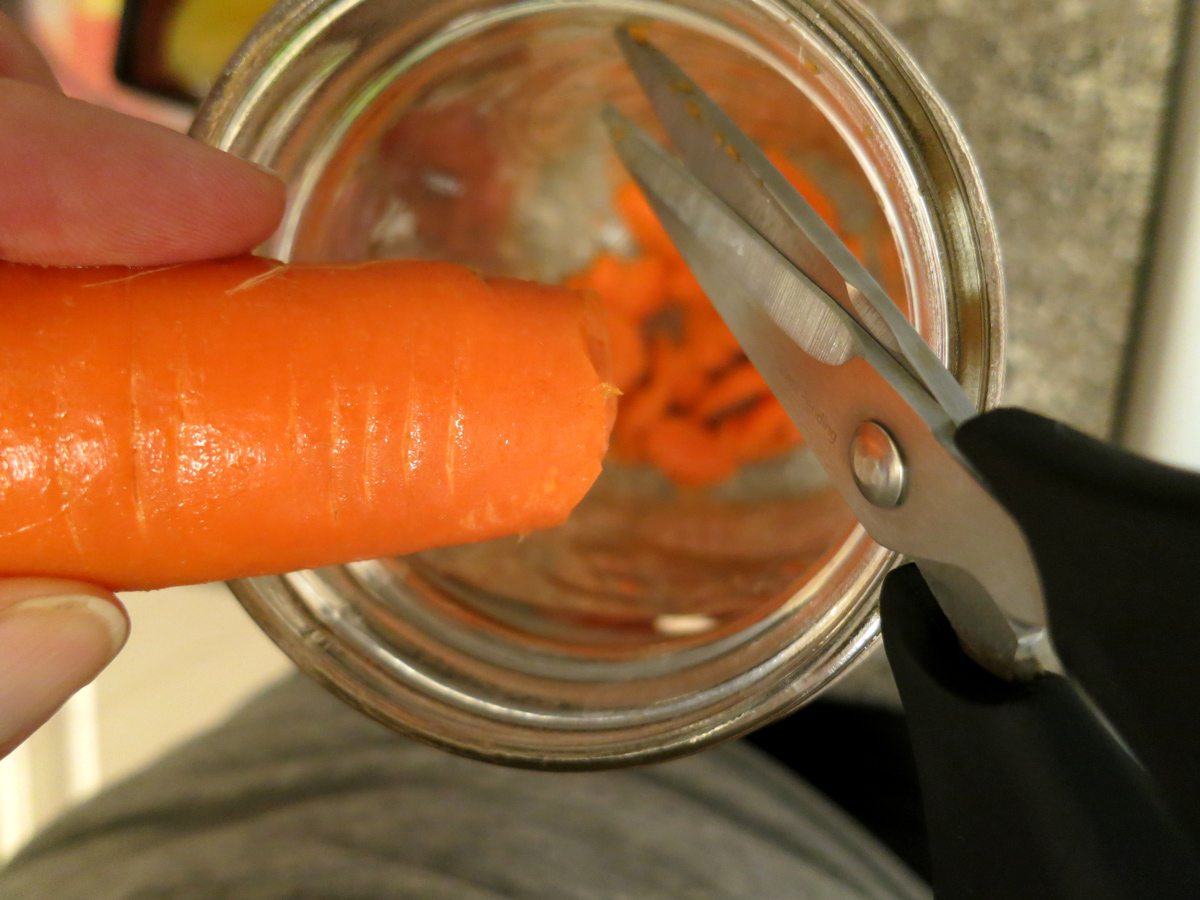
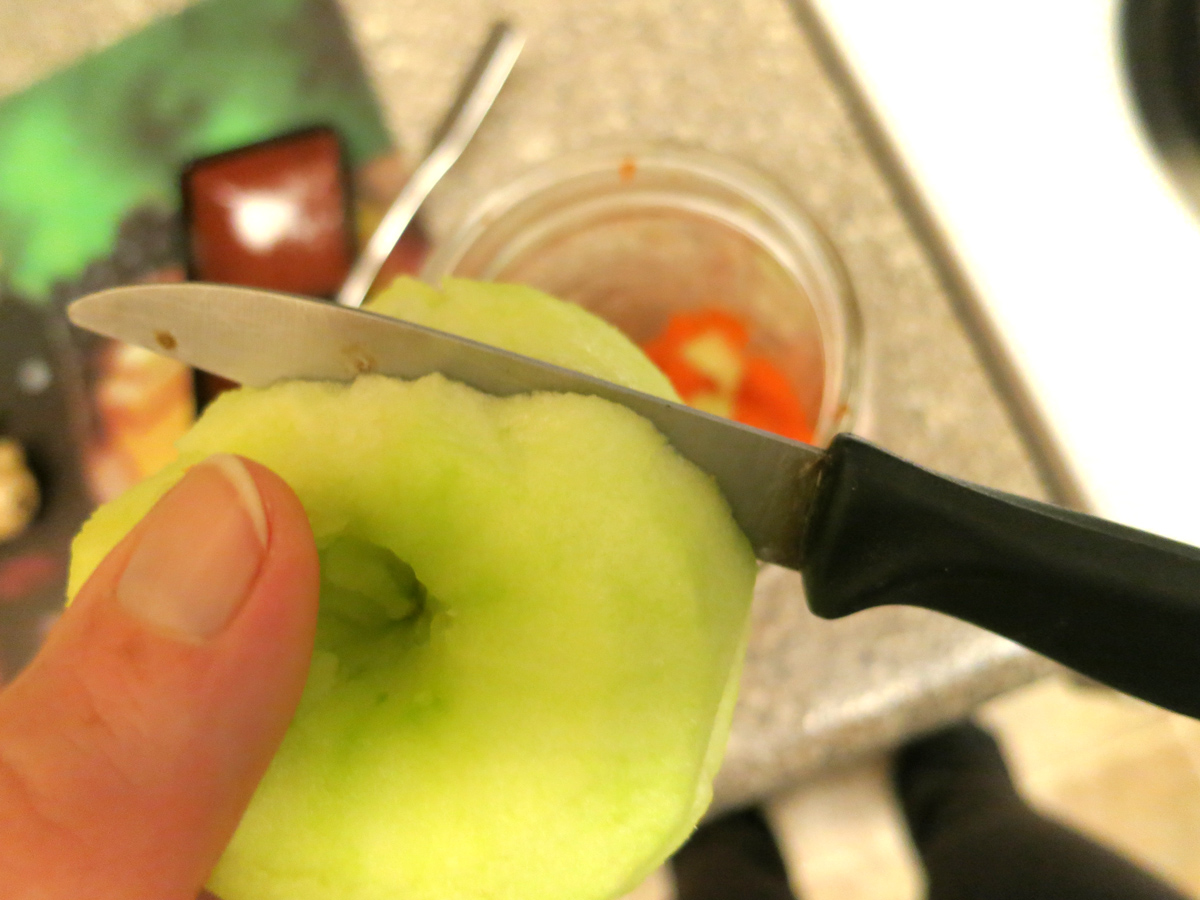
Rinse the apple and carrot with spring water, brushing lightly and briefly with a veggie brush or a clean scrubbie…don’t overdo it as you want to preserve the soil-based microorganisms that are so beneficial. Slice your carrot into thin slices with knife or kitchen shears into the Mason jar. Eat or compost the ends. Follow with slicing the apple, peel it if you wish and save the peel for either eating or composting…same with the core. The seeds are full of natural, cancer-fighting laetrile and should be eaten with the core while making this drink 🙂

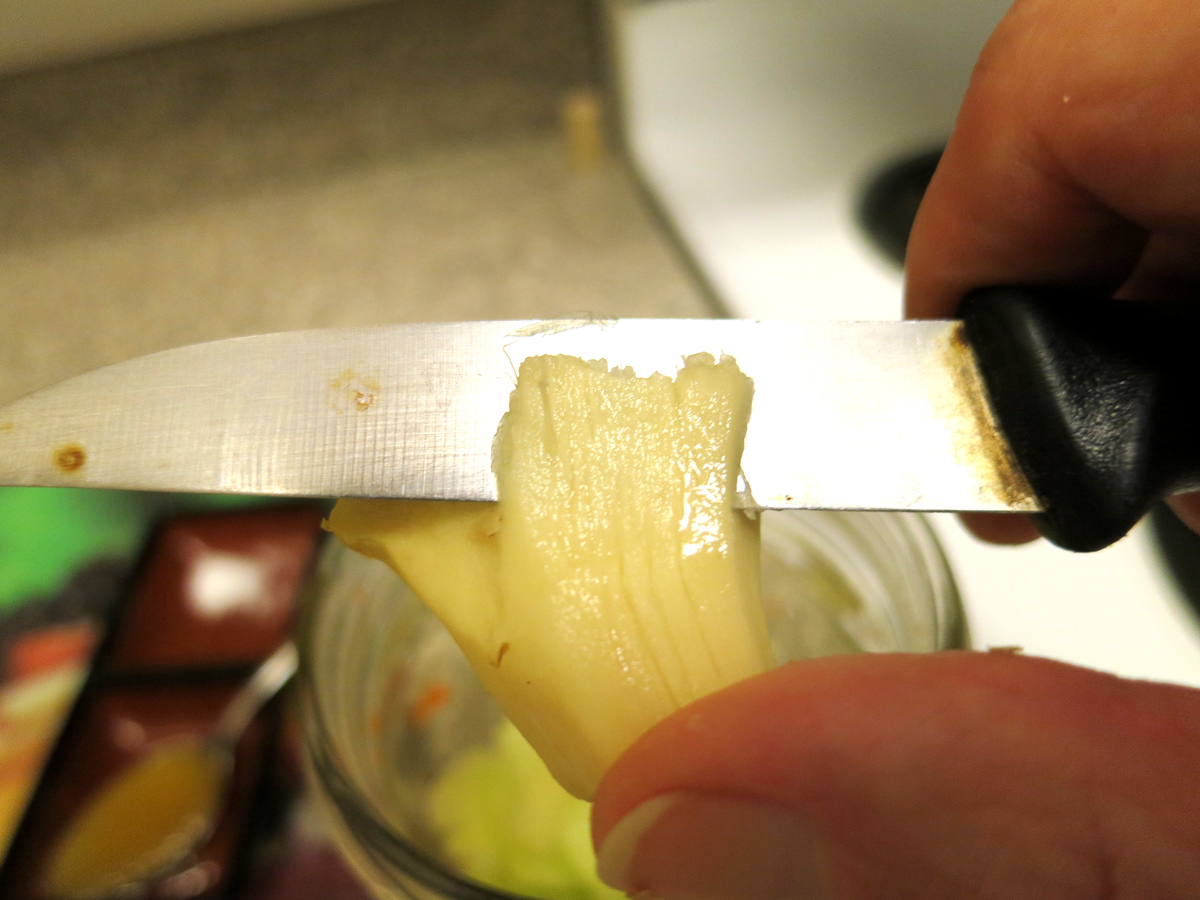
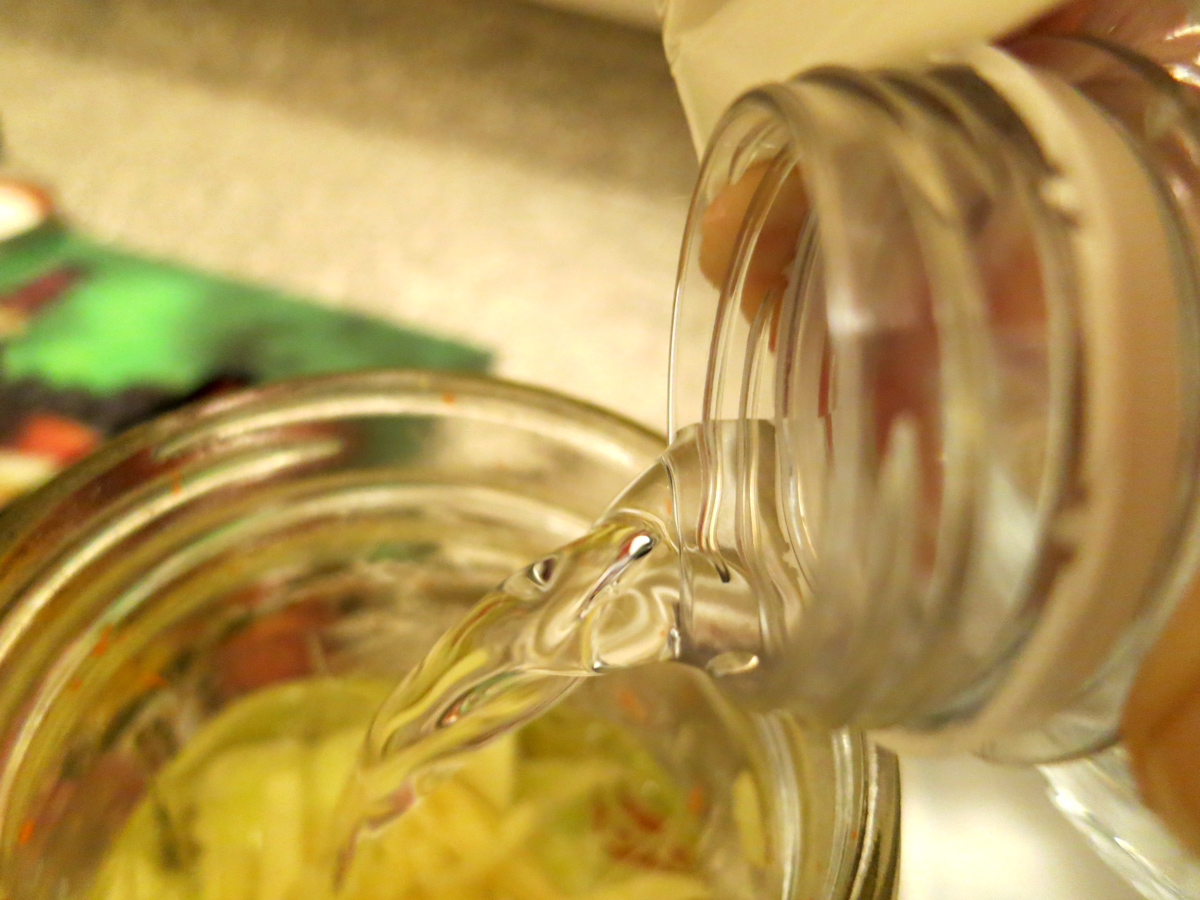
Next, lightly peel and slice your ginger. As with the carrot and apple, the thinner you slice it means more surface area for the good critters to grow on. Follow by adding enough spring water to come up about an inch – 2.5 cm – below the jar’s top lid.
Now, add the honey and pinches of sea salt. Stir until all the honey is dissolved using the long teaspoon. This will take a few minutes, and will get all the ingredients mixing together nicely for the fermentation. The honey and salt may seem counter-intuitive, but these are essential for minimizing any bad critters that might try to grow into your mix.
You’ll notice the apples will float, so the next step is to place your ceramic carefully into the jar such that it keeps all the fruit and veggies down. Use the long teaspoon for this as well.
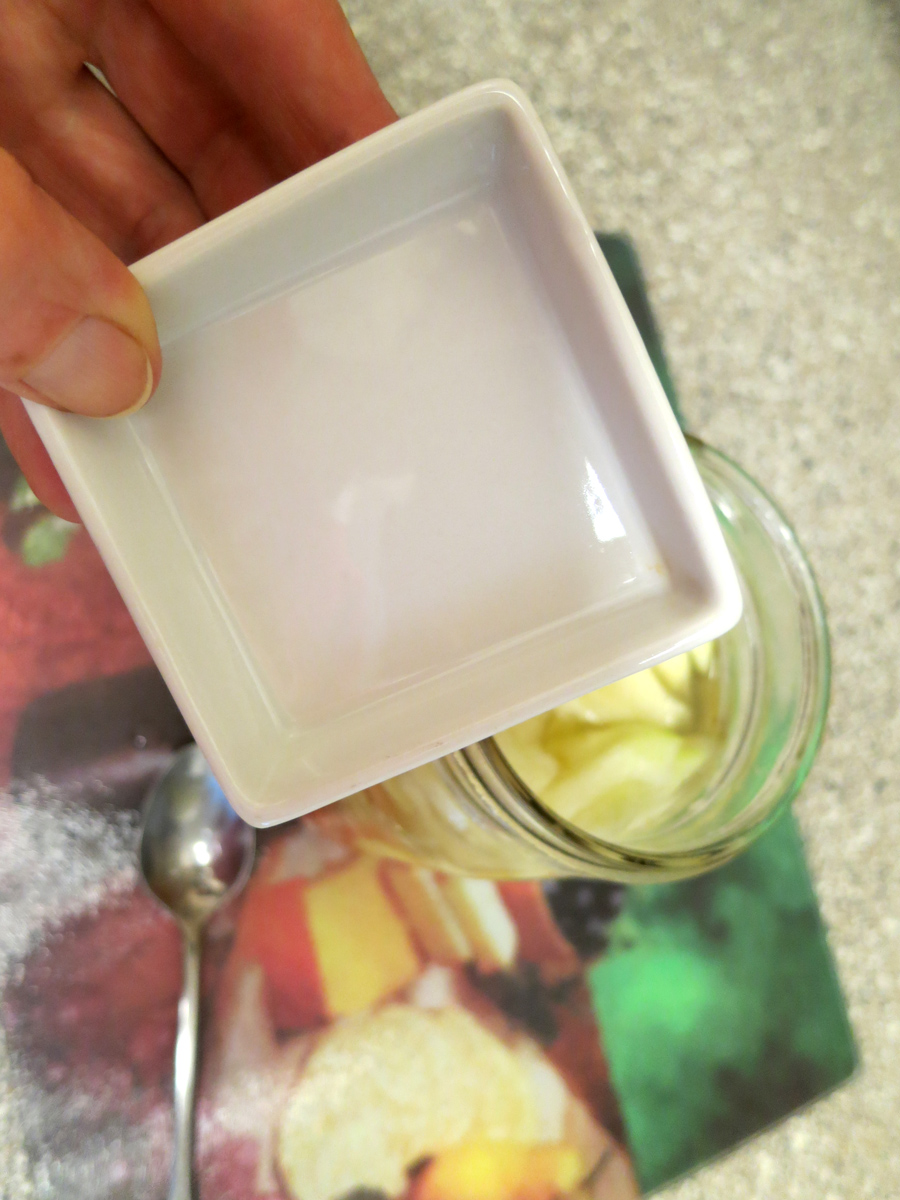
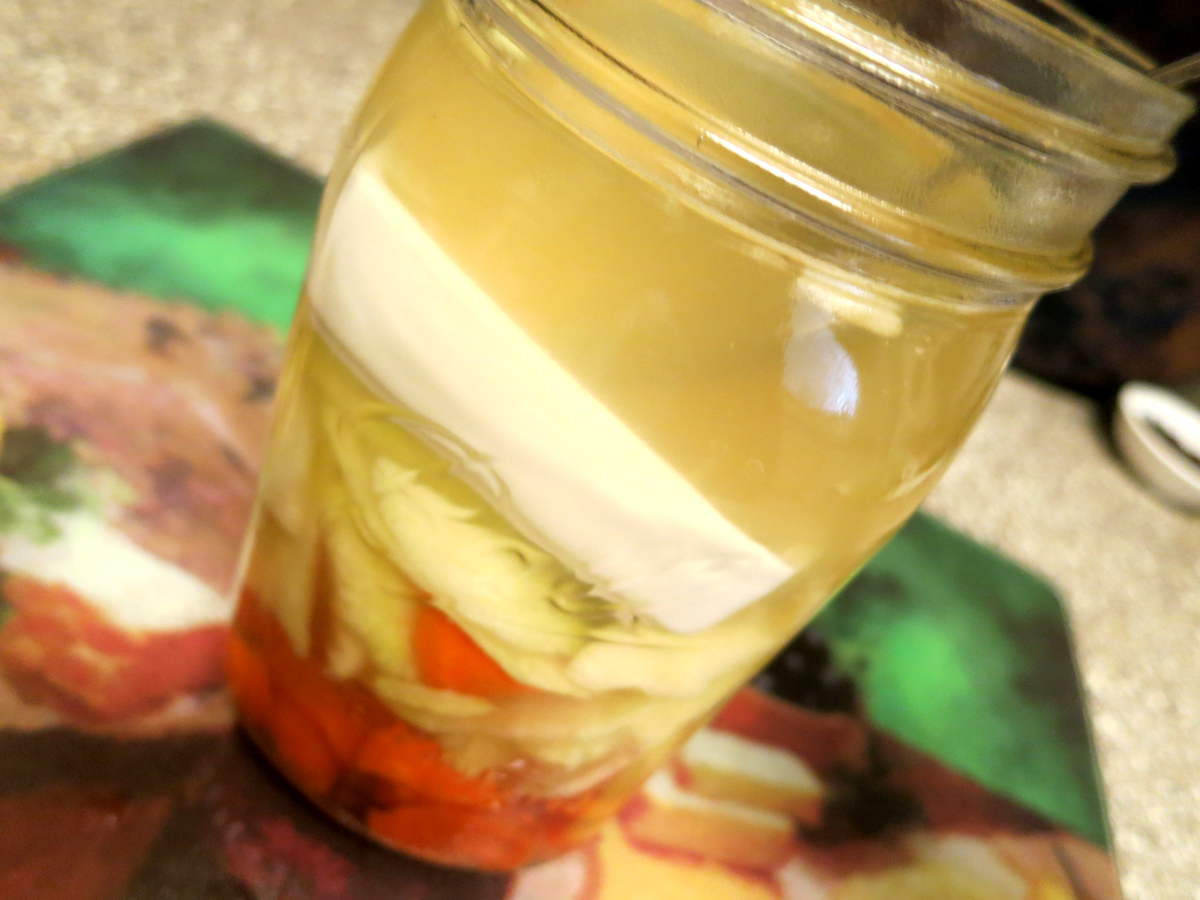
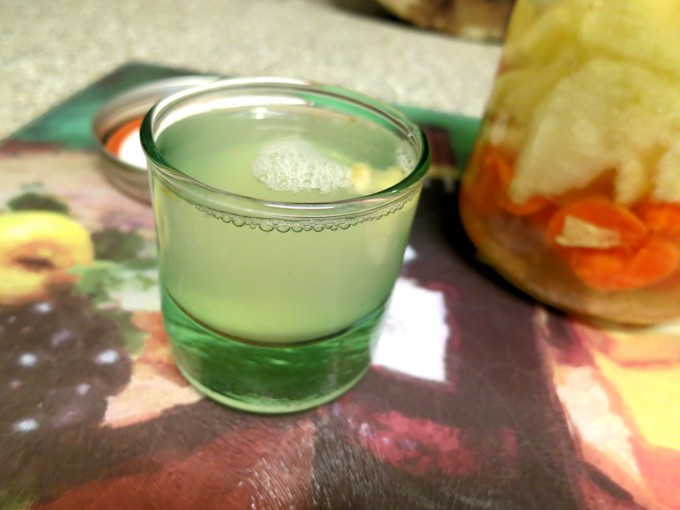
If the water level comes to about 1 – 1.5 cm – or about half an inch – below the jar’s top lid, you’re golden. Seal it up! If it’s not quite there, add a little water. If it’s too close to the lid, spoon off a couple spoonfuls into a shot glass and drink up.
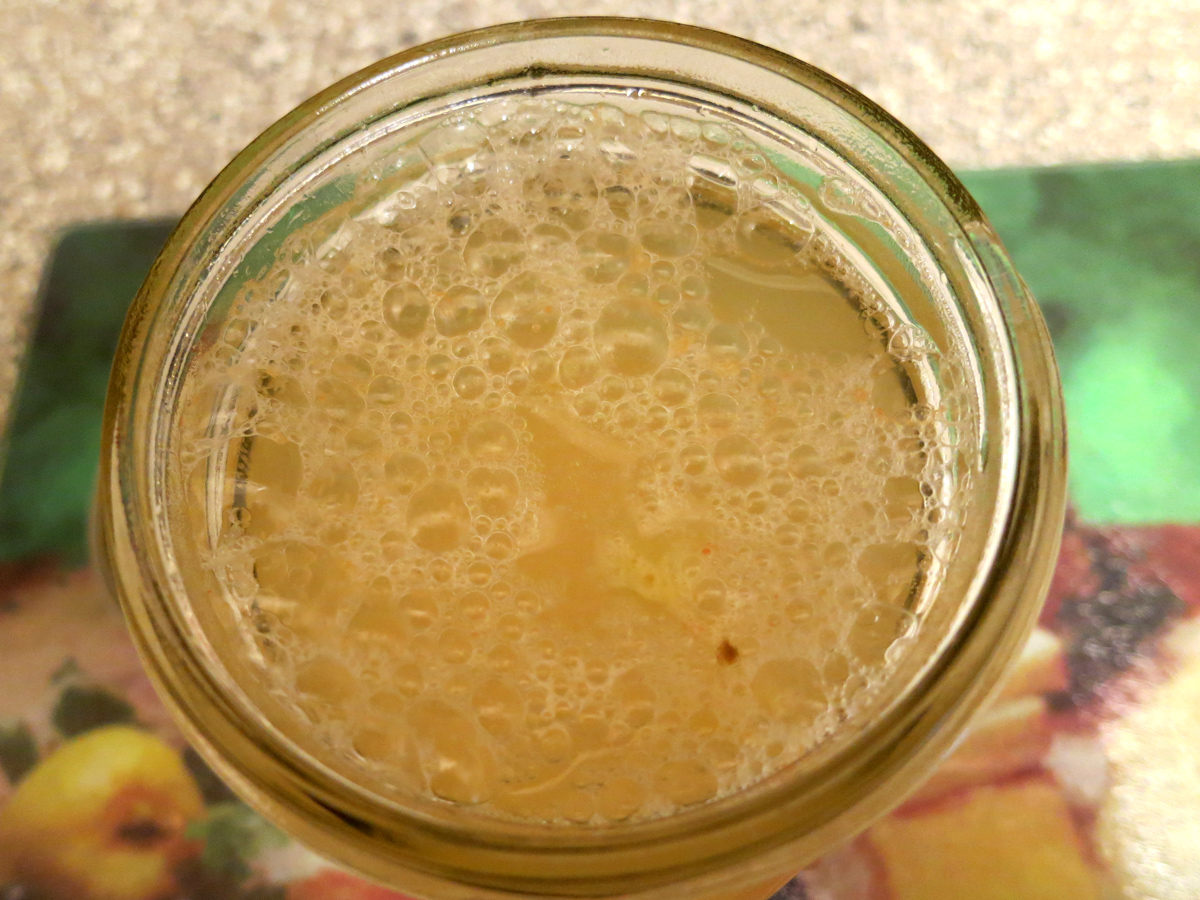
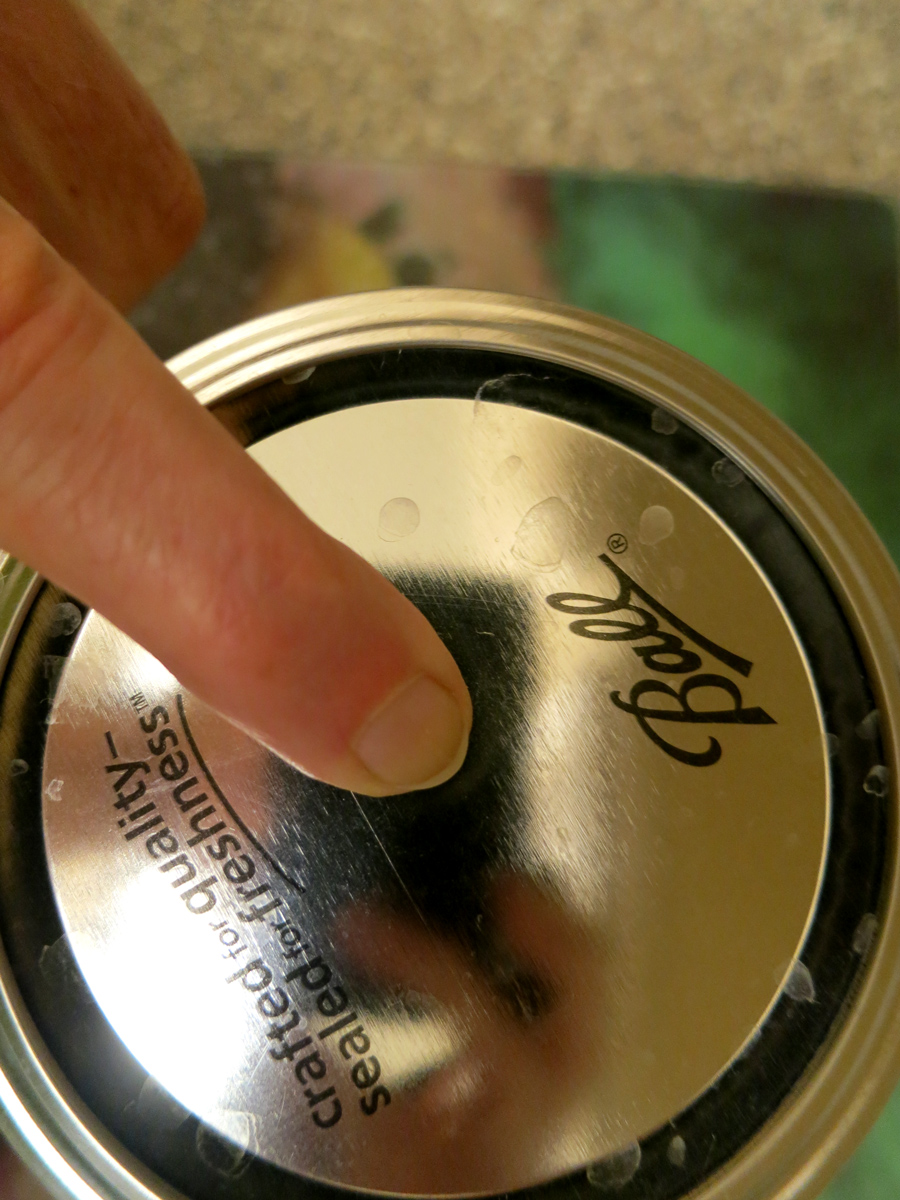 Let the mixture sit for 2-3 days before tasting. You should see small bubbles start to form, and when the lid cannot be pressed down, it is a good sign that you’ve got a good fermentation going. Letting the mixture ferment for 3 days is good before taking the first drinks, and I keep my shot glass nearby for the purpose. Smell the mix, if it smells warm and mildly sweet, you’re doing great. The Day 3 mix tastes mostly mellow and sweet, maybe a little tang, and just a little bite-y or fizzy. The longer you ferment, the more the sourness of the flavor grows…and I’ll point out here that it is good to smell the mix to make sure it hasn’t gone “off” – truth be told, I’ve never had a bad mix, but use common sense, pretty please.
I find that Day 4 produces the flavor and the amount of fizz (quite a bit!) in the drink that I like most, so I take the most shots on this day…and yes, I’ve even had “die-off” or Herxheimers on occasion – this stuff does the job. After Day 4, I either let it sit out one more day and drink a more sour version, or I put in in the fridge on Day 4 to slow down the fermentation, though this reduces the fizz to almost nothing. I try and use up everything, liquid, solids and all, by Day 5. That seems to be the optimal time frame for taste, etc.
I often add a small amount of stevia to my shot glass with the probiotic drink – delicious! It tastes like a fizzy, slightly soured version of ginger ale, the stevia adding just the right amount of sweetness to make a sweet-tart and healthful drink.
As you drink and the liquid level lowers, the remaining apple-carrot-ginger solids and liquid can be refrigerated for a kvass-style probiotic digestive (click the “+” button at the top right of this page to see that image) that makes a great and very healthful side dish to any meal. Just a spoonful or two is wonderful, and soon you’ll have consumed all the liquid and the solids, meaning zero waste for this one.
Enjoy!
Yours in Great Health,
Alison