
Category : Waste Not Want Not
When I was a young girl, I’d often visit my Grandmom Moore in Ardmore, PA. On one afternoon, a freak occurrence happened that forever changed (enhanced!) my lifetime artistic arc.
I was running around, shooting rubber bands at the walls in her living room, and one of the rubber bands got stuck behind the glass on a framed piece of artwork. She scolded me, trying to pick off the rubber band from the surface of the glass, but then noticed it had lodged in place behind it.
She spent a good 10 minutes retrieving the rubber band with things from her sewing kit, mumbling, “Well, that will never happen again.”
All probabilities aside – and ideas already germinating in my head – I decided that would not be the case.
Flash forward 40+ years later, and I’m still making these pieces, quite a few lately to relieve the stress of pandemic isolation. They always brighten my mood as soon as I start working on them. They are fun to make, and my repertoire now includes the original friction-fit framed rubber band pieces I’ve done for many years, along with paintings and lamps that incorporate rubber bands.
My work with rubber band art is largely recycled art with a mixed-media bend to it. I rescue frames, find old construction paper and office supplies at yard sales, on “freebie” tables, and even in people’s trash.
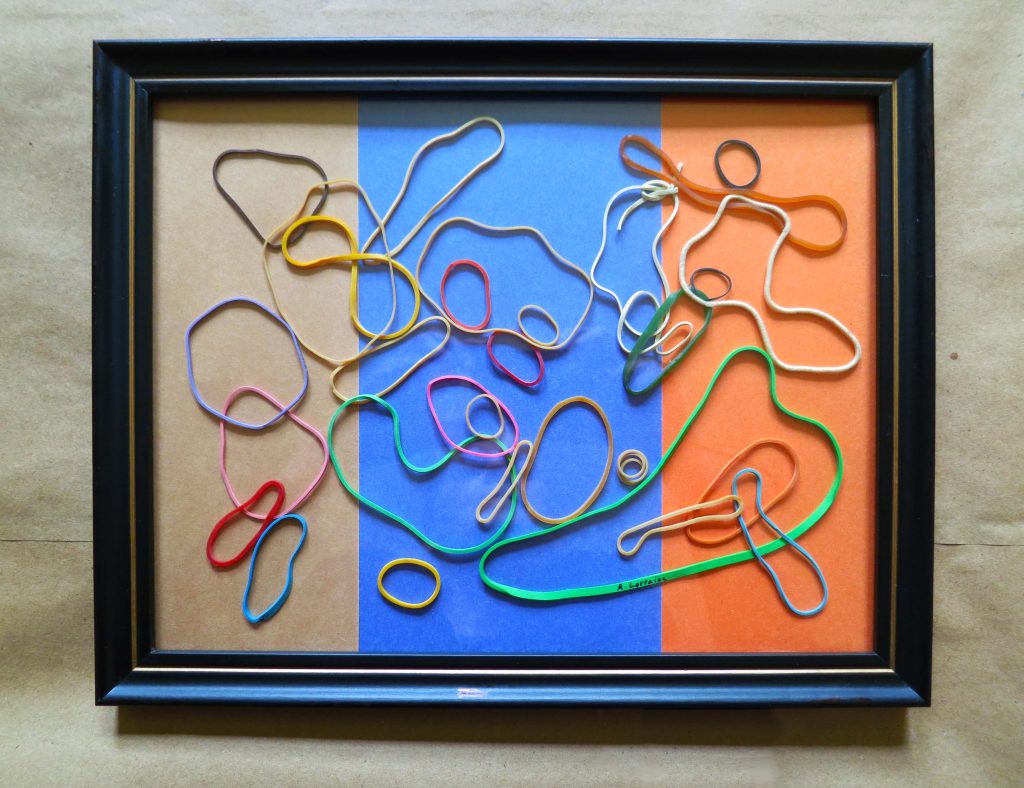
This piece was constructed from a rescued frame with somewhat bleached-out, repurposed construction paper:
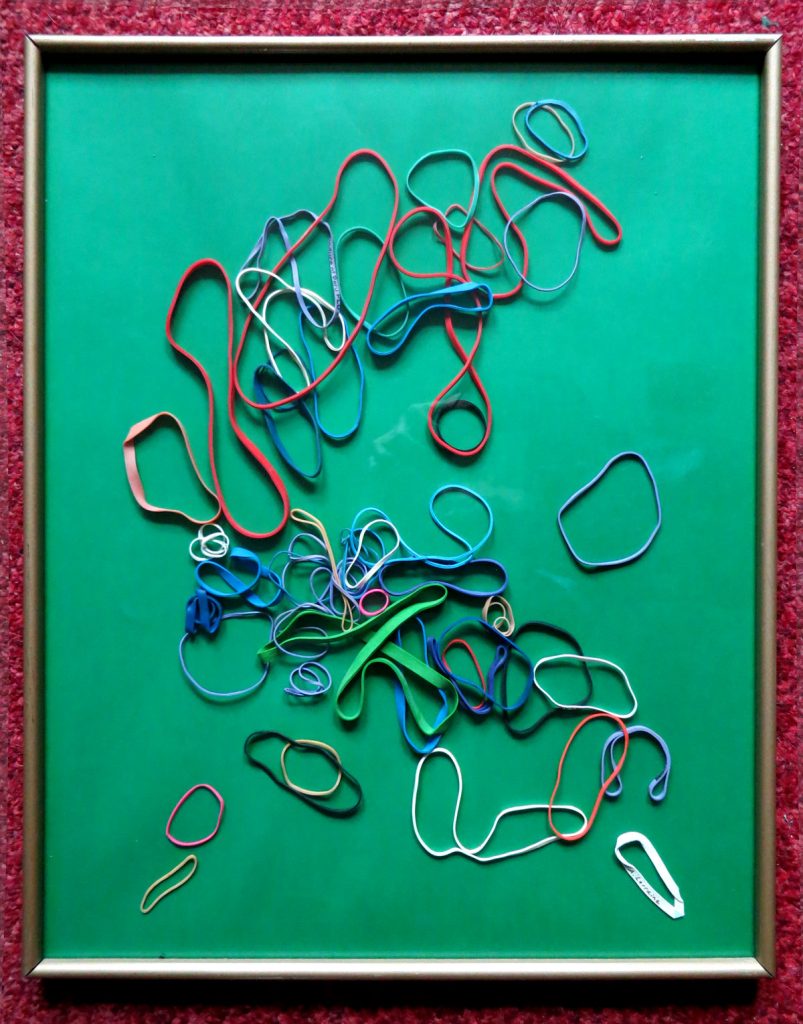
Another rescued frame piece, using rescued green cardboard gotten from a pile of old paper material I found in a local dumpster:
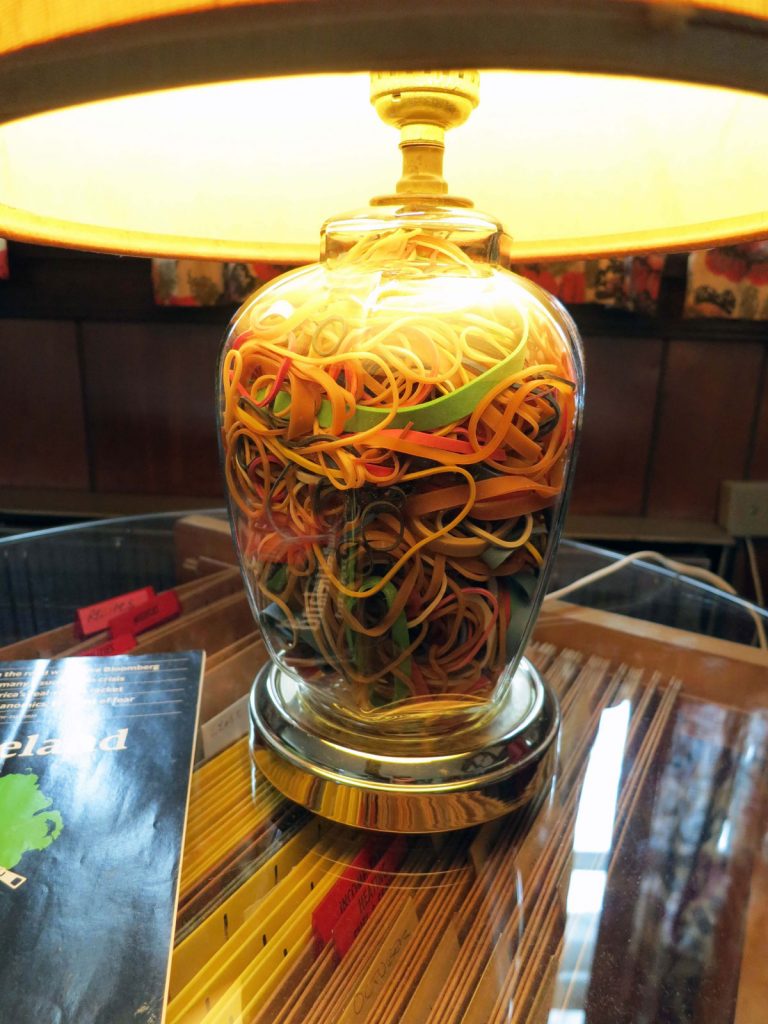
This lamp was made from an old glass lamp base that was once filled with seashells (by the seashore!) and an old lampshade found near someone’s trash with a “FREE” sign on it. I used the shells for a kitchen decor item…and the magazine next to the lamp is a February, 2020 issue of The Economist titled, “A united Ireland:”
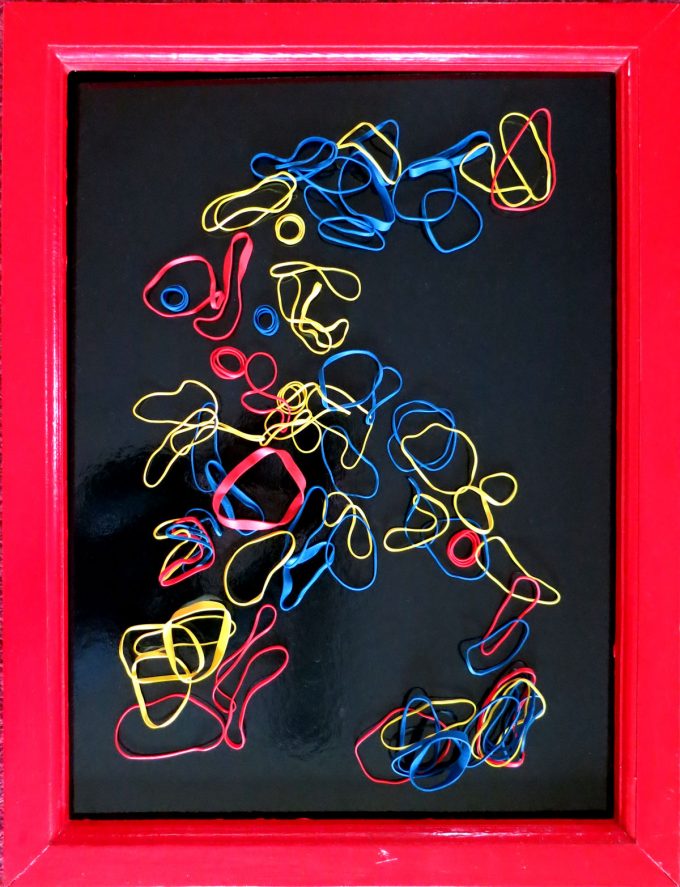
The red and black-themed piece below uses a repainted wooden frame, a portion of a recycled sign that was black on one side, and a bag of tri-colored rubber bands that complement the theme quite nicely:

All of the above are available for sale; please inquire within.
Enjoy! And please check back for new pieces, which will be added to a new ART section on this site.
Yours in Great Health,
Alison
I think I’m in love.
No…really.
I remember when I was a little kid, and had pancakes for breakfast with maple syrup, and I poured so much syrup on my pancakes that they became these soggy-sweet things I just could not get enough of!
That’s what THESE remind me of…WITHOUT THE SYRUPY MESS OR BLOOD SUGAR SPIKE.
I most often eat low carb – and note this is not NO CARB – quality, highly nutritious carbs in low amounts is the key. I’ve been on a mission lately to ramp up the nutritional value of everything I eat, and wherever I can substitute vegetables for flour, I’m all in.
This recipe uses a vegetable – in this case, leftover baked acorn squash, a sweet and mildly starchy veggie known for magnesium, potassium, fiber, vitamin C and vitamin A content, among many other great things. It also makes use of the principle of heating and cooling a starch to increase its resistant starch (i.e., the kind of starch that has some health benefits and does NOT raise your blood sugar). This is called starch retrogradation, according to a healthline.com article titled, “Cooling Some Foods After Cooking Increases Their Resistant Starch,” by Grant Tinsley, PhD. Also check out a very thorough PDF on resistant starch and its benefits and role in healing insulin resistance and the gut.
The recipe also uses monk fruit powder, a zero-sugar sweetener (also known as lo han guo) that, according to Dr. Axe’s website, “has long been regarded as the “longevity fruit” thanks to its high antioxidant levels.”
Per Dr. Axe, it has also been utilized “as a treatment for diabetes, and as a way to clear heat from the body caused by both internal and external source.” This is of big interest to me as someone who experiences blood sugar issues as a component health issue – it seems to go hand-in-hand with the systemic candidiasis, cancer and hormonal issues I deal with. Not to mention my Chinese doc always told me I have a tendency toward damp heat, meaning foods and other things that clear heat are helpful.
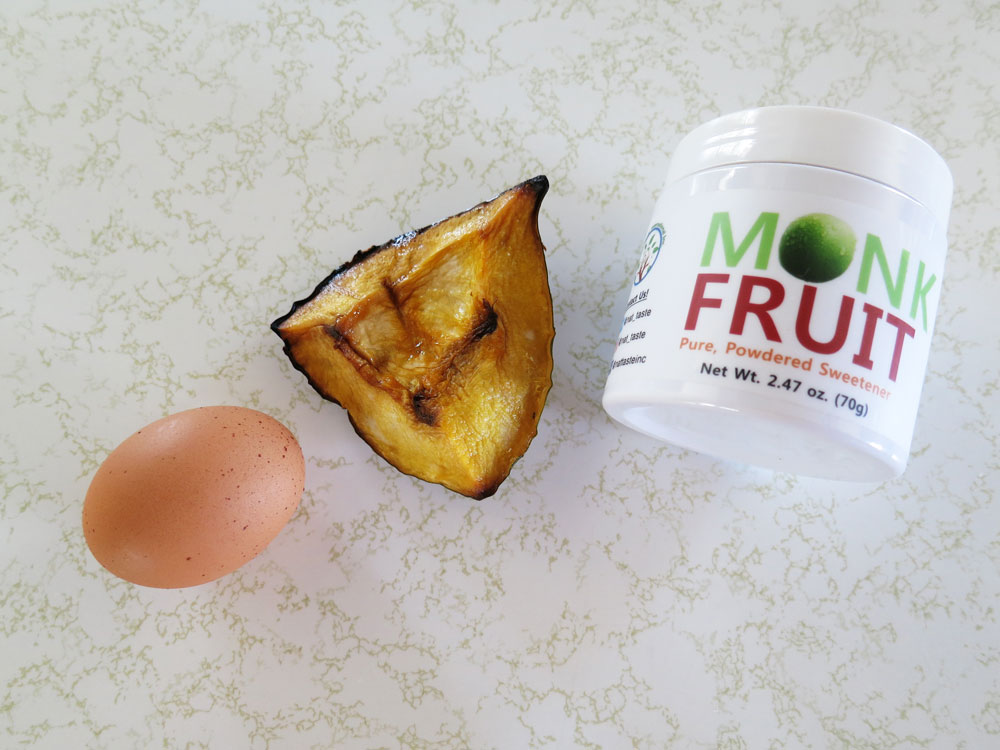
Best of all, these little pancakes only have three ingredients, plus some butter or oil for cooking. As always, I prefer to use organic:
- One Egg
- 1/4 Cup (60 ml) Baked Acorn Squash, Skinned
- 1/4 Teaspoon (2.5 cc/ml) Monk Fruit Powder (Slightly Heaping/To Taste)
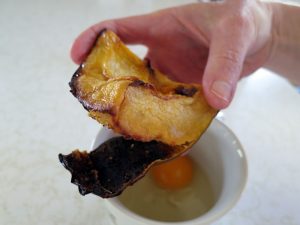
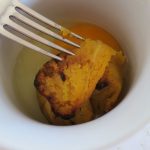
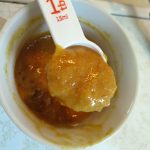
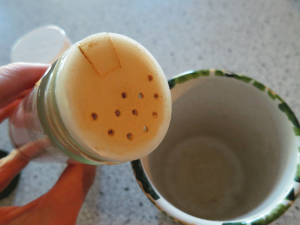
Skinning the baked acorn squash is really easy – it usually peels right off once it’s been baked and in the fridge for a bit. I then squeeze it into a 1/4 cup measure:
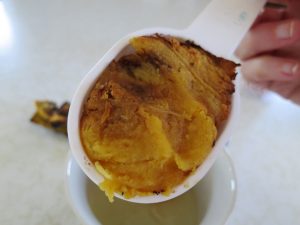
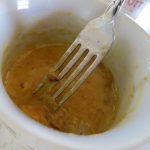
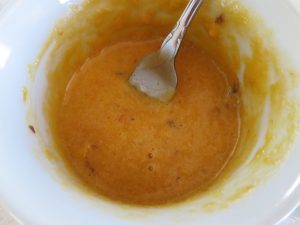
In a small bowl (even a coffee mug works), whisk together the skinned acorn squash and egg with a fork, this might take a few minutes. Mash any stubborn lumps of squash against the side of your bowl using the fork until the batter is smooth:
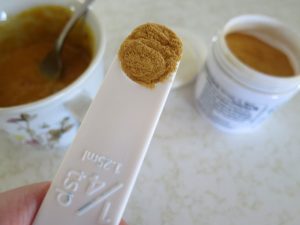
Add in your 1/4 teaspoon (or thereabouts) of monk fruit powder:
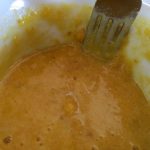
The finished batter should be very smooth:
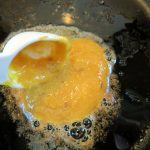
Next, Add butter and/or healthy oil to a frypan, set on medium heat. Using a tablespoon measure, spoon a generous tablespoon’s worth of batter into your frying pan. Cook on each side until browned…the time to flip is when the outer edges become dry. These brown pretty fast, so keep an eye on them! Usually I’ve turned them at around the 2-3 minute mark, but sometimes the second side can take a little less time:

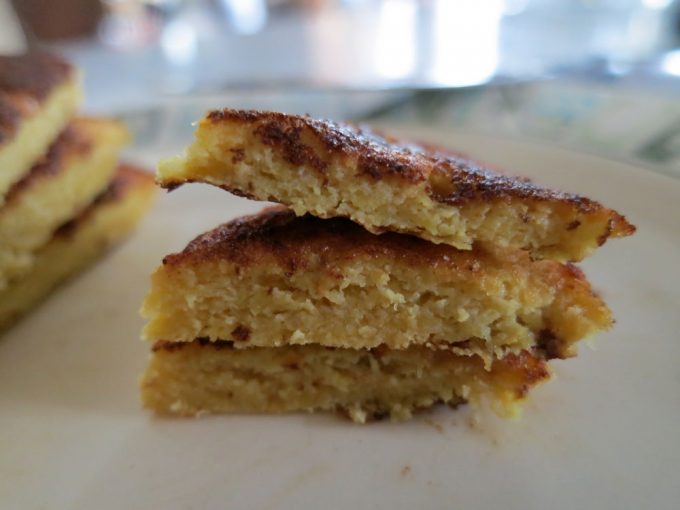
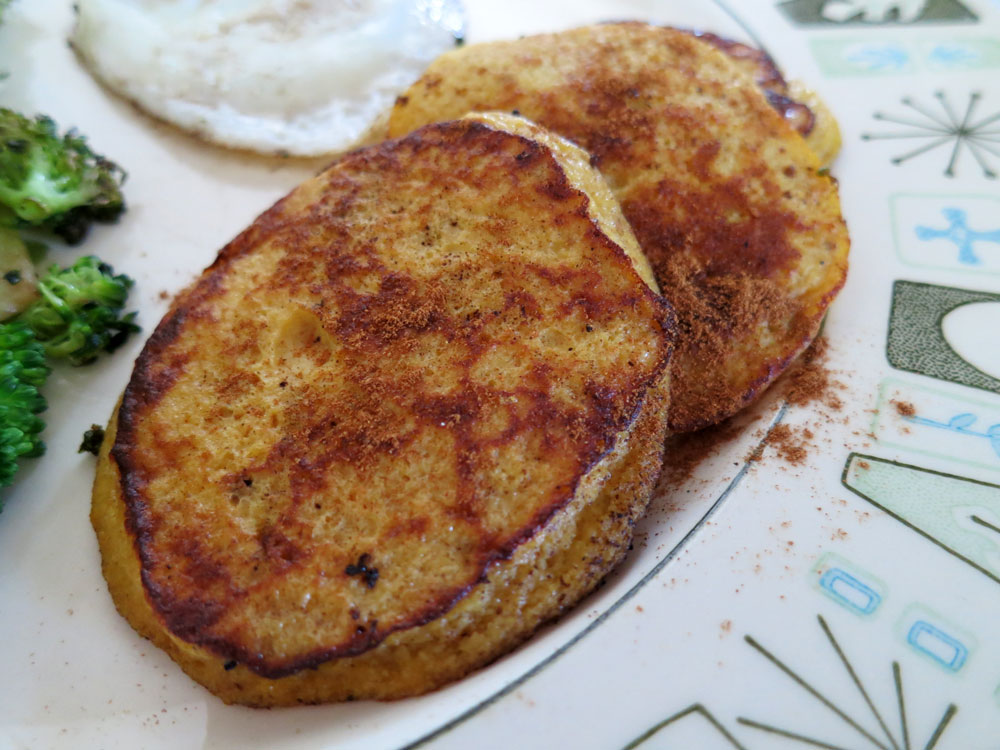
And here’s the final product! This recipe makes about six 2-3 inch pancakes, and you can do a lot with these. They’re great by themselves…
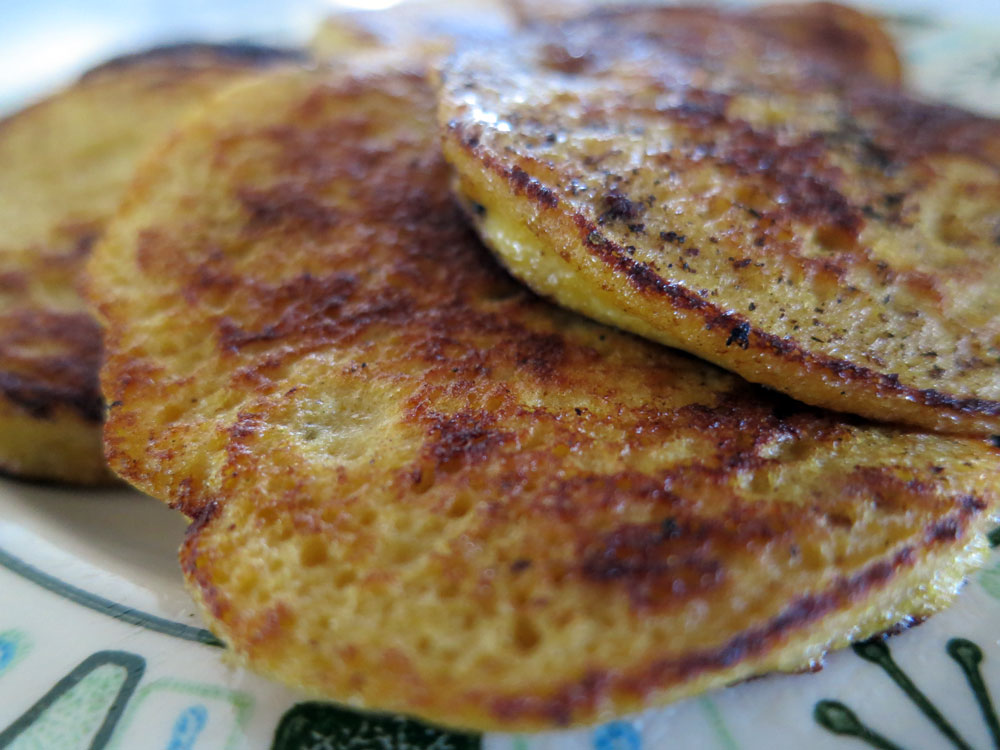
…or as a side dish. Try sprinkling some cinnamon over them, delicious!
And did I mention these are great for an impromptu layered desert, sans the added sugar? Here, I’ve topped one pancake with plain greek yogurt and a frozen strawberry, which defrosted perfectly by the time I was done my main course…
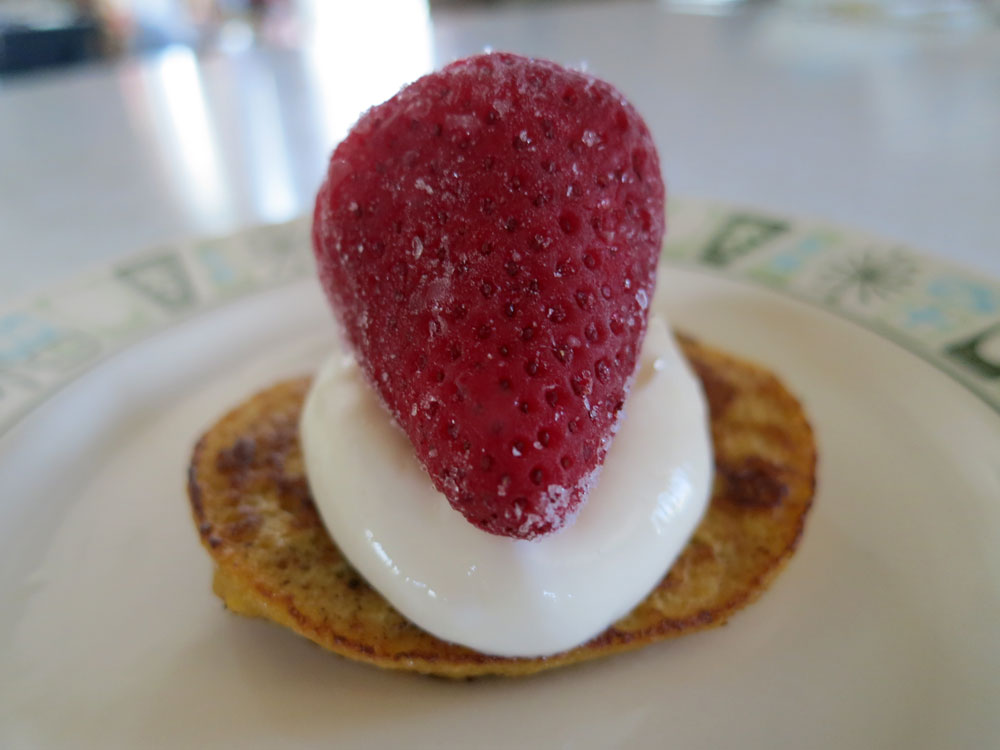
These pancakes are moist, and have a texture kind of like spongecake, which gives me an idea: Why not layer the pancakes with heavy whipped cream or plain greek yogurt (to which I might add some stevia or monk fruit powder to increase the sweetness as needed) and strawberries (or blueberries, etc.) in either clear plastic party cups or a round cake pan, then refrigerate. This would make a very nutritious party dessert without gluten or sugar…and plenty of protein.

Yield: Six 2-3 inch pancakes. These pancakes can be frozen for later use or stored in the fridge for a few days.
Variations: [Note: I haven’t tried these yet, so look for an update] I’m not sure if it will work, but if you don’t have a sweet tooth, try omitting the monk fruit powder for a 2-ingredient treat. Another variation is to use stevia instead of monk fruit powder, though I like the taste of monk fruit powder in these – it blends in rather well with the acorn squash.
Notes (Based on nutritiondata.self.com): The quarter cup of acorn squash in this recipe has 7.5 grams of carb, 2.25 grams of fiber, negligible sugars, negligible fat and .6 grams of protein. One large fried egg contains .4 grams carbs (no sugars), 7 grams of fat, and 6.3 grams of protein. And according to the container, one quarter teaspoon of monk fruit powder has zero sugars.
Enjoy!
Yours in Great Health,
Alison
I’m always looking for quick, simple and inexpensive ways to make the good stuff on the go, so here’s one fer ye! It’s a very cool, fast and easy guacamole recipe using readily available & easily found ingredients, straight from your – or your Airbnb host’s – fridge and spice rack. Great when craving something real on the road, or when you need a quick and healthy snack without much fuss.
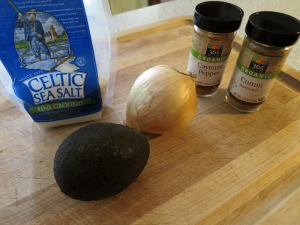
Gather ye thy holy ingredients:
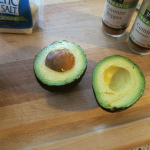
- One Ripe Avocado (Small to Medium)
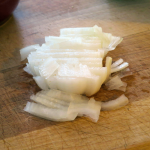
- 1/4 Fresh Onion (or 1 TB Dried Onion Flakes)
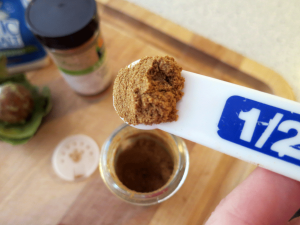
- 1/2 Heaping Teaspoon Cumin Powder
- 1 – 2 Dashes Cayenne Powder
- Scant 1/2 Teaspoon Sea Salt
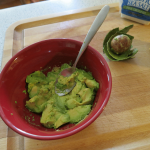
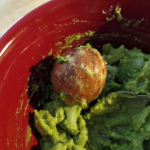
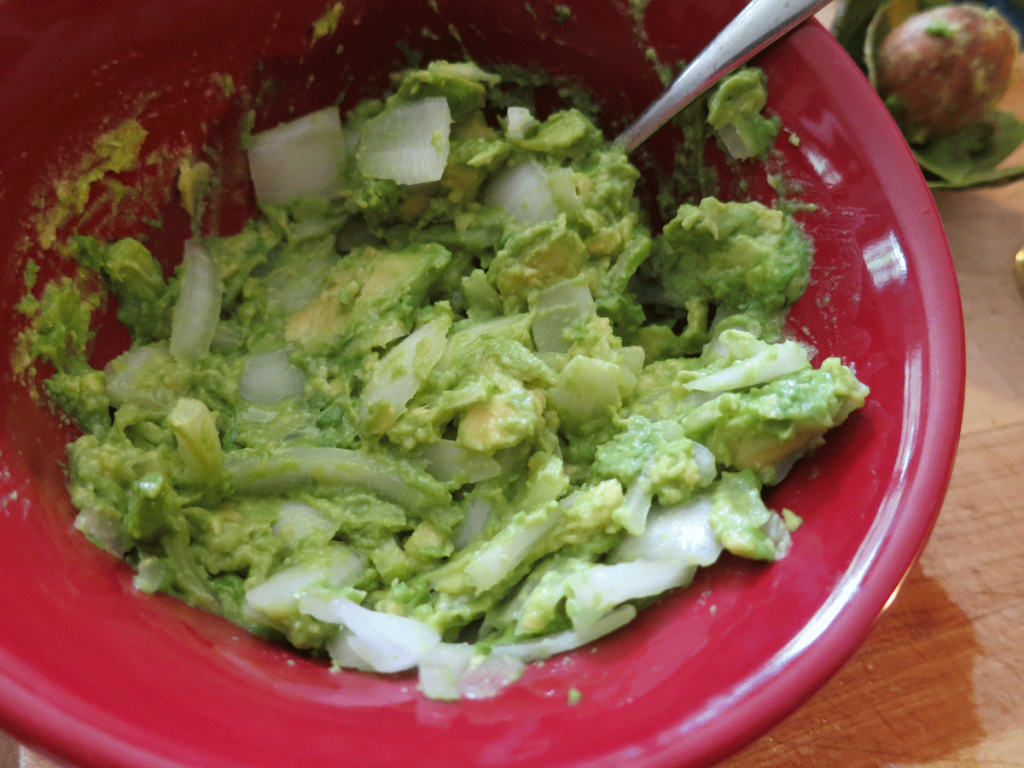
I try to use all or mostly organic stuff in my cooking and always encourage others to do the same. In a cereal bowl (or similar), cut, skin and mash up the avocado. Save the seed! You’ll need it if you want to refrigerate any leftover guac…according to livescience.com, science does seem to support that keeping the seed with the guac will prevent some browning, and as well, thou shalt hear a voice behind thee, spewing facts regarding the uber-nutritious avocado:
Few people know that the avocado is an ecological anachronism, that it most likely evolved specifically to entice the tastes and the large gullet of the now-extinct giant ground sloth.
Now that that deadly sin is out of my system, next you’ll want to dice 1/4 of a fresh onion, which equates to approximately 1/4 – 1/3 cup. FYI, if you’re using dried onion flakes, the 4:1 rule applies – in other words, you only need about a quarter the amount of dried onion to get the same taste result. Given that 1/4 cup equates to 4 tablespoons, using 1 tablespoon dried onion flakes will do it. As always, trust your taste buds and adjust accordingly.
Briefly mix the onion into the mashed avocado:
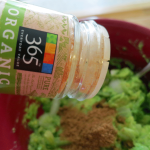
Next, add in your heaping 1/2 teaspoon of cumin powder…
…followed by 1 – 2 dashes of cayenne pepper and a scant 1/2 teaspoon sea salt…

…and you are ready to do the final mix!

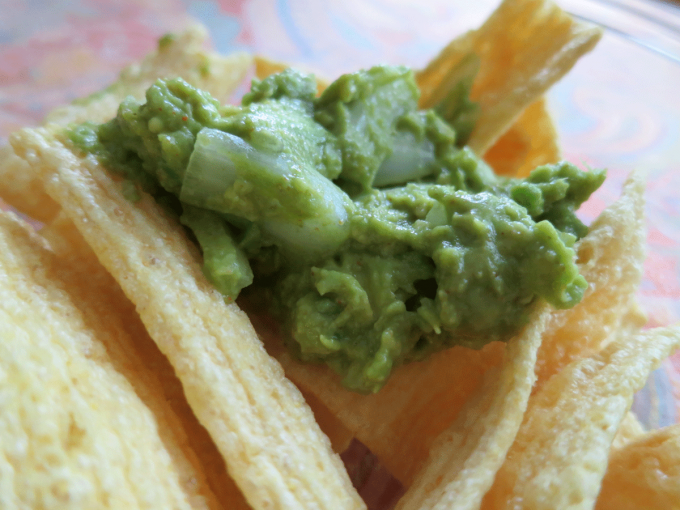
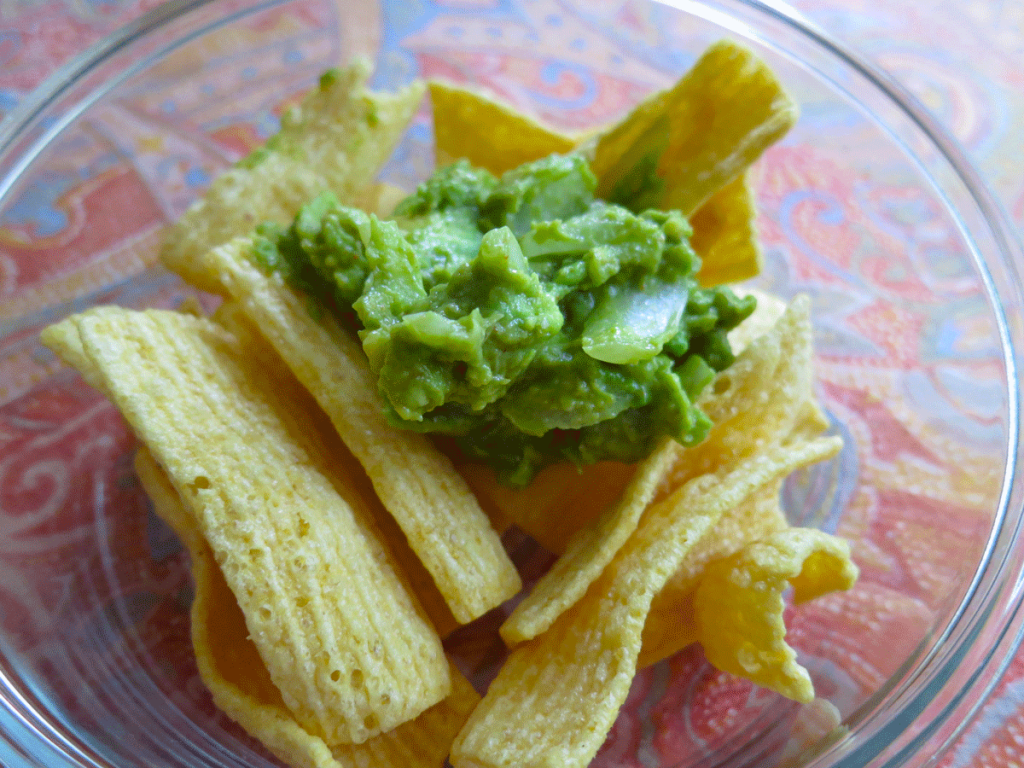
Next, get ready to serve thyself this Simple as Hell Holy Guacamole. Sometimes I eat it straight up, but here, to show some degree of civility, I’ve used lentil chips, which provided a really nice, light contrast to the guac…enjoy!
Serves: 2 normals, or one Alison Lorraine. Can be stored in the fridge for a day with the seed, but it’s best to use this up asap.
Yours in Great Health,
Alison
This ginger tea recipe is as simple as a crystal-clear blue sky…just two ingredients. As always, organic is preferable.
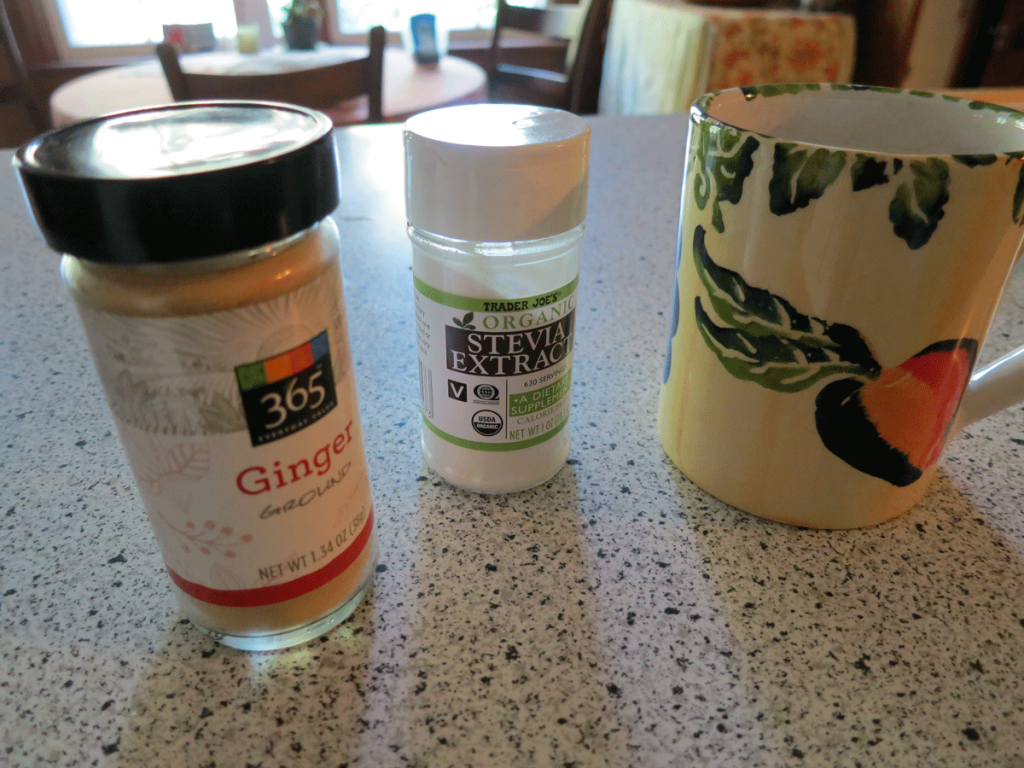
You’ll need these two items:
- 1 – 2 Dashes Ginger Powder
- 1 Small Spoon Stevia Powder
…and you’ll also want to have on hand some hot water and a tea mug 🙂
Add 1 – 2 dashes ginger powder to your tea mug:
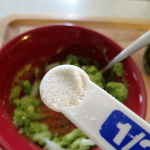
Next, add in the stevia…
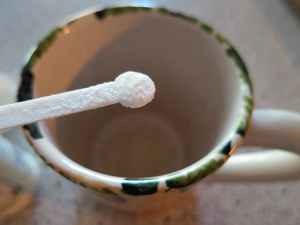
…and note how I’m using the little white spoon that usually comes with a container of stevia. Also note that I let the stevia heap and crawl up the handle, because my sweet tooth will have me asking for sweet things long after I’ve left this mortal coil.
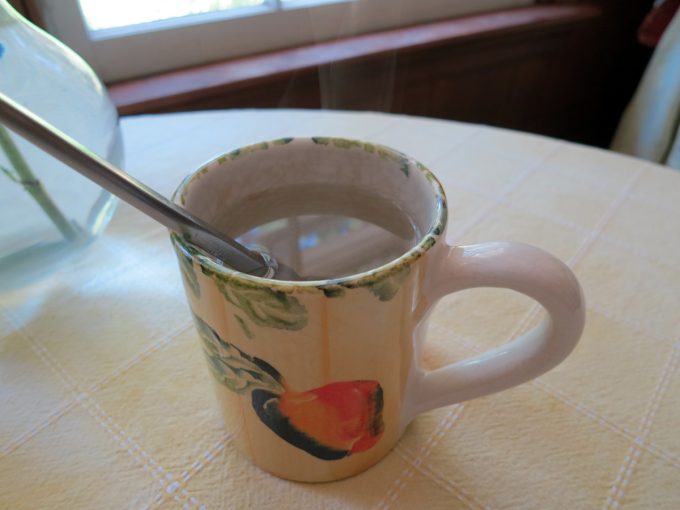
Lastly, pour in some hot water, stir and you’re good to go! Very helpful to sip this with a meal…ginger is a well-known digestive, and is among my favorites aside from chewing fennel seeds or having a glass of red wine.

Drink up and enjoy!
Yours in Great Health,
Alison
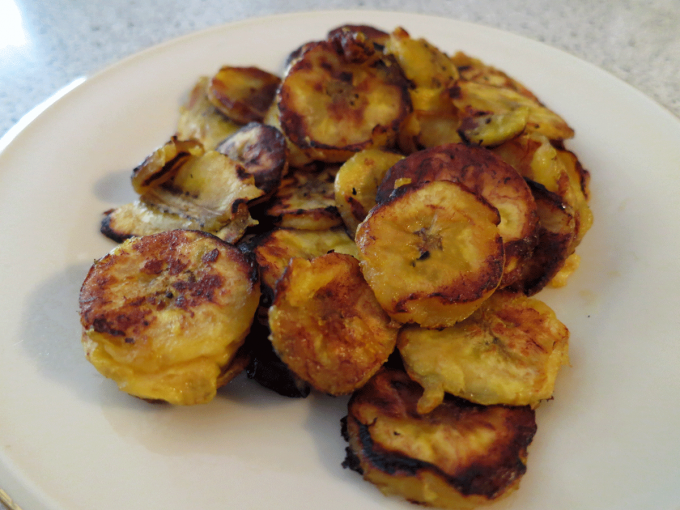
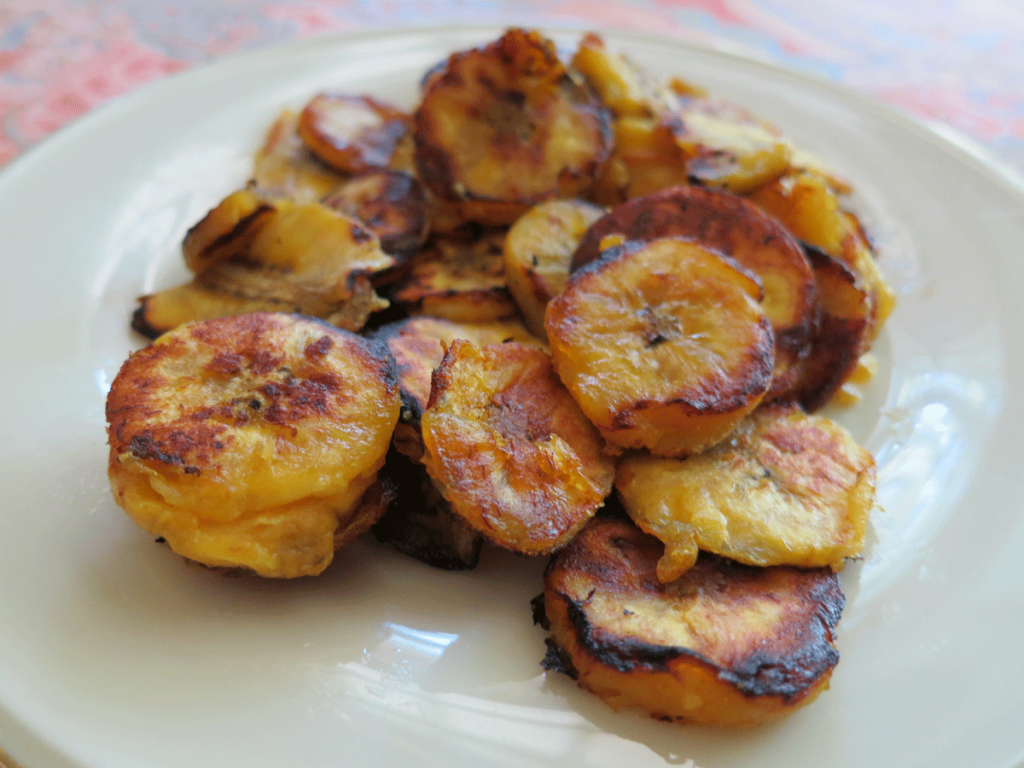
One of my favorite desserts is nothing more than slicing up a ripe plantain, spooning some coconut oil into a medium-heated pan, and then fry-sauteeing the plantain slices until they are browned and crispy on the outside and sweet and soft toward the middle.
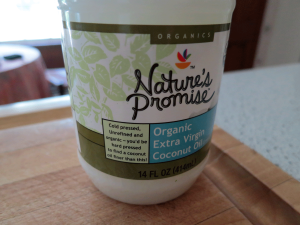
This is an excellent dessert without the need for added sugars or anything else. I’m not sure of the “organicness” of plantains in general, but I always use organic extra virgin unrefined coconut oil for this one.
You’ll need:
- One Very Ripe Plantain
- Tablespoon (or So) Organic Coconut Oil
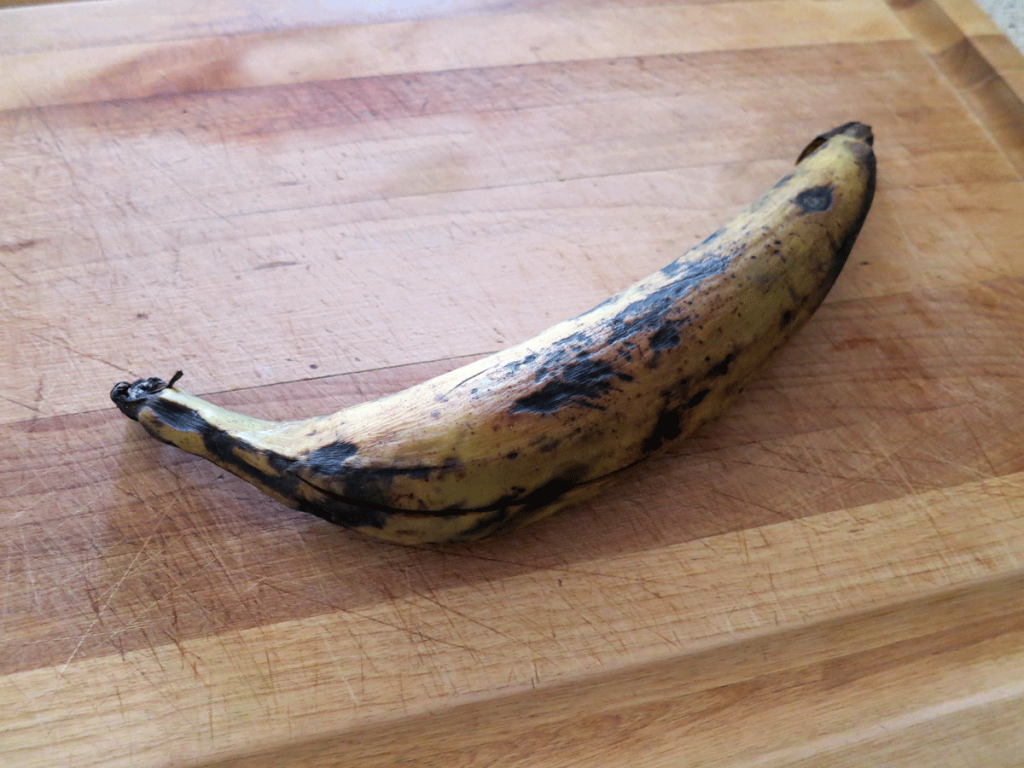
I’ve put a large image of a plantain above showing the types of colors you’ll want to see on yours (and this one turned out delicious!). Pale yellow with plenty of black indicates a sweeter plantain. Green or plain, uninterrupted yellow, it’s not going to be as sweet, but can be used in a more potato-like manner. What I’m going for here: the more hellish and rotten (to a point) the plantain looks, the sweeter and more dessert-y it will be.
Note my plantain has a big-ass slash through it and a portion of the tip was also partially cut off. No matter! As long as the skin’s not totally breached, you’re as golden as your sweet plantain dessert will be.
Here’s the coconut oil I used for this recipe:
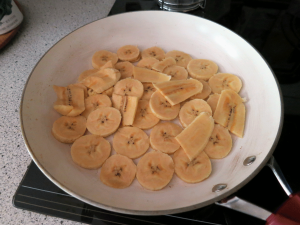
First, place a tablespoon (can be heaping!) of the coconut oil in a frying pan large enough to cook 4 – 6 hamburgers comfortably. Fire it up to medium heat and let the oil get hot enough so that once you add a test slice of plantain, it starts to sizzle immediately.
Peel and thinly slice your plantain into the pan and let the slices cook for several minutes, checking them periodically for level of brownness. Turn the slices periodically once you notice them browning.
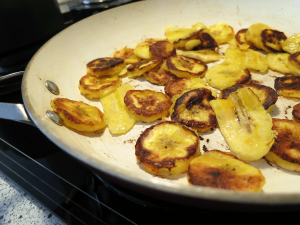
The picture to the right shows some browning on the plantain slices. Ideally, both sides of each slice should be browned, but don’t hold out for sheer perfection – that’s the surest way to burn your plantain. The key is constant attention and turning for the several minutes you’ll need to make sure the slices are cooked to softness while having those lovely and slightly crisp brown edges.
Through the smoke in the above photo, you see the plantains nearing completion – they have a browned, and at the same time, a gently wet look to them. The browning brings out the sweet, and the wetness indicates a nice, moist interior with the crispy-sweet edges.
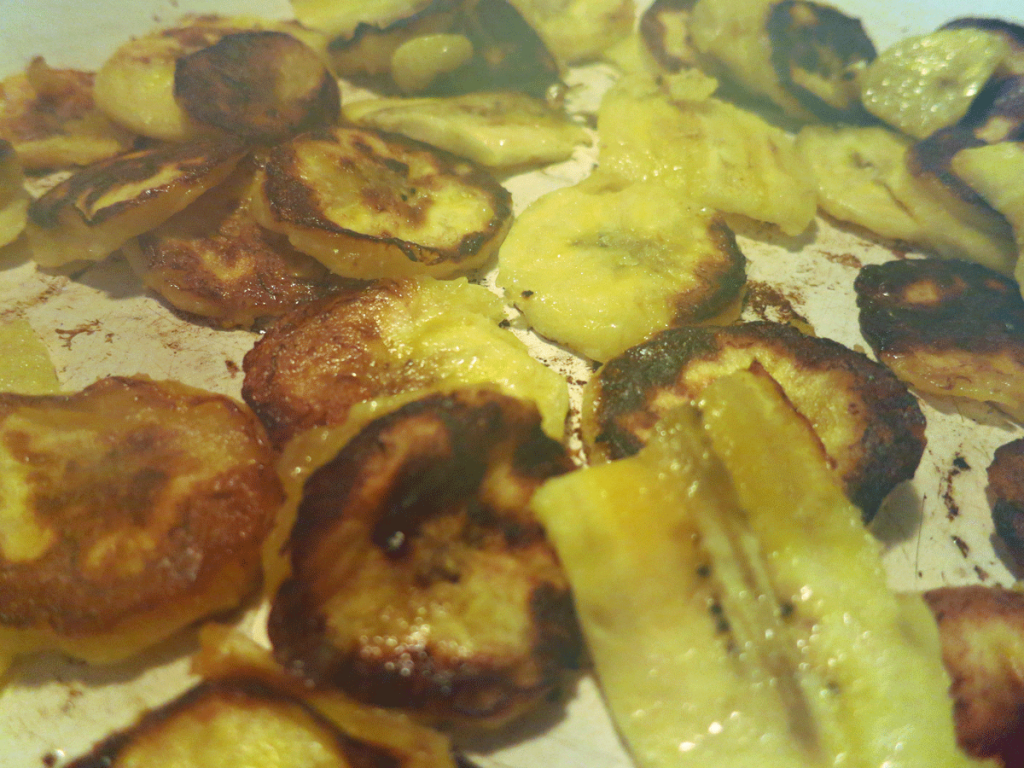
At this point, you’ll want to remove them from heat and spatula them onto a plate. Optional: a light dusting of cinnamon is quite tasty, but wholly unnecessary. Just the coconut oil and plantain slices are enough to satisfy my sweet tooth anytime! (Note that if you are travelling, you can sub in butter if you don’t have coconut oil handy.)
There are many pleasures to experience with this lusciously unadulterated dessert! It is healthy, has no added sugars and is a highly nutritious sweet. The coconut oil only adds to its healthy profile 🙂 and plantains are also known for their being mucilaginous – that is, containing mucilage, a natural prebiotic fiber found in various foods and herbs like chia, okra and flax that can help sooth an upset stomach. Mucilage isn’t for everyone, however, as it has been said to also feed detrimental organisms as well as trigger immune responses in susceptible individuals.
But if you like plantains and they like you, indulge!
Yours in Great Health,
Alison
Given all the advice I’ve gotten to rid my system of heavy metals (and radioactive elements – and keep them out), I’ve taken to eating seaweed salads on a pretty regular basis.
Seems seaweeds have a real knack for drawing heavy metals, et. al., out of sewer systems – and human bodies. They hide no secrets, and carry with them the histories of the systems they’ve travelled through. Just such a confession does a body good.
Not to mention my Chinese Doctor here in Vegas keeps reminding me they’re jus’ plain ol’ good for my type as well as my biochemical makeup, and there’s nothing like a really healthy seaweed salad to remineralize the works while wicking out the baddies.
This recipe is one which I categorize as On-The-Fly – that is, you add ingredients, not in exact amounts, but in relation to each other, depending on what you have on hand. It is entirely flexible, but here’s where I start (and by all means, use organic wherever possible):
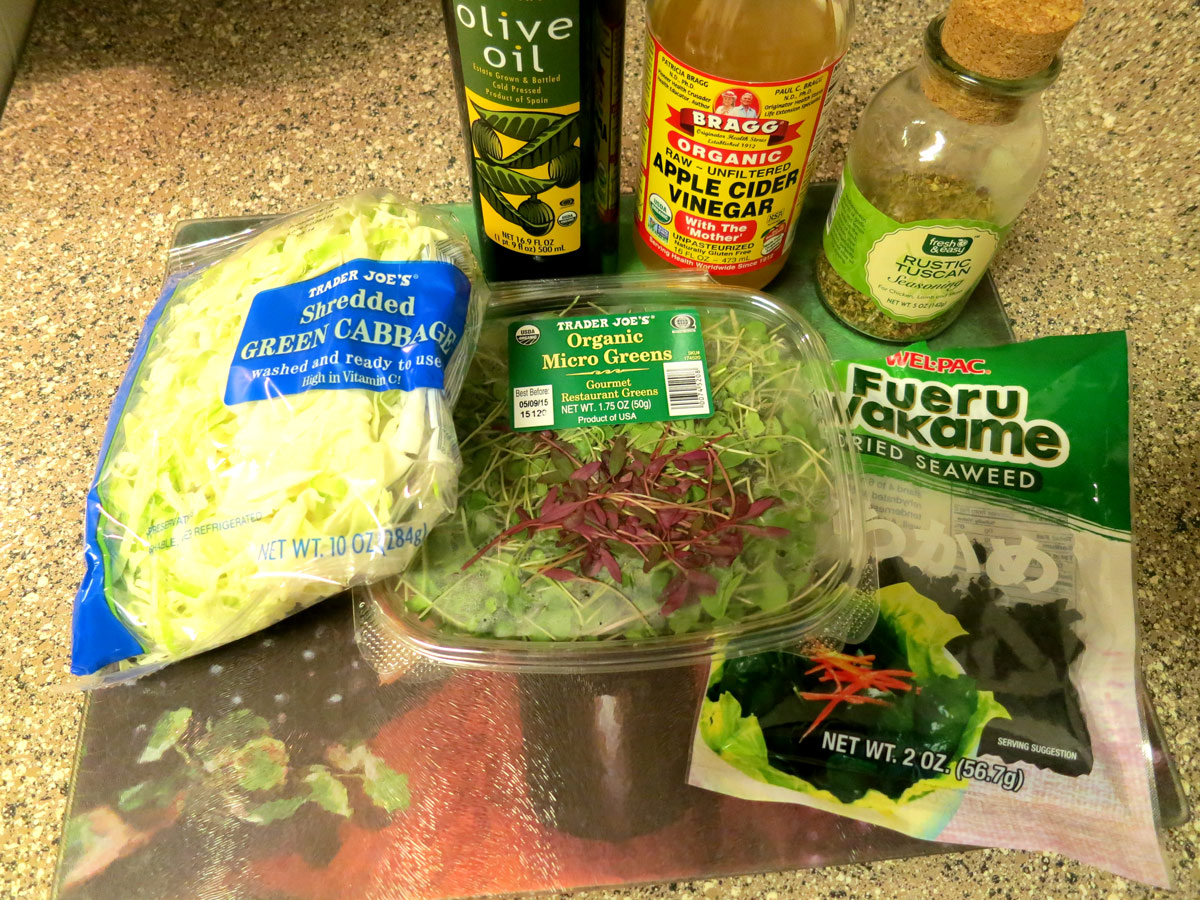
- Greens and/or Veggies of Your Favorite Kind (Shredded Cabbage, Shredded Kale, Trader Joe’s Broccoli Slaw, Mixed Salad Greens, MicroGreens…the choices are endless)
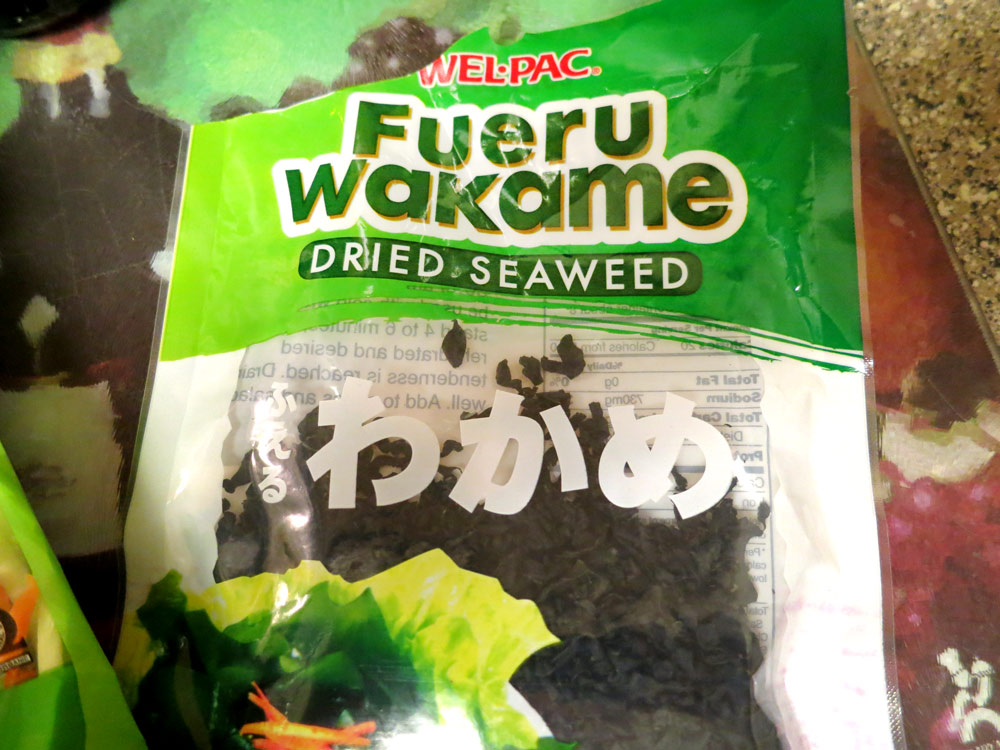
- Dried Seaweed (Your Choice – I’ve used Wakame and Mixed)
- Olive Oil
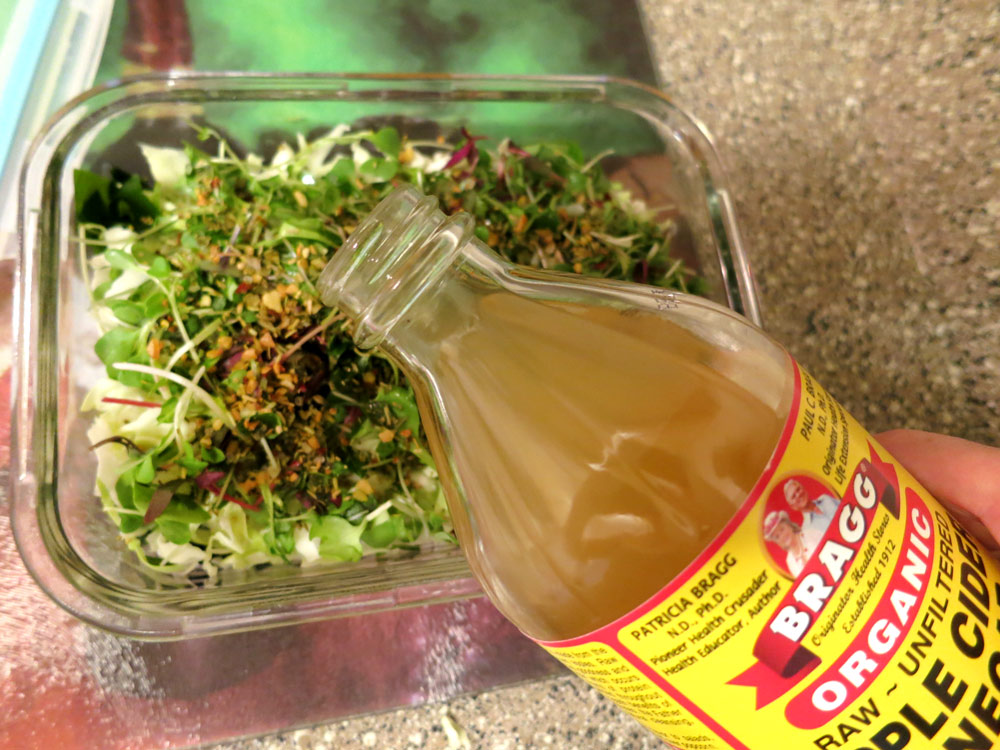
- Vinegar (I use Apple Cider Vinegar)
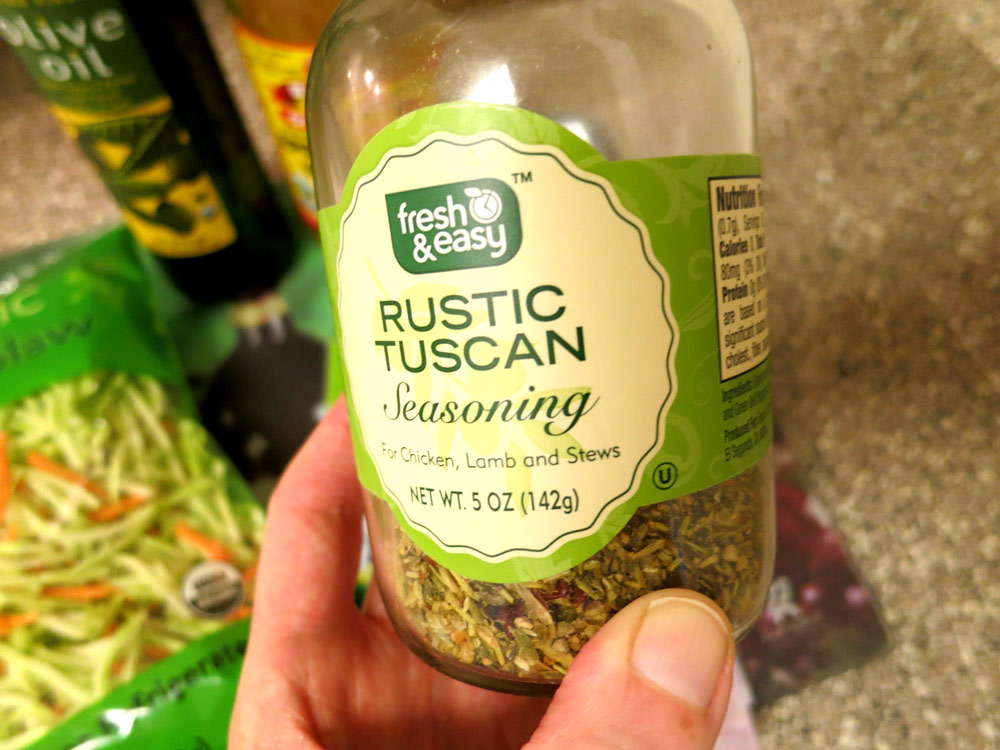
- Dried Spice Mix (Again, Your Choice – Right now, I’m using Fresh & Easy’s Rustic Tuscan, but why not Herbs de Provence or the like?)
You’ll also want to have on hand:
- 3-Cup (or 715 ml) glass storage container with snug-fitting plastic lid
- Water (Spring is best – enough to rinse veggies as necessary)
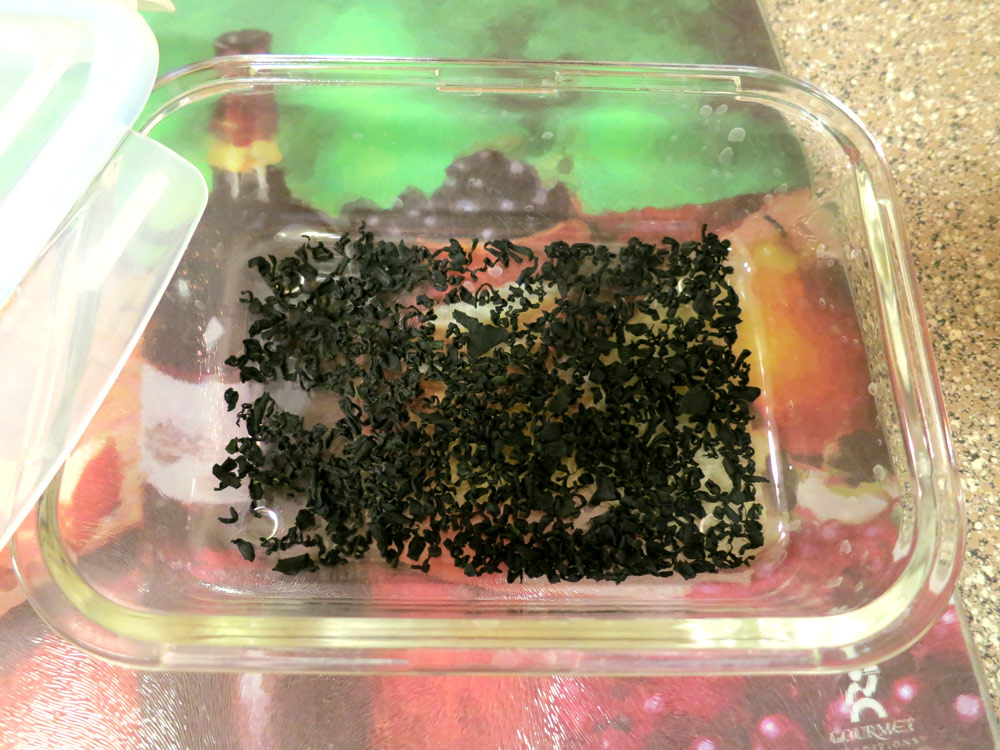
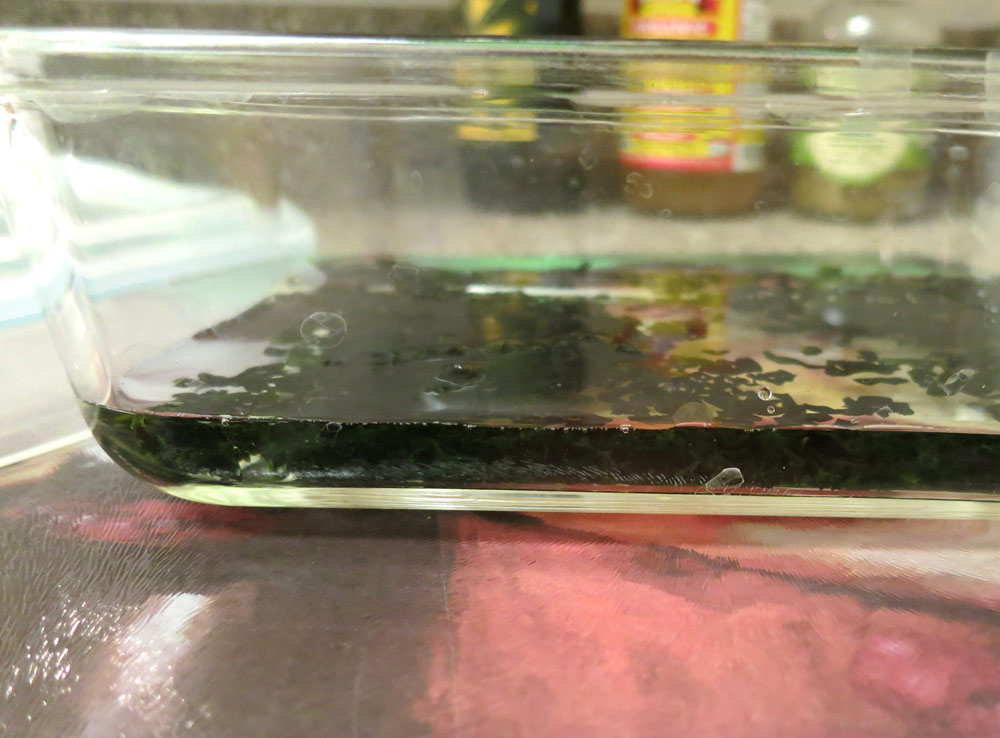
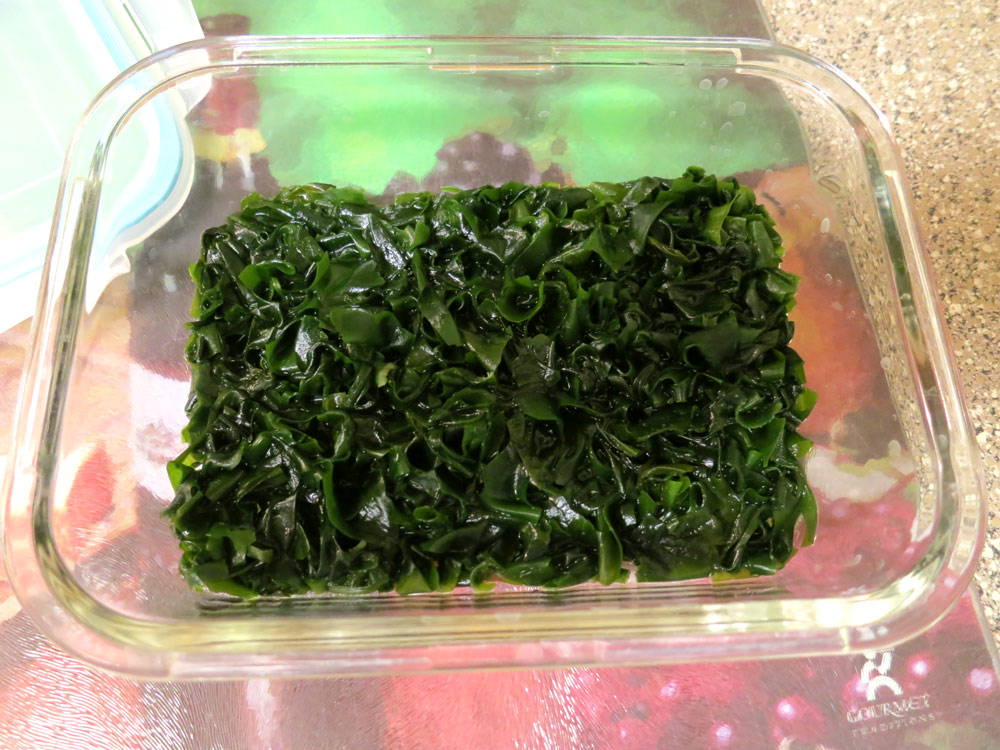
Pour your dried seaweed of whatever type into your glass storage container, just enough to cover the bottom, as in the middle thumbnail shot, above. Next, add about 1/2 – 3/4 inch of spring water. You’ll see the seaweed start to rehydrate, which is cool to watch. Cover loosely with the container’s lid and give it 20-30 minutes to totally rehydrate, stirring it around midway just a bit to distribute the water evenly and make sure there are no dried holdouts. It should look like this:
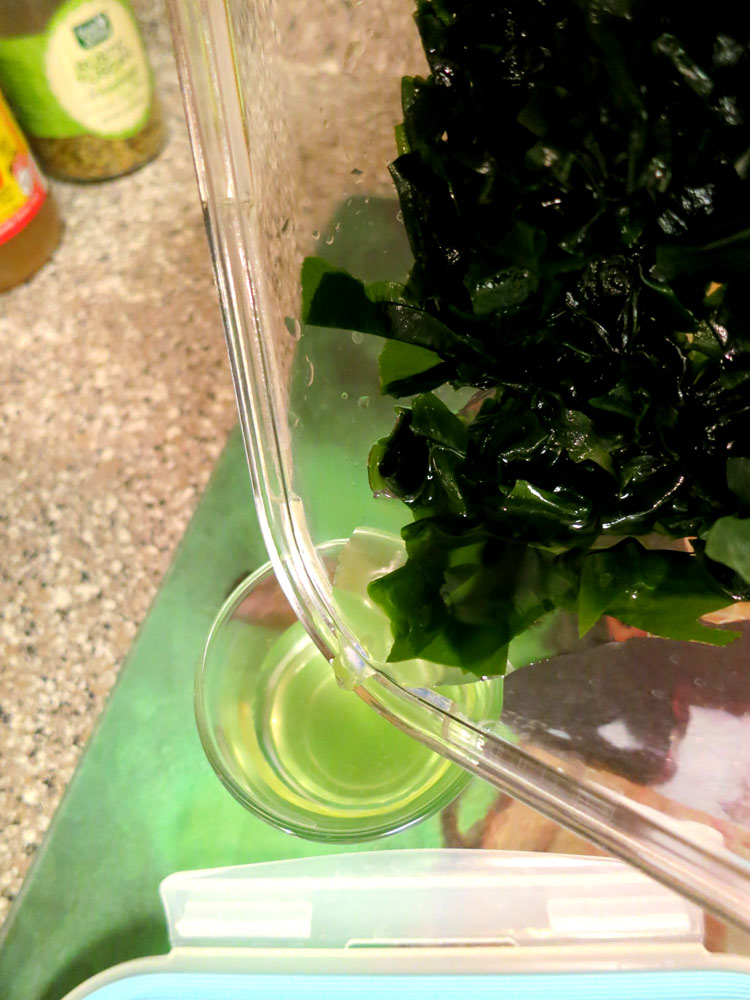
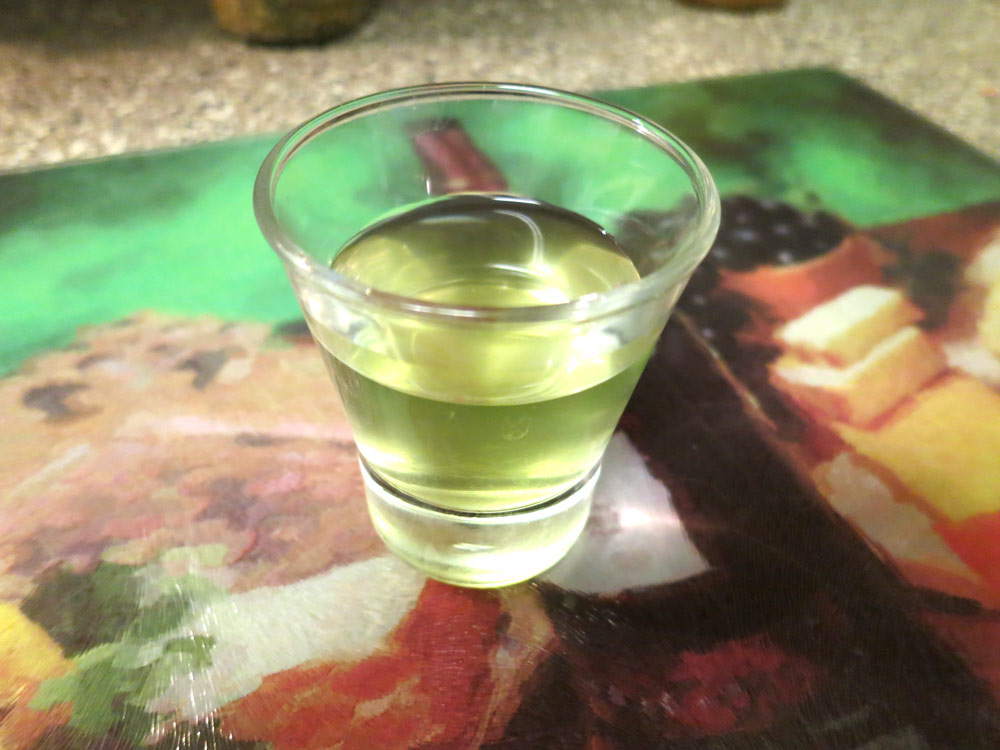
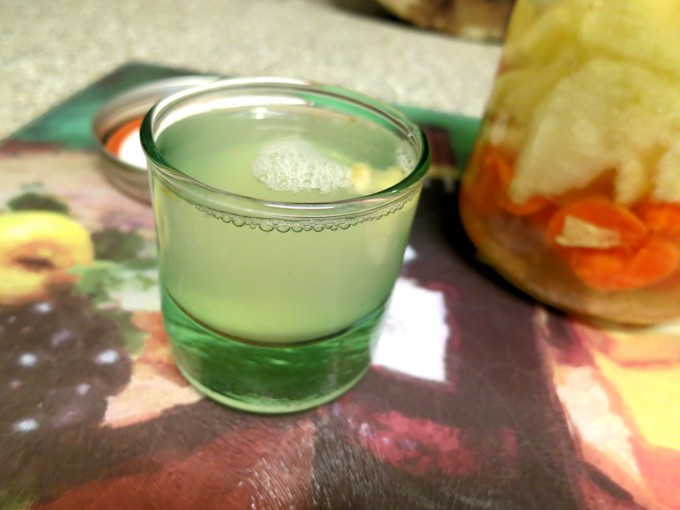
If there’s any excess water, drain it off into a shot glass and drink up – it’s got plenty of minerals, so don’t let ’em go to waste:
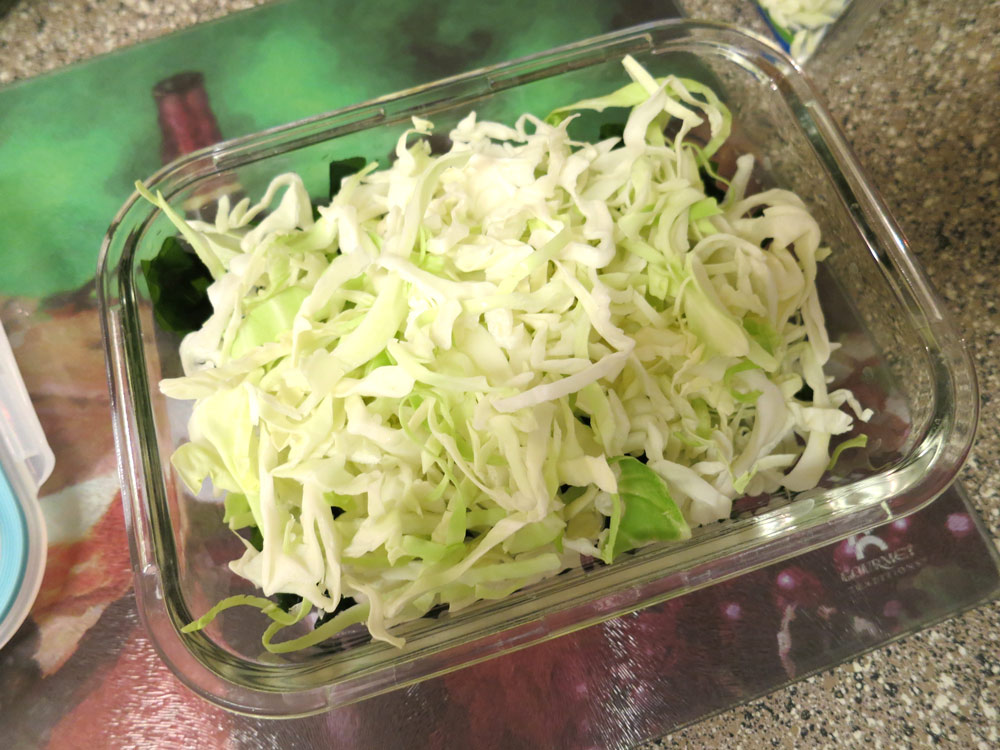
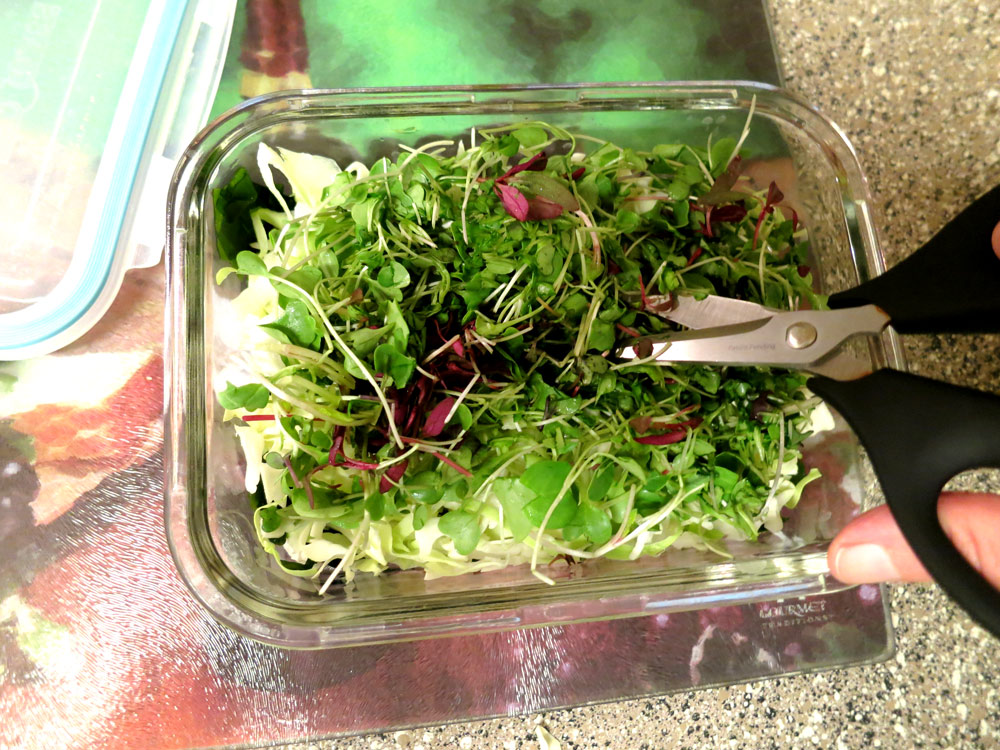
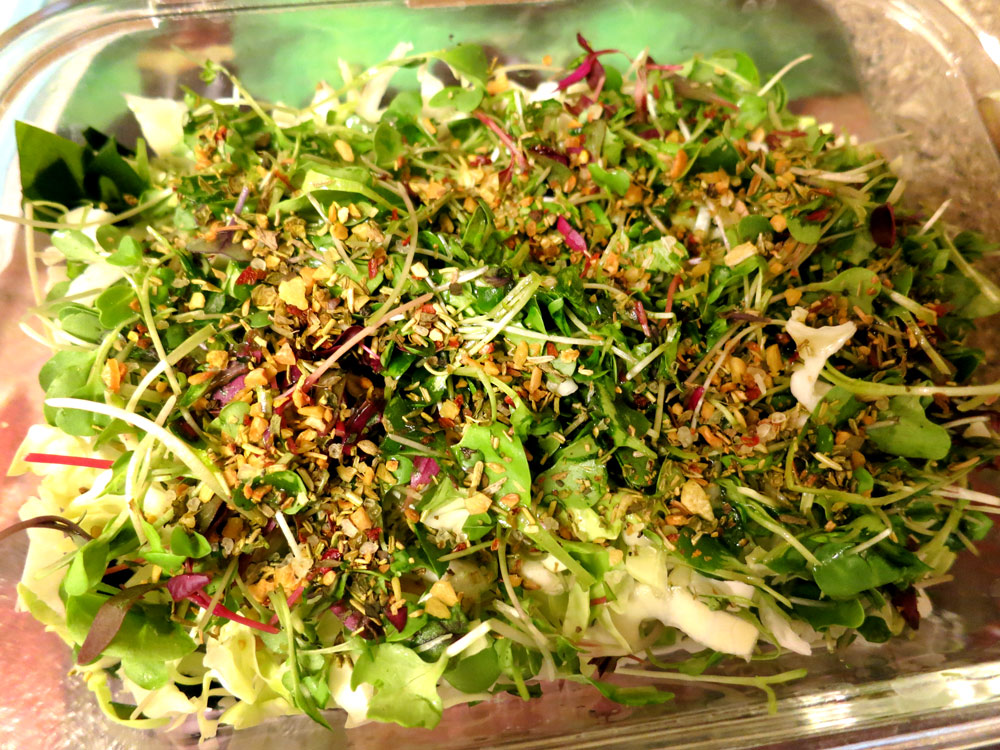
Now you’ll add your greens and/or veggies – if you buy them pre-packaged, it’ll save you loads of time, if you chop ’em yourself, just eyeball the amount you’ll need. I add enough cabbage to fill the container so it’s slightly heaping:
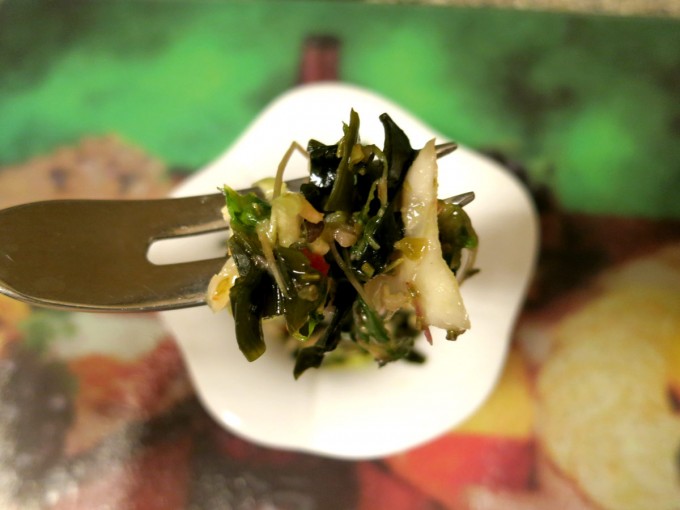
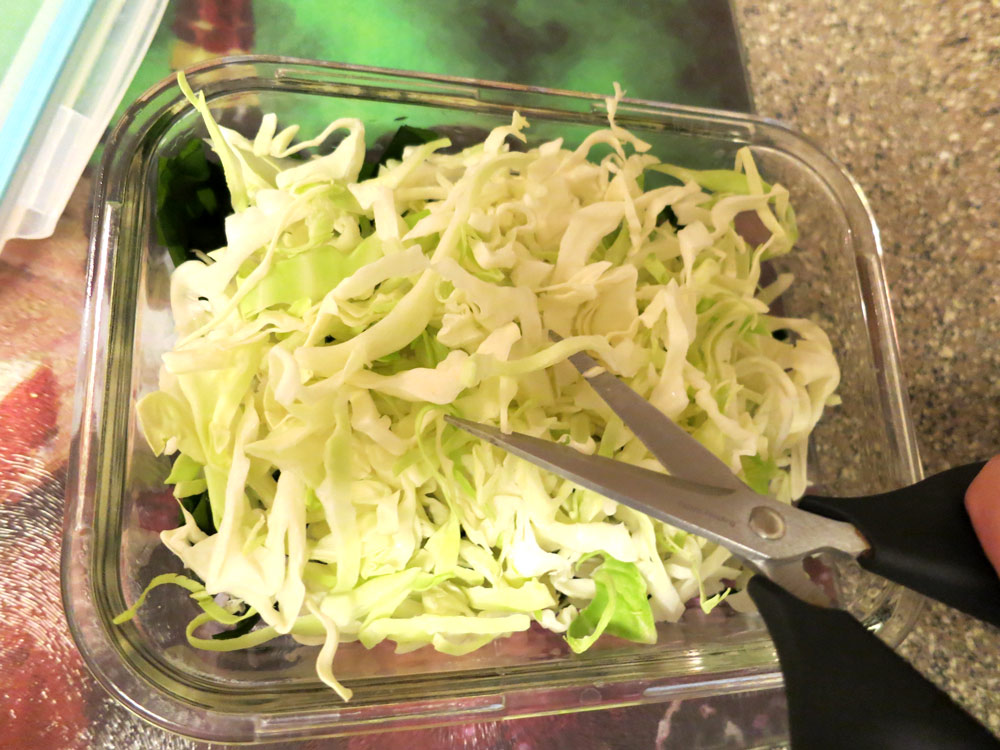
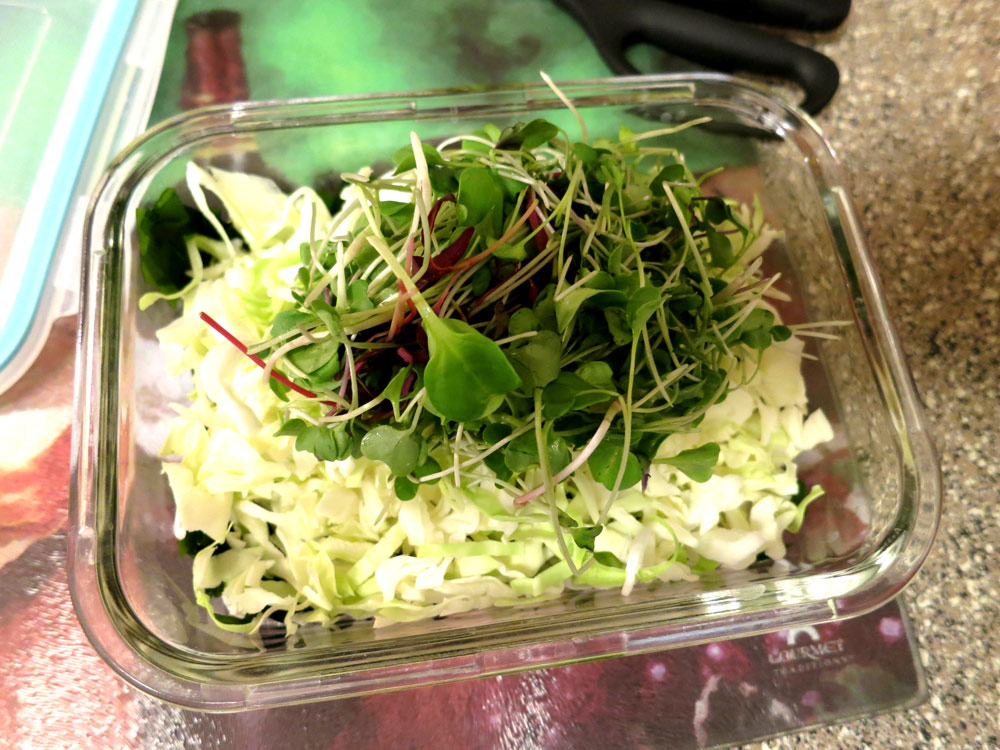
Don’t worry about everything fitting – the next step, you’ll use a pair of kitchen shears (or a very clean pair of office scissors) to “scissor” the cabbage so it starts to reduce in volume – and look more like confetti. I also rinse and add a healthy fistful of mixed salad or microgreens and scissor them a bit as well to de-vol:
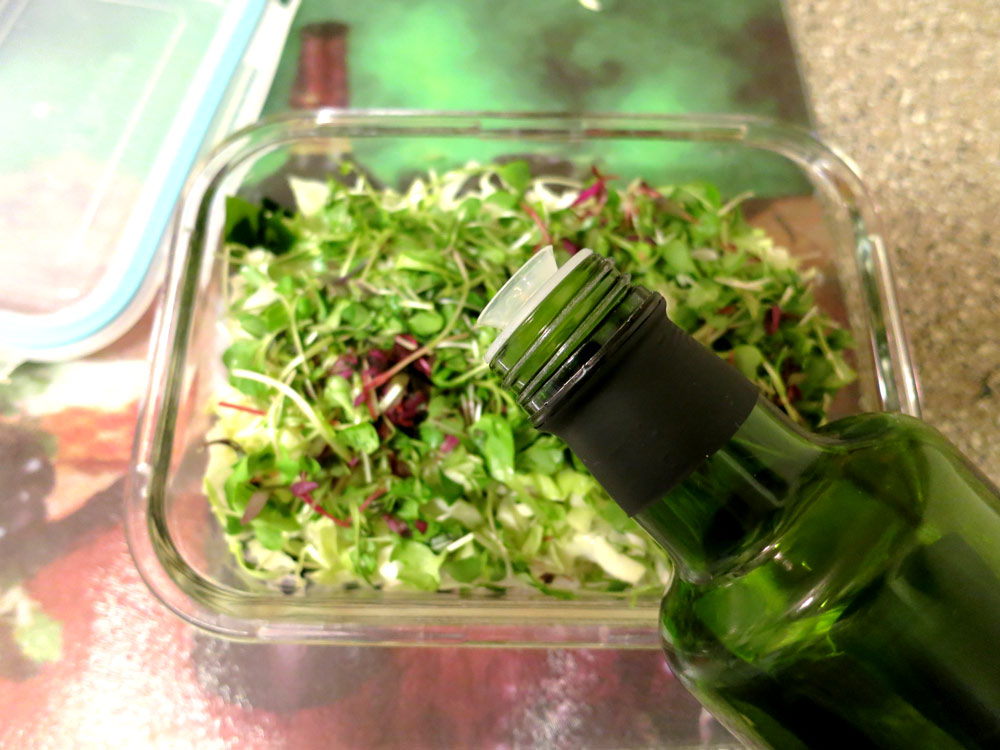
You’ll start noticing how the salad is becoming more dense after adding and scissoring. This creates the best conditions for spicing and marinading. To start, drizzle some olive oil over your scissored veggie-rehydrated seaweed mix:
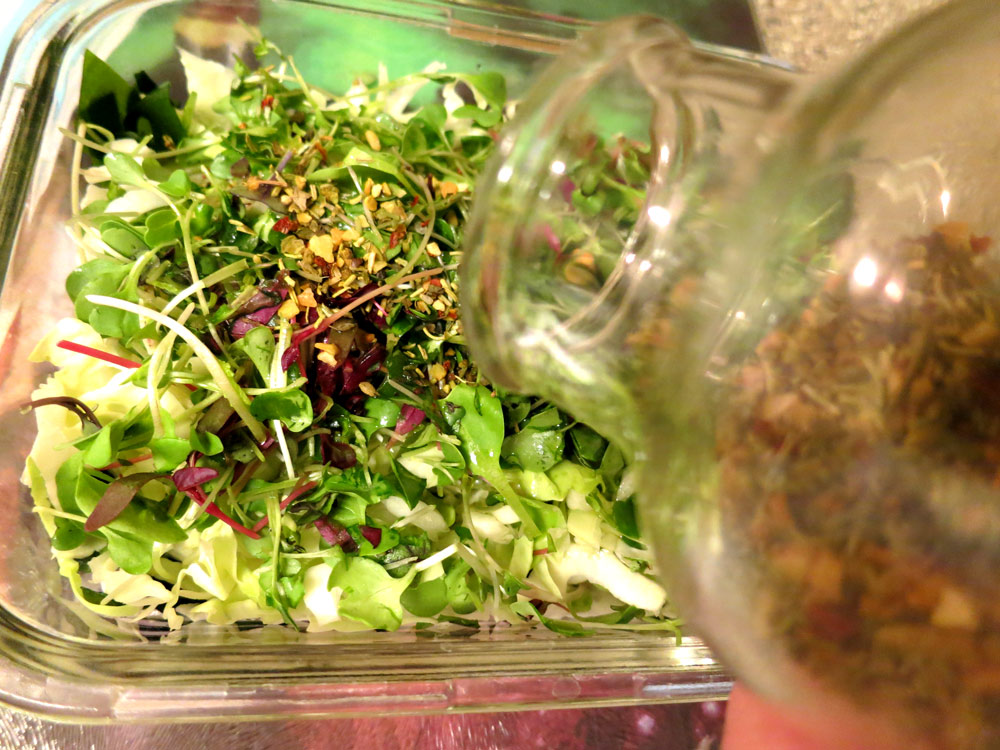
At this point, I’ll show you the spices I like to use at the moment – Fresh & Easy’s Rustic Tuscan, which has a selection of dried Italian herbs, vegetables and sea salt that makes this salad a winner. Pour enough on to give the top a nice coating, for flavor’s sake:
To finish out the marinade, drizzle vinegar over the whole thing. How much olive oil, spices and vinegar do I use? Approximately just under one tablespoon of olive oil, around the same for spices and slightly more for vinegar. It’s pretty scant, but these ingredients are the ones I’d categorize as “add to taste” – so start small, and if you don’t think there’s enough flavor, add a little more vinegar and/or spices later on.
Finally, gently and ever so slightly stir around your salad, just enough that the dried herbs and spices get mixed up in the oil and vinegar – they’ll need time to reconstitute, longer than the seaweed.
Once your mix is slightly stirred, secure the lid onto the container and place the whole container into the fridge for a few hours. At that time, take it out, stir it around so that everything is uniformly mixed together, then place it back into the fridge for another hour or two.
In just a few hours, the marinade will work its wonders and you’ll have a healthy salad to eat for days. And it can be extended or stretched to save you time and money – if you have extra chopped veggies or greens – or any old veggies that need using – you can add them and just a little more vinegar, oil and spices, stir them around, and you have salad for another couple of days.
Enjoy!
Yours in Great Health,
Alison
This past weekend, I came across a blog post that I’ll say is easily one of the best articles I’ve ever read on the abortion issue.
The author, one Libby Anne, completely takes apart the sham that is misappropriately misnamed the “pro-life” movement, and does so with the deft that only one who came from that very movement can.
My take has always been based on the US Constitution – not to mention the environmental impact of unchecked human population growth – where Amendments 13 and 14 provide the strongest arguments (for me, it is not privacy, as there is no such thing as privacy anymore in the United States, witness Snowden’s expose).
Amendment 13 outlaws involuntary servitude, otherwise known as slavery. Placing all pregnant women in a state of involuntary servitude is not only in violation of said Amendment, it also creates an undue burden of carrying and birthing a child unwillingly in a country adverted strongly as “free.” It is either free for everyone, including pregnant women, or it is not at all.
Amendment 14 defines US citizenship as bestowed on those “born or naturalized” in the US; note that it does NOT state “conceived.”
I challenge any legislature to mandate a documentation of the date of conception for every living being in their jurisdiction. Perhaps the mess of expense and regulation in doing that will finally see a tax code that includes taxing churches for the privilege of all the politicking they engage in, including instructing their flocks who to vote for.
As well, I’d love to see a checkbox on every tax form asking if the filer considers himself or herself to be “pro-life.” They could check the box and in doing so, agree to be taxed at a higher rate so that services can be provided such that no woman ever has to choose abortion…at least for economic reasons. In a perfect world, this would already be the case, but if a supposedly all-powerful “god” really wanted to stop abortion, I kinda think he/she/it would have done so already.
And that is the best proof that we should stick to running the country in a fiscally responsible manner, not policing people’s bedrooms. I, for one, would love to see a full accounting of how much money has been spent on anti-abortion legislation and related activities since Roe v. Wade. I’m sure that money would be better spent on preventing abortion through things like free access to birth control and comprehensive sex education, instead of restriction and denial, which only results in more unplanned pregnancies, and thus more abortions.
That’s precisely the point Libby Anne makes, and she does so with blunt, unabashed thoughtfulness, taking a fearless, fact-based inventory in an almost confessional manner that someone seeking the path toward reason would do.
I’ve noted that no matter the health issue, whether it is abortion or cancer or even experimental back surgery, it seems there is always an anti-choice agenda behind it. With cancer, I see alternative and natural cures suppressed in the name of an industrialized medical complex hellbent on collecting money from pharma drugs, and same goes for the abortion option, where those blocking access to it are creating conditions where more and more expensive, unnecessarily taxpayer-burdening social services and infrastructure will be needed to handle unplanned pregnancies that could have easily been prevented. In an era where taxpayers are (ridiculously) funding Catholic hospital chains, this should come as no surprise. In the end it all boils down to two things: control and the flow of money.
Seeing as pregnancy can be as deadly and debilitating as cancer, it is with much pleasure that I share this article. As someone who has battled for my health and to make my own choices about how I treat cancer over the long term – even to the point of crossing international borders to exercise said freedom of choice. Until there is real freedom of choice in the US of A, so heavily adverted as “free,” I will continue my treks elsewhere and spend my money where my individual liberties as regards healthcare options are truly honored.
I hope Libby Anne’s excellent article gives you as much food for thought as it did me.
Yours in Great Health,
Alison
For years, I’d spent considerable money on probiotic supplements, some of them $50 a small bottle (or more). After that, I made water kefir using grains and a kit I’d bought on eBay, which was an interesting experiment in learning how to make yummy freeze-dried strawberry soda. Much cheaper, but it was altogether way too high in sugar.
Flash forward to two months ago when I got a hint from a friend in the know that I could just use some fruit, honey and sea salt to make a fine probiotic drink with a better carb profile…without babysitting any grains or the like. He used some apples, berries and a little bit of honey sans the sea salt for his version, which was where I started. Experimenting some more, I decided to use a time-tested formula that many cancer survivors (and thrivers) I know use for juicing: apples, carrots and ginger root. Except I would ferment them instead of juicing them.
I ended up with a great recipe containing live probiotics that is not only healthful and quite tasty, but produces zero waste in the bargain. Big on taste, zero waste.
Onward. Please gather the following items…and use organic where possible:
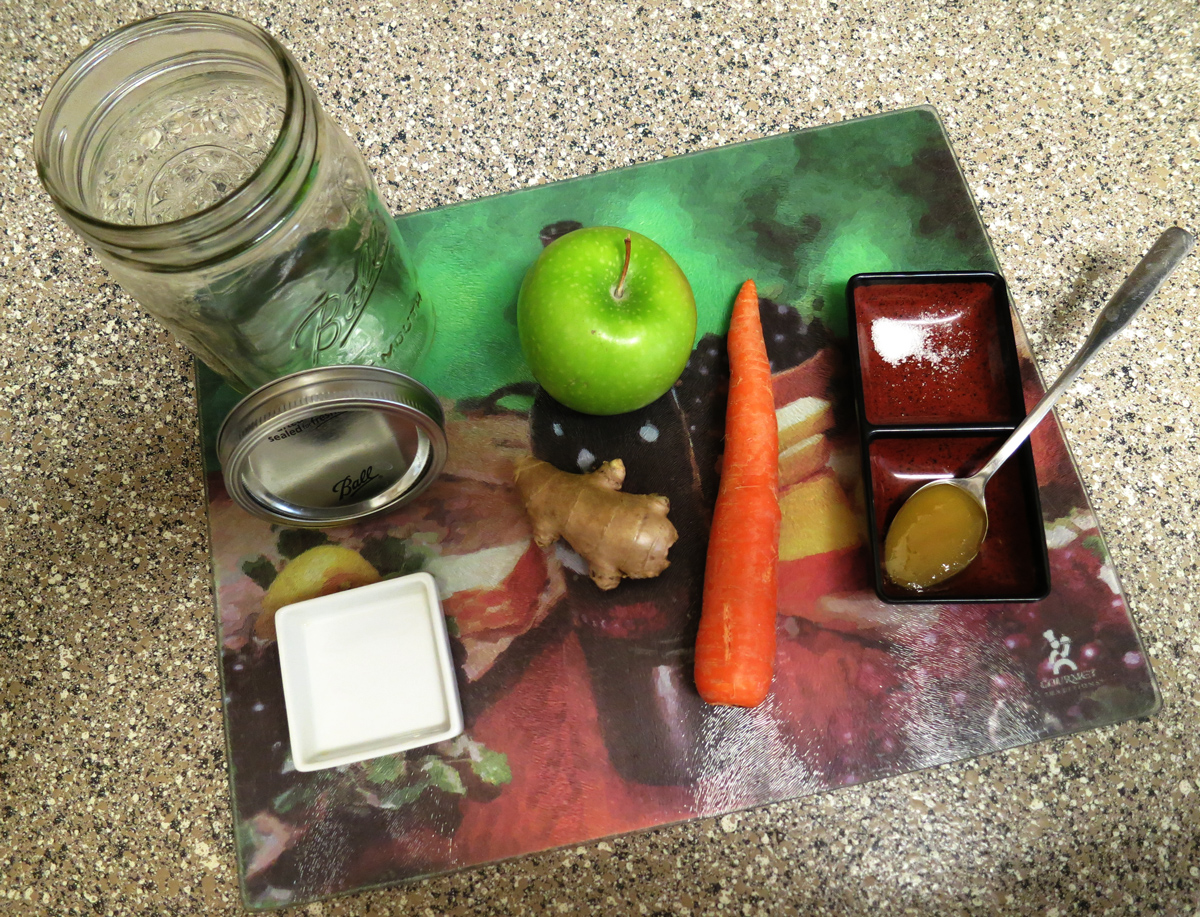
- Green Apple
- Mid-sized Carrot
- About 4 cm of Ginger Root (thick, thin, less or more to your taste)
- Heaping Teaspoon of Honey (I use a long teaspoon like the ones I use to stir my iced tea, not a measuring spoon – see pic above)
- 2 – 3 Hearty Pinches of Sea Salt
You will also want to have on hand:
- Small Ceramic (a small ceramic is good – I use a cheesecake ceramic dish borrowed from the Bellagio)
- Wide Mouth Quart or Liter-sized Mason Jar
- Water (Spring is best – enough to nearly fill the Mason Jar)
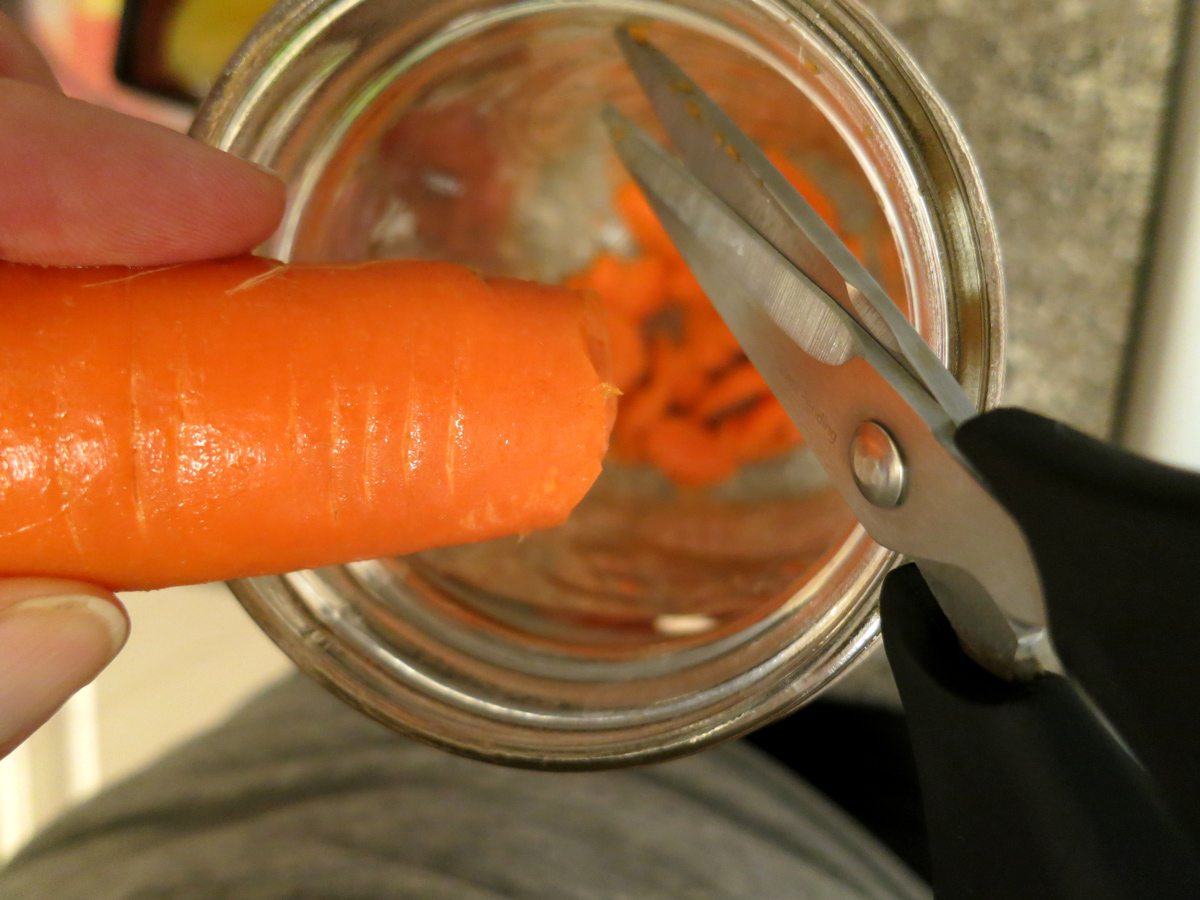
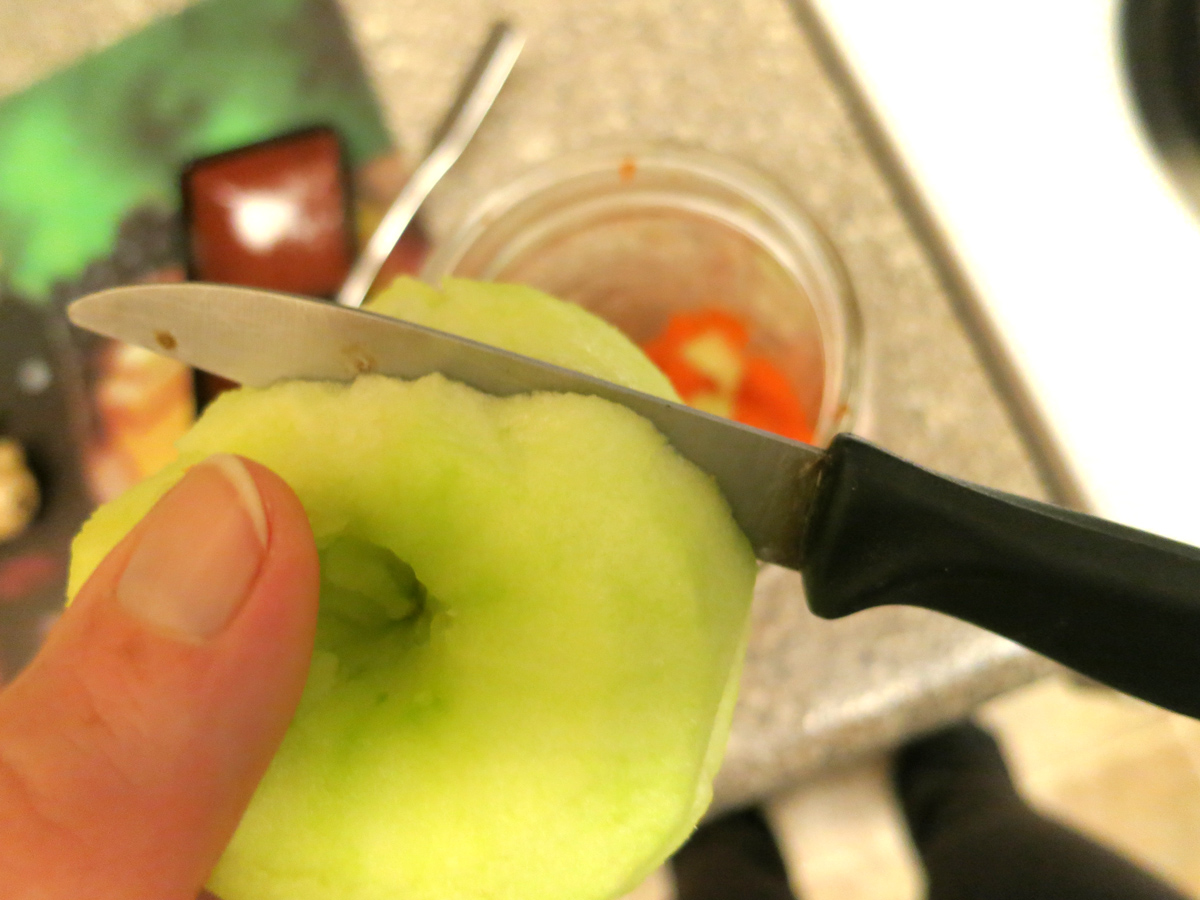
Rinse the apple and carrot with spring water, brushing lightly and briefly with a veggie brush or a clean scrubbie…don’t overdo it as you want to preserve the soil-based microorganisms that are so beneficial. Slice your carrot into thin slices with knife or kitchen shears into the Mason jar. Eat or compost the ends. Follow with slicing the apple, peel it if you wish and save the peel for either eating or composting…same with the core. The seeds are full of natural, cancer-fighting laetrile and should be eaten with the core while making this drink 🙂

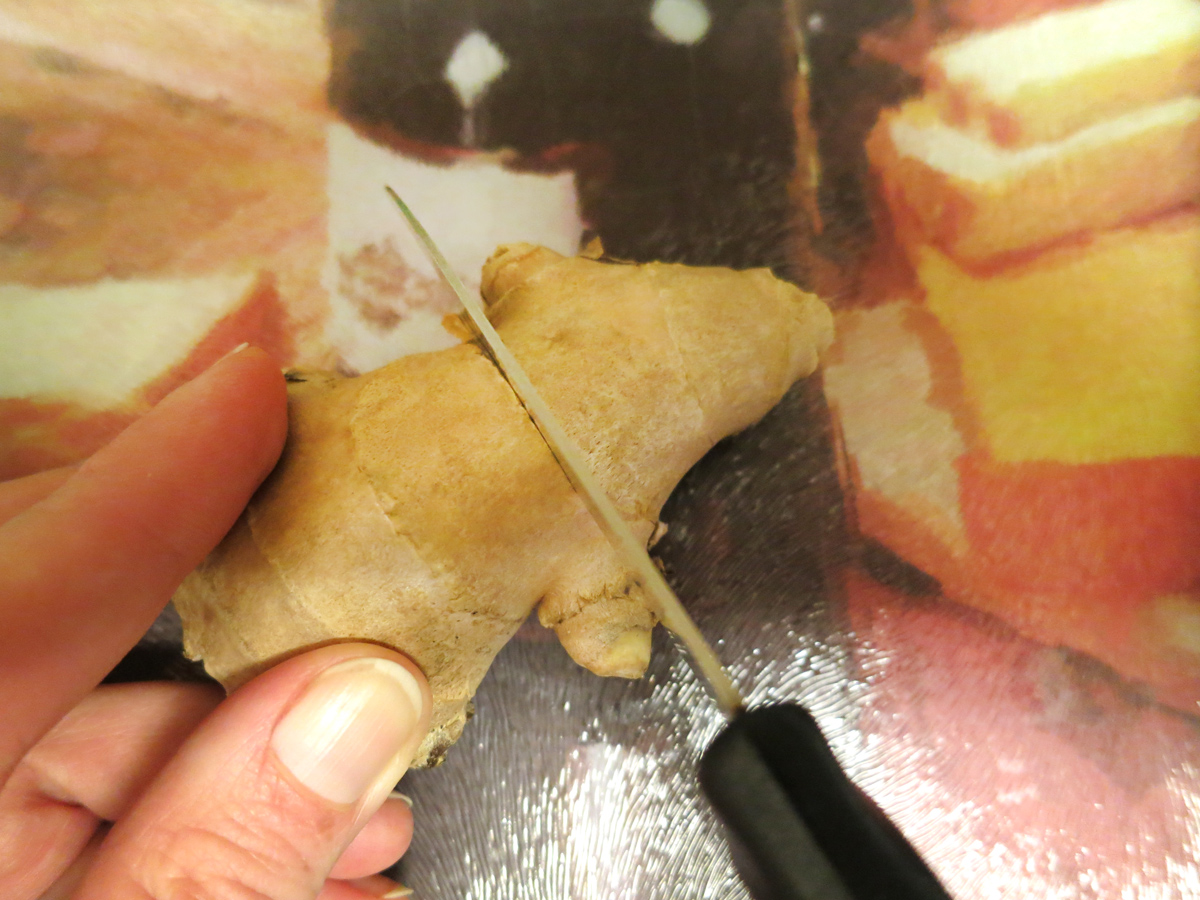
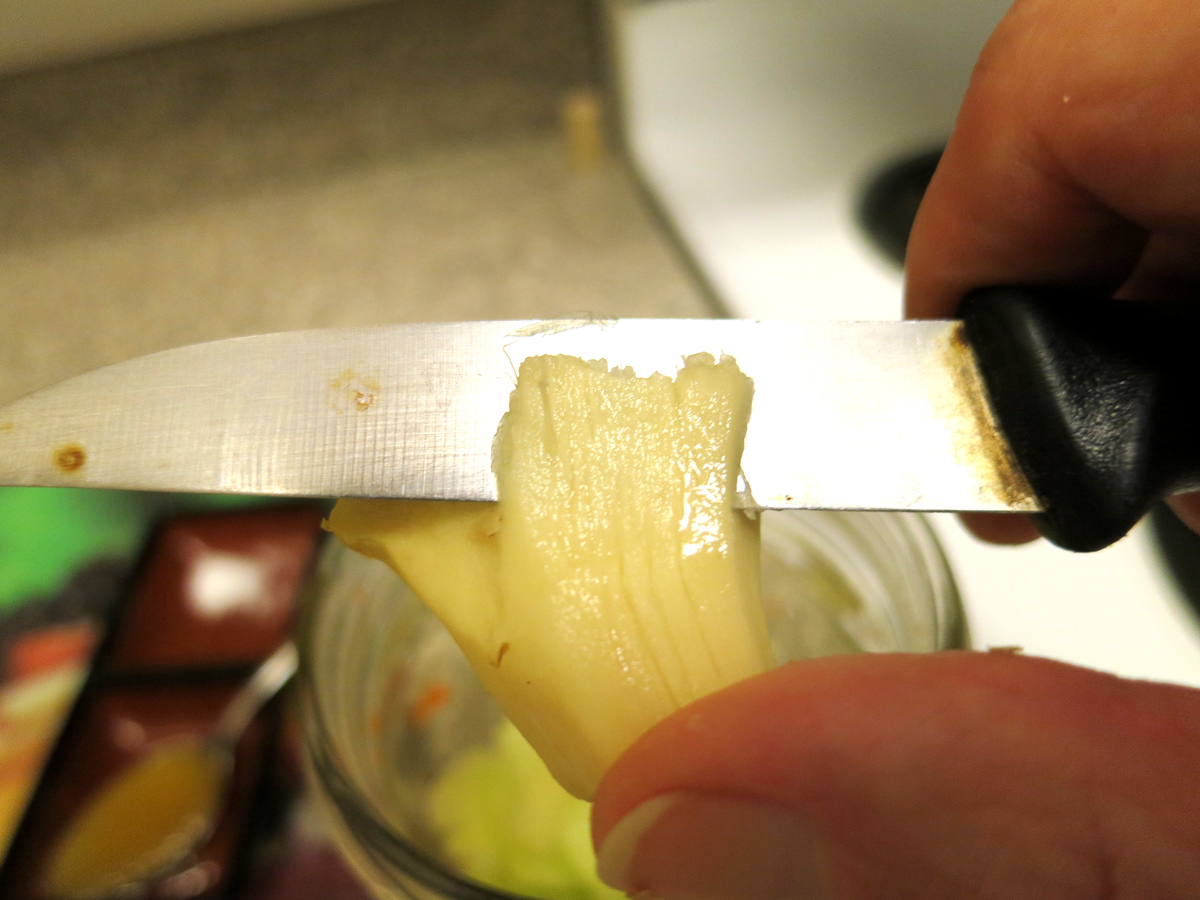
Next, lightly peel and slice your ginger. As with the carrot and apple, the thinner you slice it means more surface area for the good critters to grow on. Follow by adding enough spring water to come up about an inch – 2.5 cm – below the jar’s top lid.
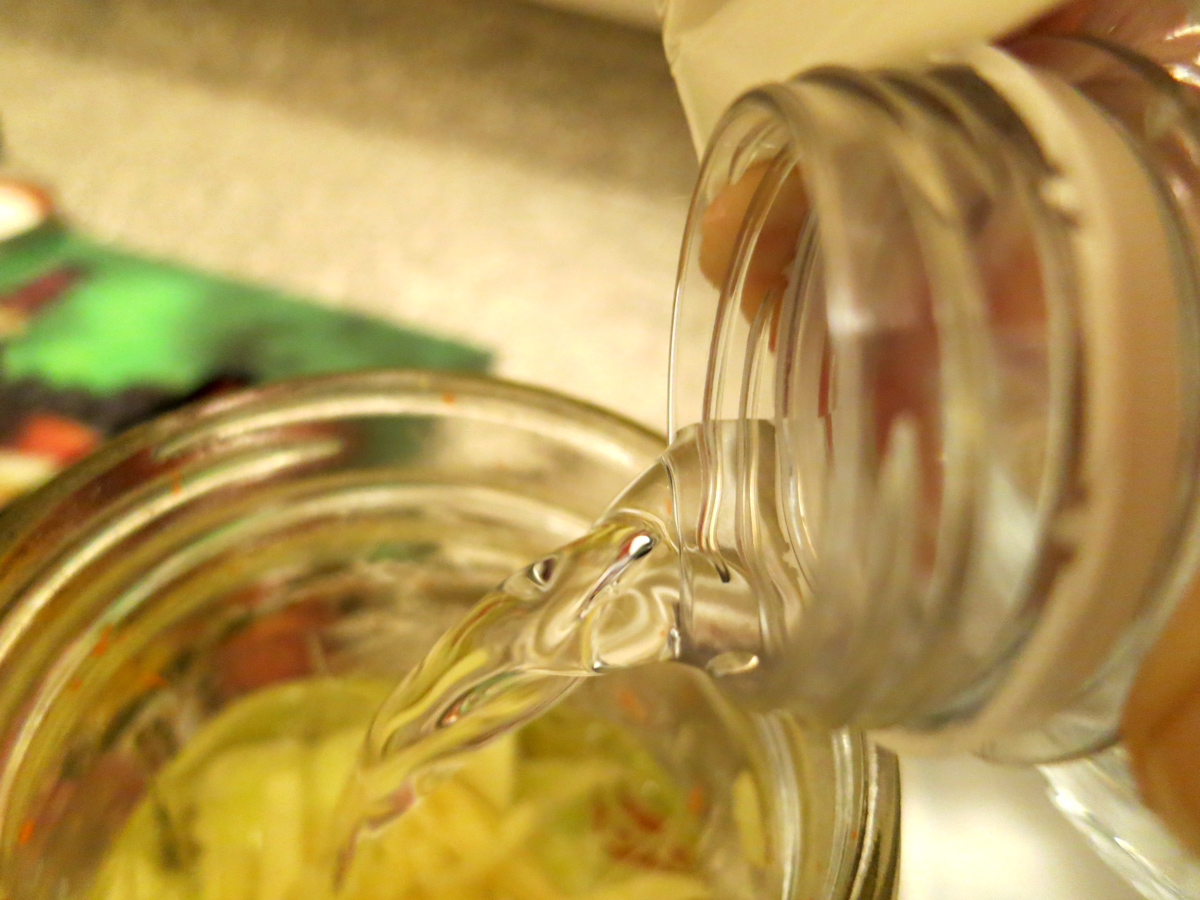
Now, add the honey and pinches of sea salt. Stir until all the honey is dissolved using the long teaspoon. This will take a few minutes, and will get all the ingredients mixing together nicely for the fermentation. The honey and salt may seem counter-intuitive, but these are essential for minimizing any bad critters that might try to grow into your mix.
You’ll notice the apples will float, so the next step is to place your ceramic carefully into the jar such that it keeps all the fruit and veggies down. Use the long teaspoon for this as well.
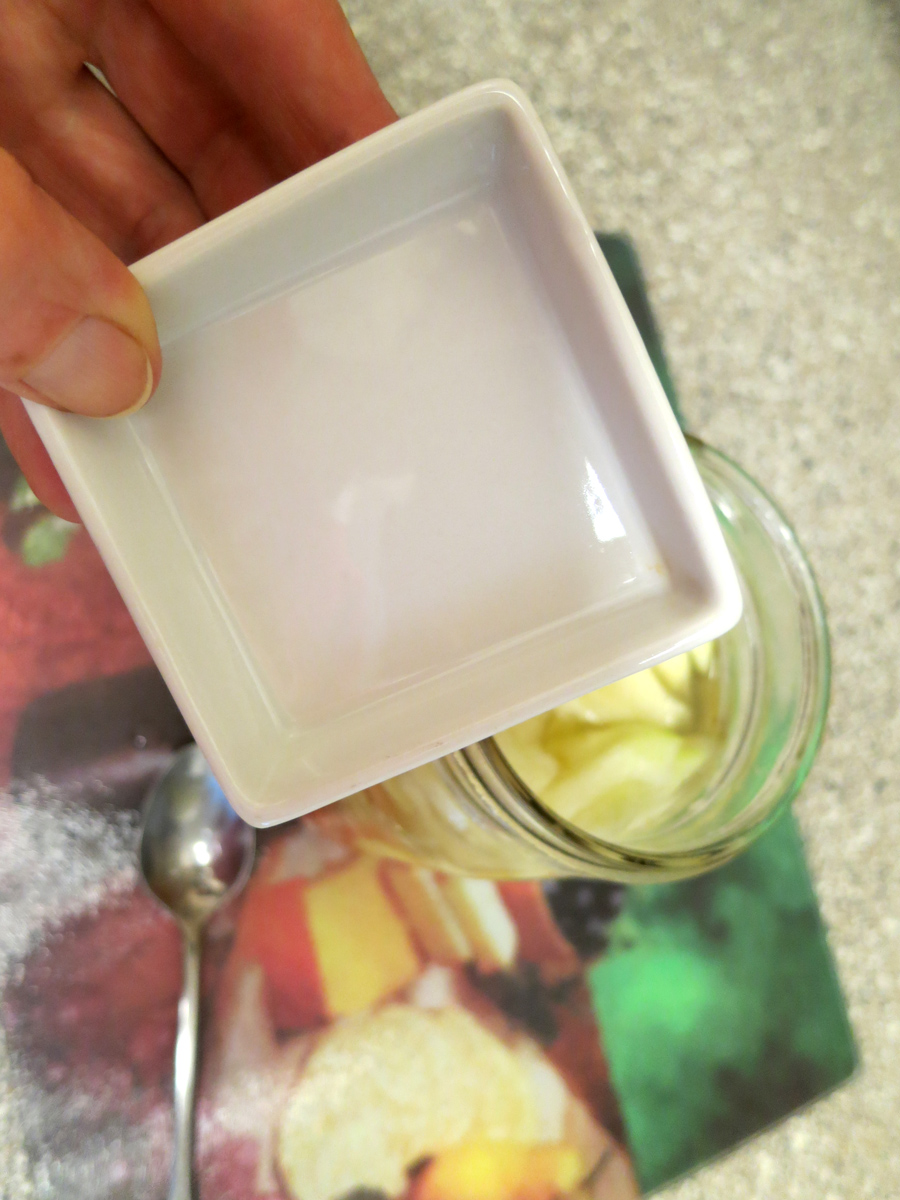
If the water level comes to about 1 – 1.5 cm – or about half an inch – below the jar’s top lid, you’re golden. Seal it up! If it’s not quite there, add a little water. If it’s too close to the lid, spoon off a couple spoonfuls into a shot glass and drink up.
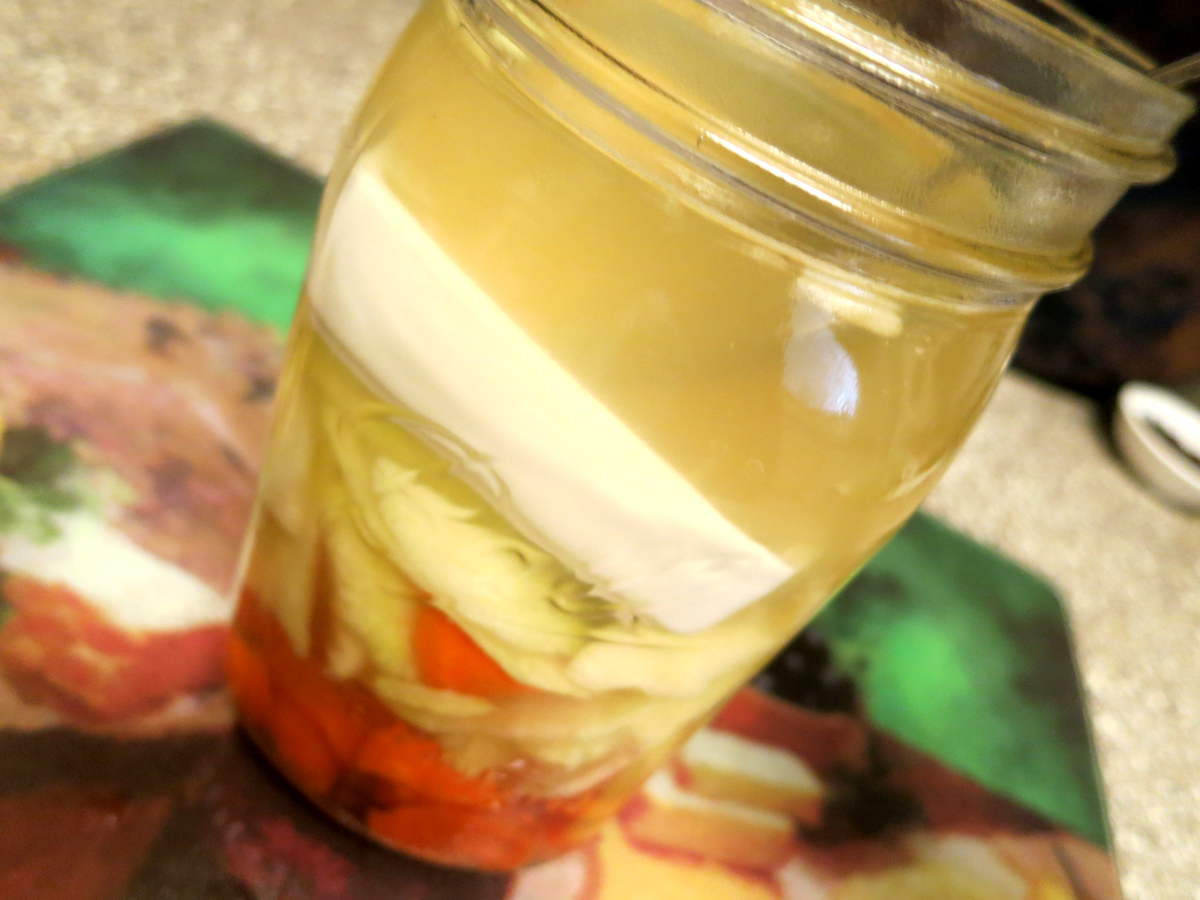
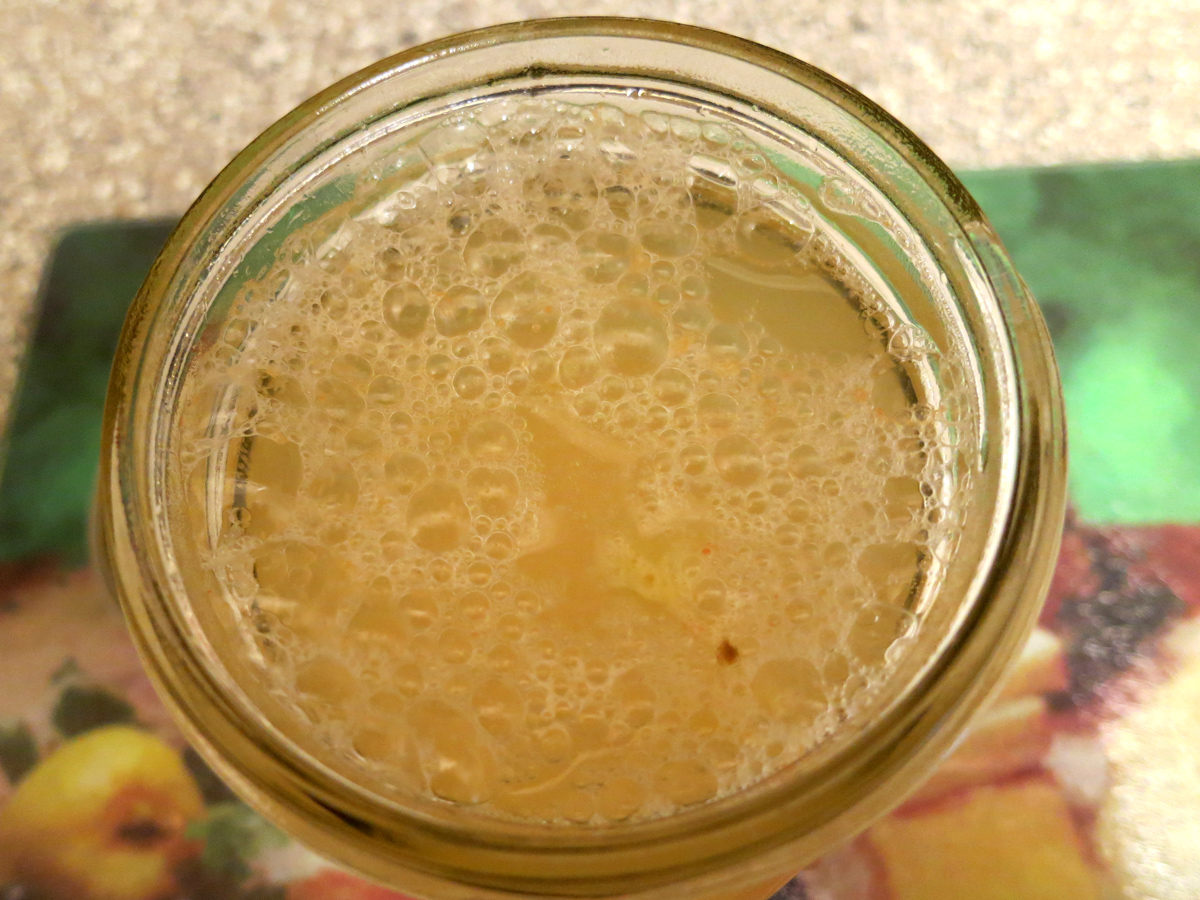
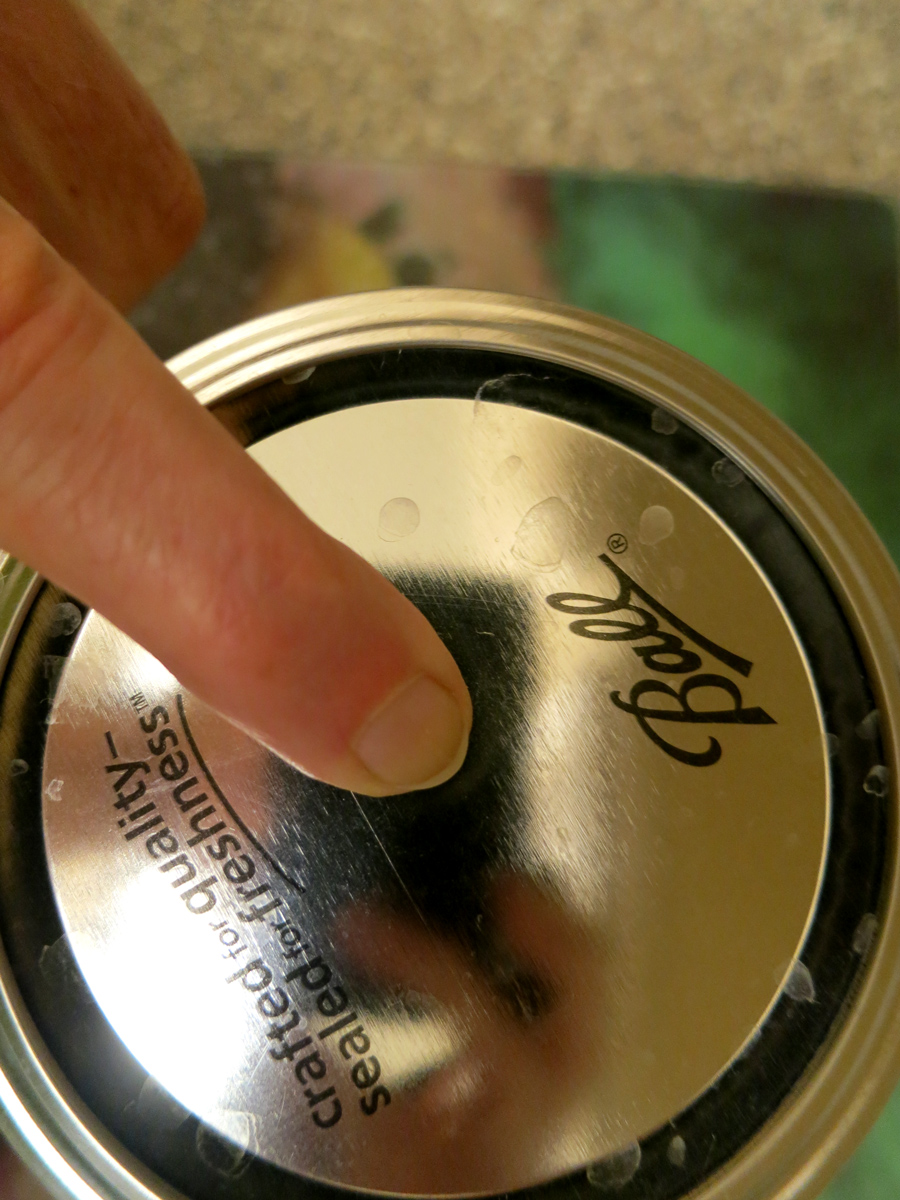 Let the mixture sit for 2-3 days before tasting. You should see small bubbles start to form, and when the lid cannot be pressed down, it is a good sign that you’ve got a good fermentation going. Letting the mixture ferment for 3 days is good before taking the first drinks, and I keep my shot glass nearby for the purpose. Smell the mix, if it smells warm and mildly sweet, you’re doing great. The Day 3 mix tastes mostly mellow and sweet, maybe a little tang, and just a little bite-y or fizzy. The longer you ferment, the more the sourness of the flavor grows…and I’ll point out here that it is good to smell the mix to make sure it hasn’t gone “off” – truth be told, I’ve never had a bad mix, but use common sense, pretty please.
I find that Day 4 produces the flavor and the amount of fizz (quite a bit!) in the drink that I like most, so I take the most shots on this day…and yes, I’ve even had “die-off” or Herxheimers on occasion – this stuff does the job. After Day 4, I either let it sit out one more day and drink a more sour version, or I put in in the fridge on Day 4 to slow down the fermentation, though this reduces the fizz to almost nothing. I try and use up everything, liquid, solids and all, by Day 5. That seems to be the optimal time frame for taste, etc.
I often add a small amount of stevia to my shot glass with the probiotic drink – delicious! It tastes like a fizzy, slightly soured version of ginger ale, the stevia adding just the right amount of sweetness to make a sweet-tart and healthful drink.
As you drink and the liquid level lowers, the remaining apple-carrot-ginger solids and liquid can be refrigerated for a kvass-style probiotic digestive (click the “+” button at the top right of this page to see that image) that makes a great and very healthful side dish to any meal. Just a spoonful or two is wonderful, and soon you’ll have consumed all the liquid and the solids, meaning zero waste for this one.
Enjoy!
Yours in Great Health,
Alison