
Tag : healthy
This is a quick, homemade hummus recipe that is easy and tastes out of this world, not to mention cheap as hell and nutritious to boot – all of which are why it is so sexy. I’ve made it for unsuspecting guests, for parties…and sometimes I just make up a whole batch and eat it in one or two sittings over a good read.
It has just four ingredients: canned garbanzos, a little olive oil, one clove garlic and half a large lemon (or a whole small one):
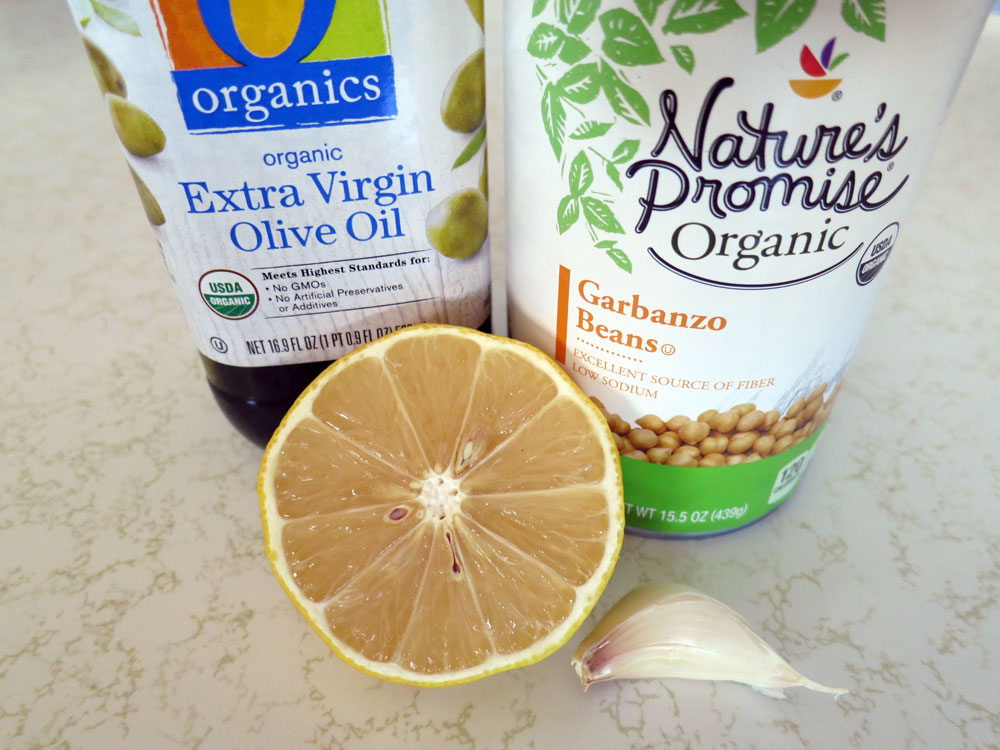
- 1 can organic garbanzos (15 oz or 425 ml)
- 1 tb or 15 ml olive oil
- 1/2 large or 1 whole small lemon
- 1-2 sections of garlic (to taste)
*Note that I’ve not included tahini – neither you nor your wallet will miss it.
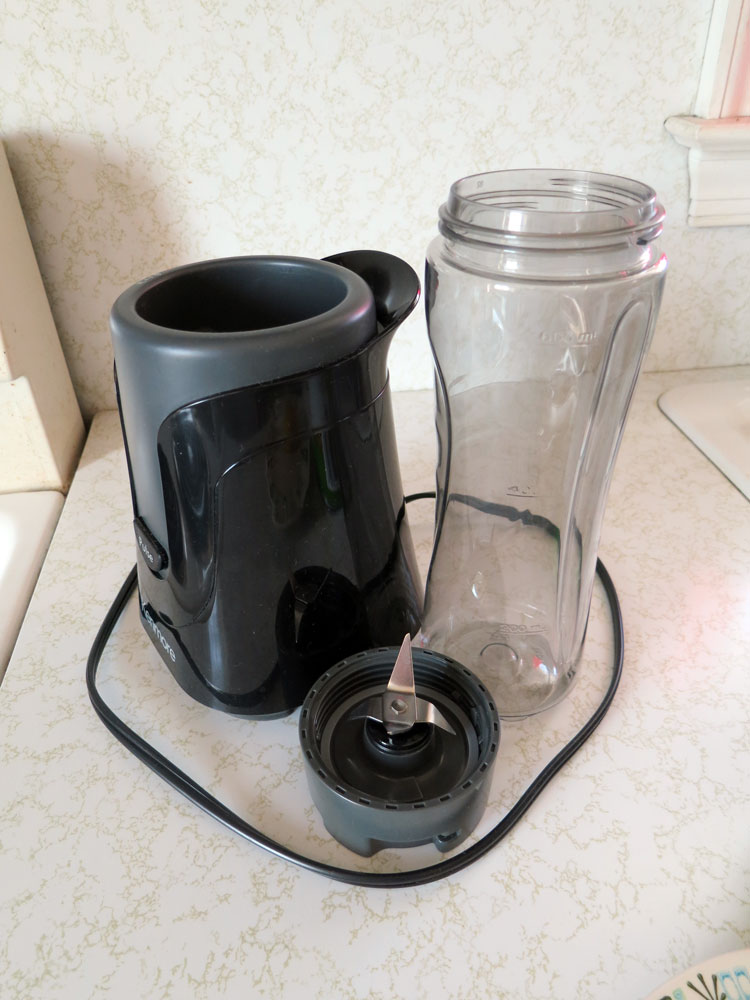
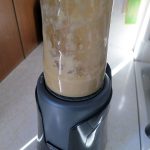
You’ll also need a blender or personal blender, such as the one I have…
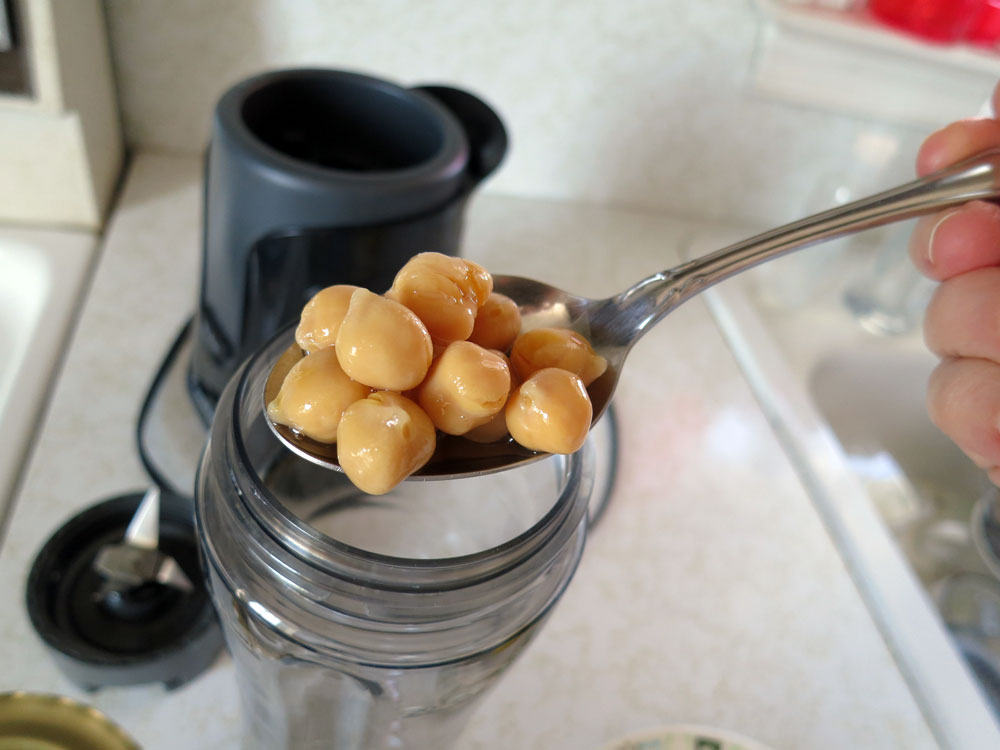
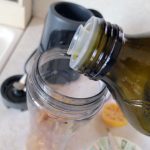
First, I spoon out the garbanzos into the blender and pour about 1/3 the liquid in with it. I also reserve 5 or 6 whole garbanzos as optional garnish for the finished hummus:
Next, squeeze the lemon into the blender:
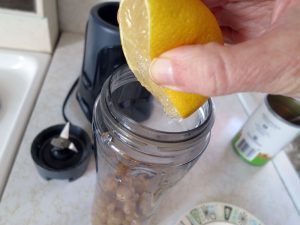 Once again, use about half of a large lemon (and note that mine had thin skin and lots of flesh to juice from) or a whole small one.
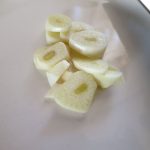
Then, slice up the garlic and add the olive oil (here, I’m eyeballing the olive oil, but if you’re looking for specifics, use a tablespoon, or 15 ml):
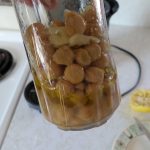
Now, swish or swirl the ingredients just a bit before blending. Place your blender’s cover on and blend using pulses until you get a uniform consistency…
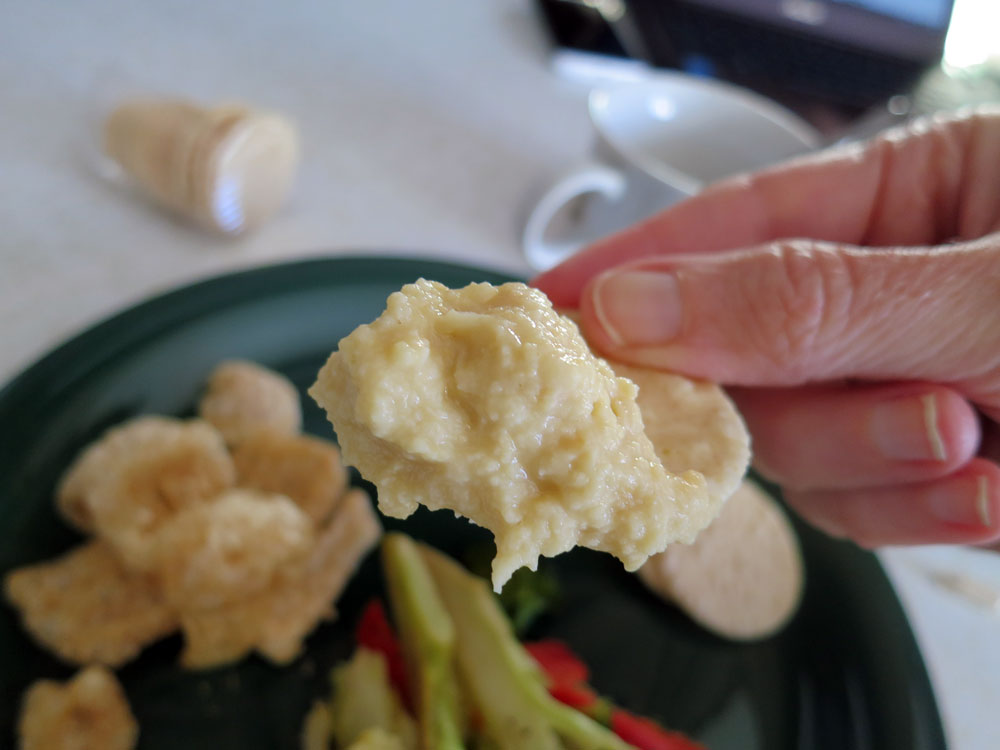
Pour and/or spoon out the hummus into a nice bowl or ceramic cup, as I’m using here, and refrigerate what’s left over:

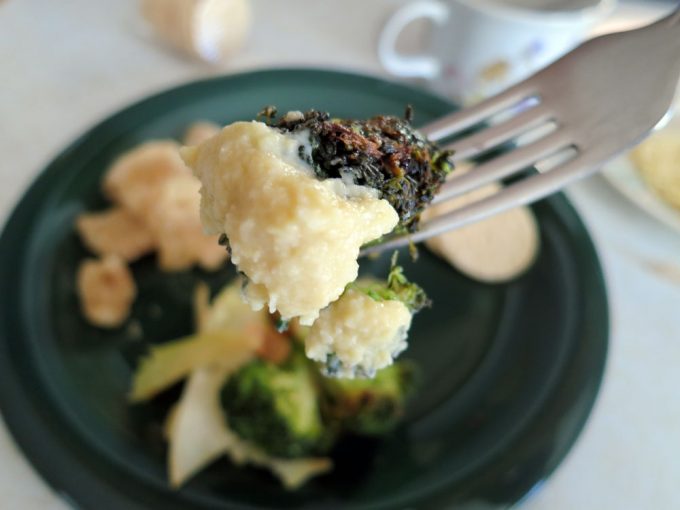
This makes for a great party or dinner snack dip, or even a small meal when you eat the entire following plate yourself:
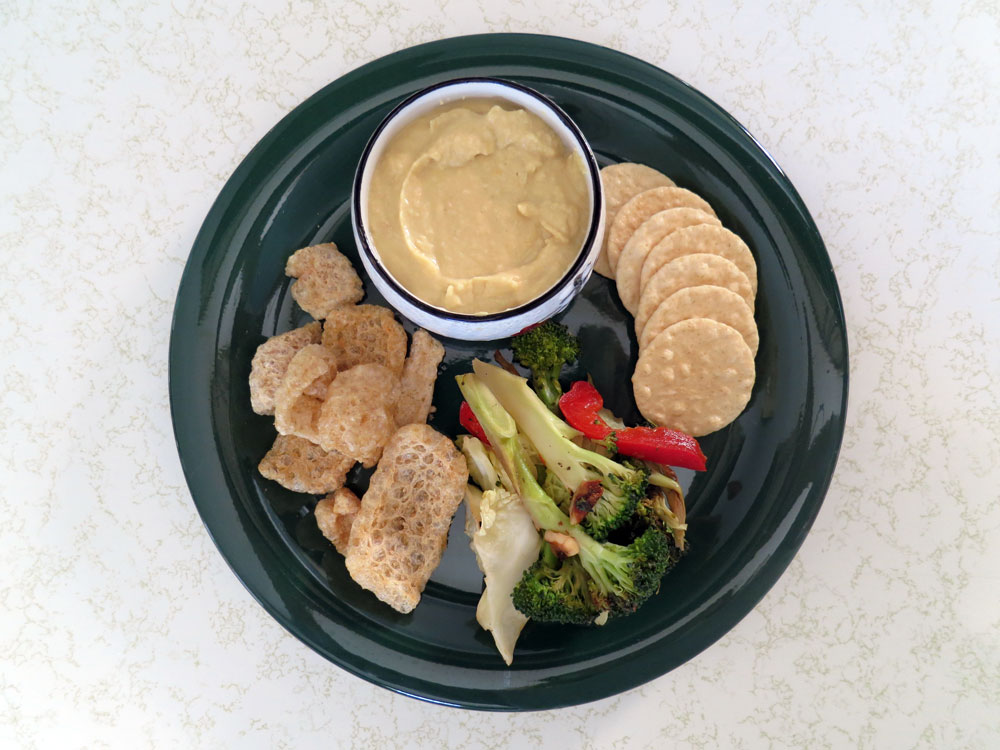
So, what on earth are pork rinds doing in this mix? Try them with the hummus – you just may really like them, especially if you’ve gone keto or follow another lower-carb/higher-protein set of eating habits.
This hummus goes with just about everything – I’ve even used it on salads, chicken, and on homemade pizzas to cut the cheese (pun intended – garbanzos may have you going a bit gassy!) amount in half so it lasts me a bit longer.
Given that the olive oil was $4.99 for 16.9 oz, the garbanzos were $.99 for a 15-ounce can, the section of garlic came from a 50-cent bulb, within which there were a dozen or so cloves, and the lemon was $.75. So…here’s the price breakdown:
- 1/2 lemon…. $.38
- 1 tb olive oil..$.16
- 1 section garlic…$.04
- 15 oz can garbanzos…$.99
All told: $1.57 for about 15 ounces of homemade hummus … now, compare that to what you’re paying at the supermarket! They charge TONS for hummus you can make in about five minutes…and if you double the recipe, it’s $3.14 for about 30 ounces.
Have fun!
Bon appetit, stay safe…and eat healthy!
Alison
This fast, easy and naturally sweet, but very low carb and low fat chocolate chip cookie recipe uses two of my favorite things, almonds in the form of almond flour, and chocolate chips. These are not just any chocolate chips, however – they are sugar free, nothing but 100% chocolate, and amen to that. For a while, baker’s chocolate had to suffice – along with time spent chopping it up, which wasn’t pretty.
Sugar, along with sugar alcohols, artificial sweeteners and other additive sweeteners like agave, are so overused in our food supply that it is truly rare to find an unadulterated, unsweetened product like Pascha Organic Dark Chocolate Baking Chips, which are 100% cacao, and nothing else. These chips are unsweetened, nut free, wheat and gluten free, and dairy and egg free as well as free from soy.
A product of Peru made for the Pascha Chocolate Company in Toronto, Canada, I found my curiosity piqued and visited their site to see the bag of chips on their front page along with that ever-so-important tagline: One Ingredient. One of their site’s main menu categories is “Free From.” It’s what I look for most of the time these days, simple things without all the BS in order to keep the “cup runeth over” diseases and syndromes at bay.
Recommendation made, so let’s get to the recipe, which is super quick and easy. You’ll need:
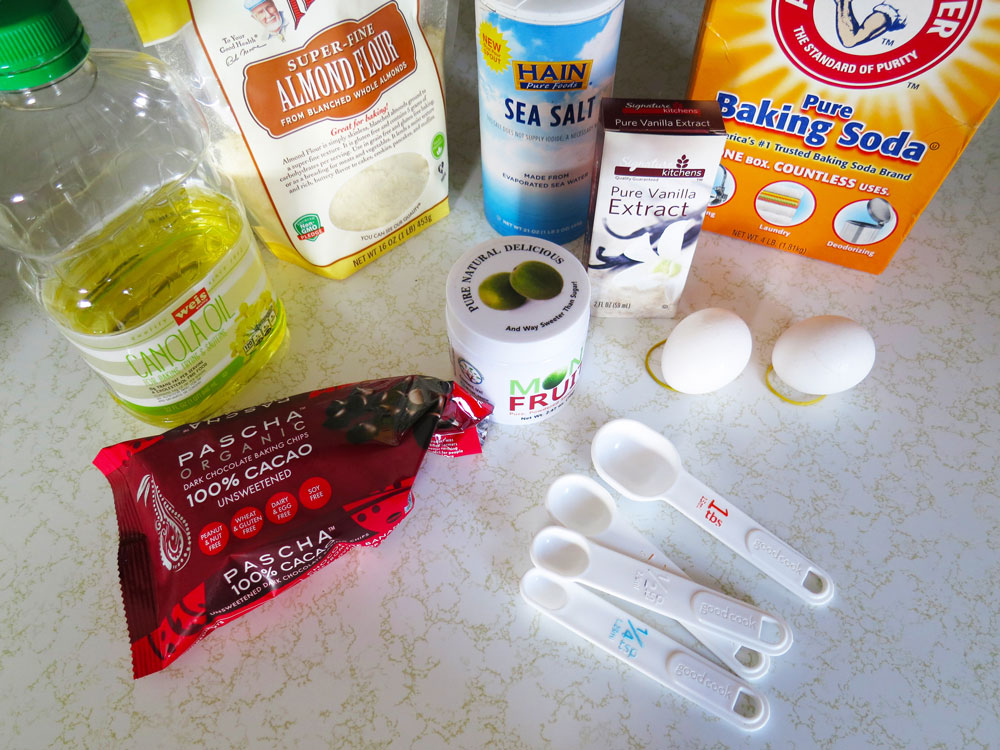
- 250 ml fine almond flour (I use blanched almond flour)
- 2.5 ml baking soda
- 1.25 ml sea salt or Himalayan salt
- HEAPING 2.5 ml spoonful monk fruit powder
- 1 whole egg
- 1 egg white
- 10-15 ml *canola oil (or other fave oil)
- 2.5 ml vanilla extract
- 1 small handful 100% cacao chocolate chips, to taste…and a little goes a long way!
*Canola oil was chosen for its low saturated fat profile (and as a money saver). Choose any oil that is right for your purposes, but be wary of the saturated fat content.
Combine all ingredients except chocolate chips in a medium-sized mixing bowl, like so…
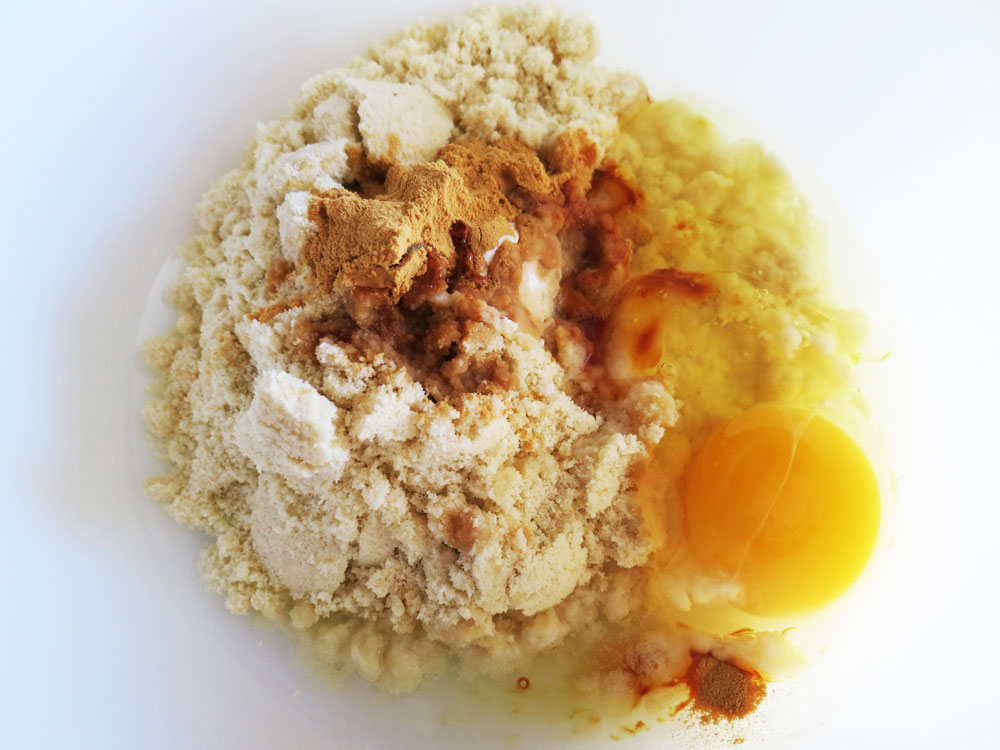
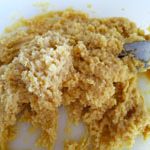
…and mix all ingredients until the dough is uniform:
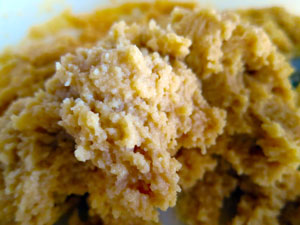
Next, add in your delicious, decadent-without-the-shite chocolate chips. Enjoy these photos…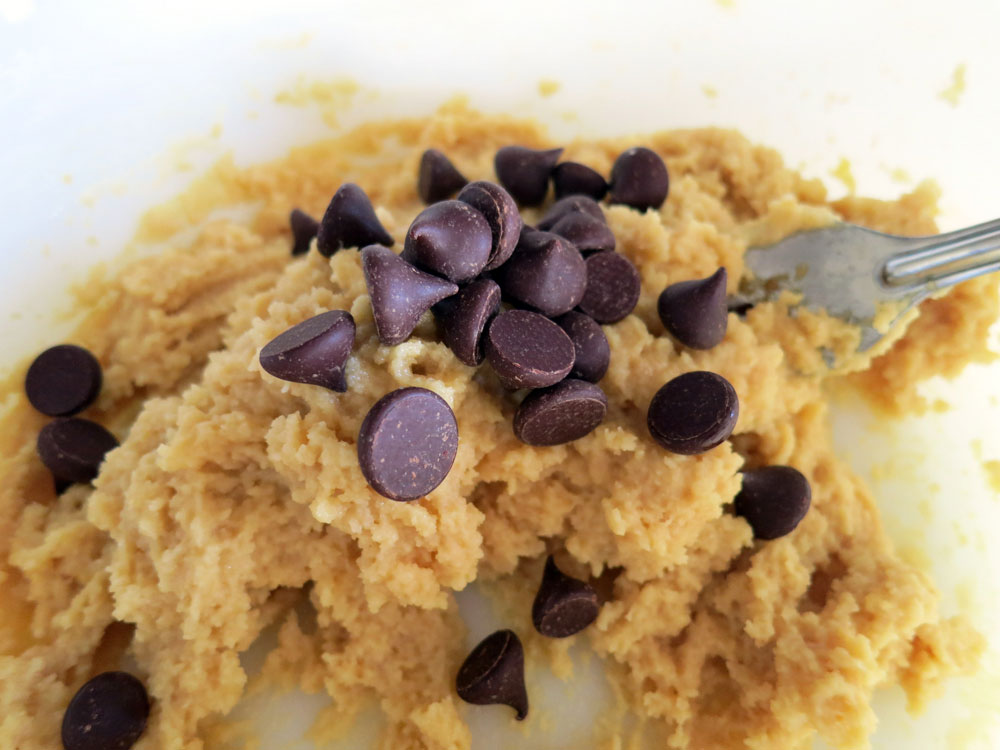
…I could take an extended, slow, sensual bath in this stuff…
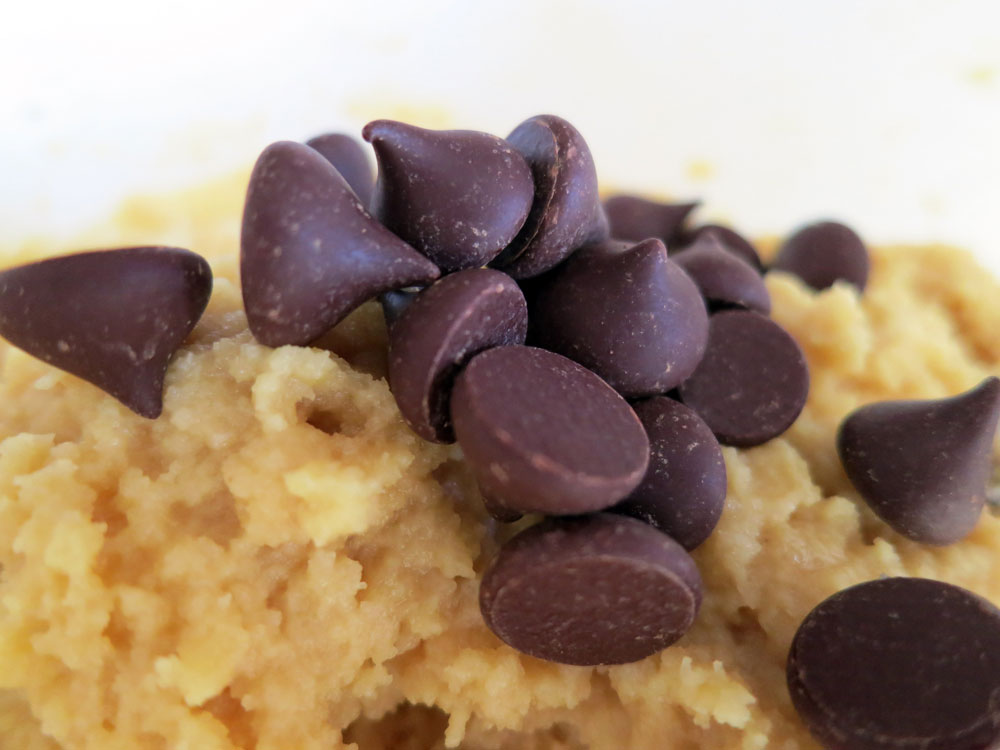
…and I’d do it all day if I could stave off my chocoholism for long enough. But, having preheated the oven to 375 Fahrenheit degrees on a hot day, I gotta get back on track here.
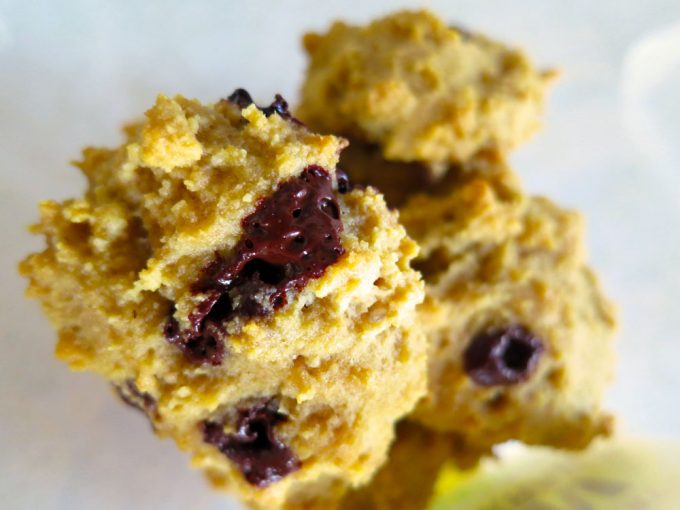
After mixing in the chocolate chips, take two regular flatware teaspoons and spoon out the dough in small dollops – about 2.5 cm or an inch or so in circumference each – onto a baking sheet or whatever you have available. As all my other baking sheets are out on other projects at the moment, I’m using the oven’s broiling pan, which turns out to be better than the baking sheets I’ve been using. It has enamel instead of that chemicalized non-stick material that is now lodged in all our body tissues, is better than that crappy non-stick anyway, and it also makes for a great contrast with the little No-No dollops. They kind of look like little space cookies, don’t they? Cute!

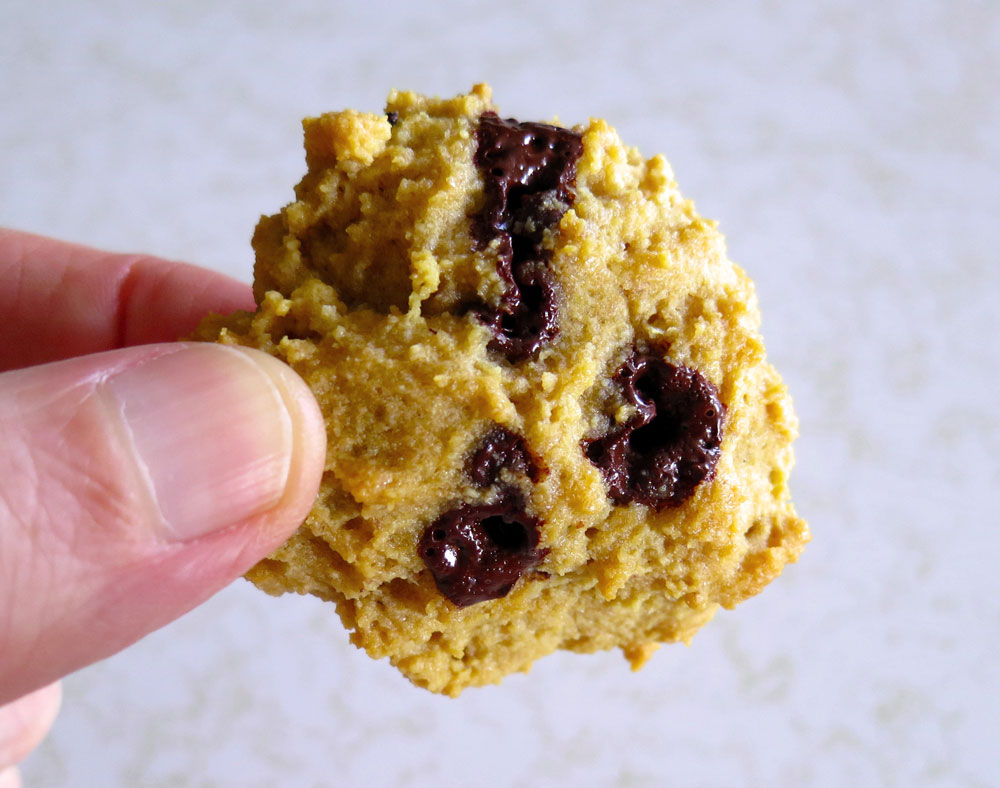
Bake these at 375 for 10 – 12 minutes, remove them from the oven and scarf them up before anyone else sees them! These are a great low carb way to answer the chocolate chip cookie craving, which is absolutely fierce and must be answered. The good news: These are entirely BINGEable – I have eaten half the batch in one sitting and had no blood sugar issues at all. I’ve found them to be priceless while working on reducing insulin resistance, often eating these on the days I’m not doing HIIT (high intensity interval training) when I find myself craving something sweet, filling and “carby” tasting.
The tally here is about 16 of these dee-lish little gems:
I’m also cooking up a gingerbread version of these…I’ll add that variation in when it’s passed the taste test. Enjoy!
Yours in great health,
Alison
I’m always looking for quick, simple and inexpensive ways to make the good stuff on the go, so here’s one fer ye! It’s a very cool, fast and easy guacamole recipe using readily available & easily found ingredients, straight from your – or your Airbnb host’s – fridge and spice rack. Great when craving something real on the road, or when you need a quick and healthy snack without much fuss.
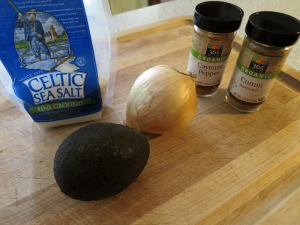
Gather ye thy holy ingredients:
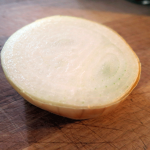
- One Ripe Avocado (Small to Medium)
- 1/4 Fresh Onion (or 1 TB Dried Onion Flakes)
- 1/2 Heaping Teaspoon Cumin Powder
- 1 – 2 Dashes Cayenne Powder
- Scant 1/2 Teaspoon Sea Salt
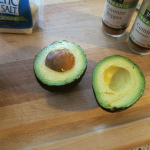
I try to use all or mostly organic stuff in my cooking and always encourage others to do the same. In a cereal bowl (or similar), cut, skin and mash up the avocado. Save the seed! You’ll need it if you want to refrigerate any leftover guac…according to livescience.com, science does seem to support that keeping the seed with the guac will prevent some browning, and as well, thou shalt hear a voice behind thee, spewing facts regarding the uber-nutritious avocado:
Few people know that the avocado is an ecological anachronism, that it most likely evolved specifically to entice the tastes and the large gullet of the now-extinct giant ground sloth.
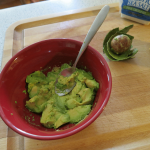
Now that that deadly sin is out of my system, next you’ll want to dice 1/4 of a fresh onion, which equates to approximately 1/4 – 1/3 cup. FYI, if you’re using dried onion flakes, the 4:1 rule applies – in other words, you only need about a quarter the amount of dried onion to get the same taste result. Given that 1/4 cup equates to 4 tablespoons, using 1 tablespoon dried onion flakes will do it. As always, trust your taste buds and adjust accordingly.
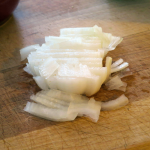
Briefly mix the onion into the mashed avocado:
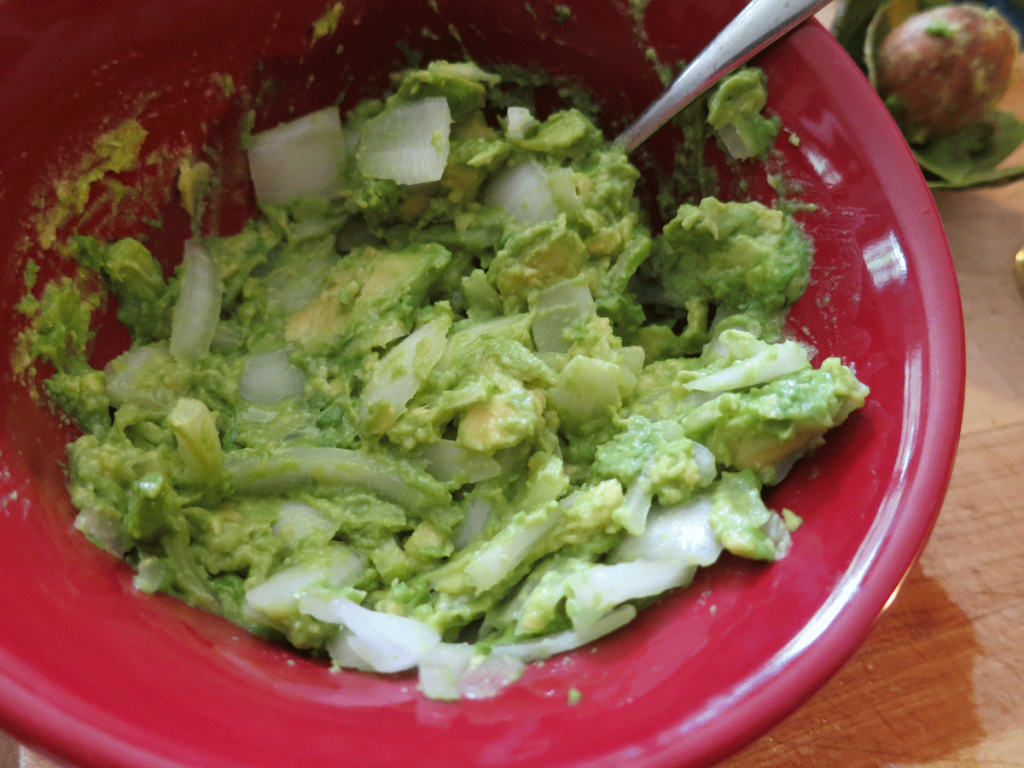
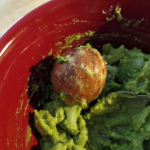
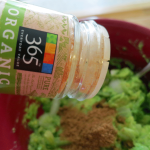
Next, add in your heaping 1/2 teaspoon of cumin powder…
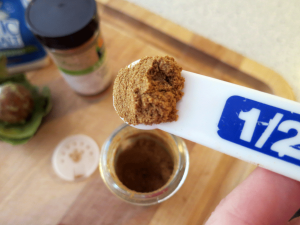
…followed by 1 – 2 dashes of cayenne pepper and a scant 1/2 teaspoon sea salt…
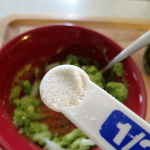

…and you are ready to do the final mix!

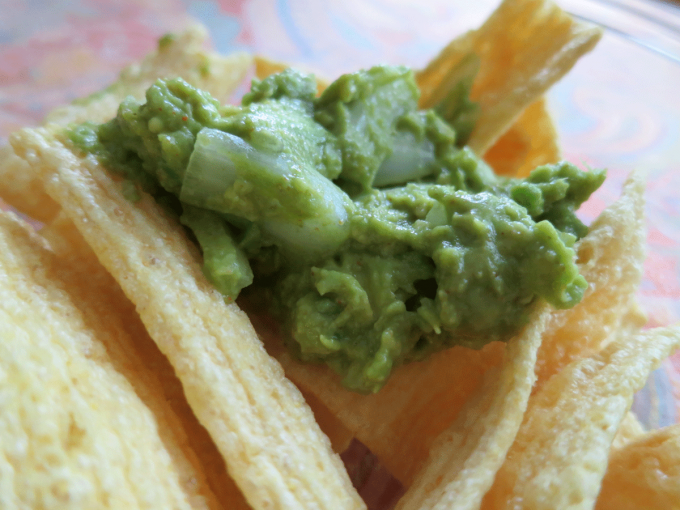
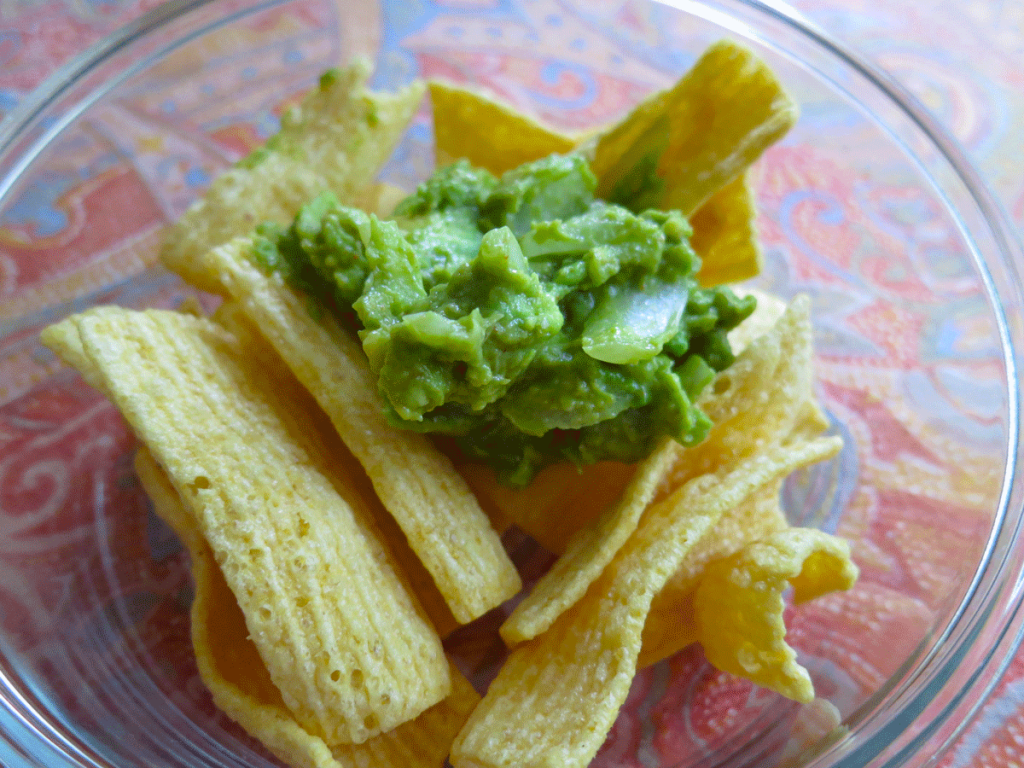
Next, get ready to serve thyself this Simple as Hell Holy Guacamole. Sometimes I eat it straight up, but here, to show some degree of civility, I’ve used lentil chips, which provided a really nice, light contrast to the guac…enjoy!
Serves: 2 normals, or one Alison Lorraine. Can be stored in the fridge for a day with the seed, but it’s best to use this up asap.
Yours in Great Health,
Alison
One of my favorite desserts is nothing more than slicing up a ripe plantain, spooning some coconut oil into a medium-heated pan, and then fry-sauteeing the plantain slices until they are browned and crispy on the outside and sweet and soft toward the middle.
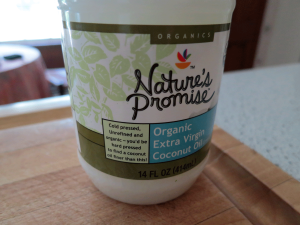
This is an excellent dessert without the need for added sugars or anything else. I’m not sure of the “organicness” of plantains in general, but I always use organic extra virgin unrefined coconut oil for this one.
You’ll need:
- One Very Ripe Plantain
- Tablespoon (or So) Organic Coconut Oil
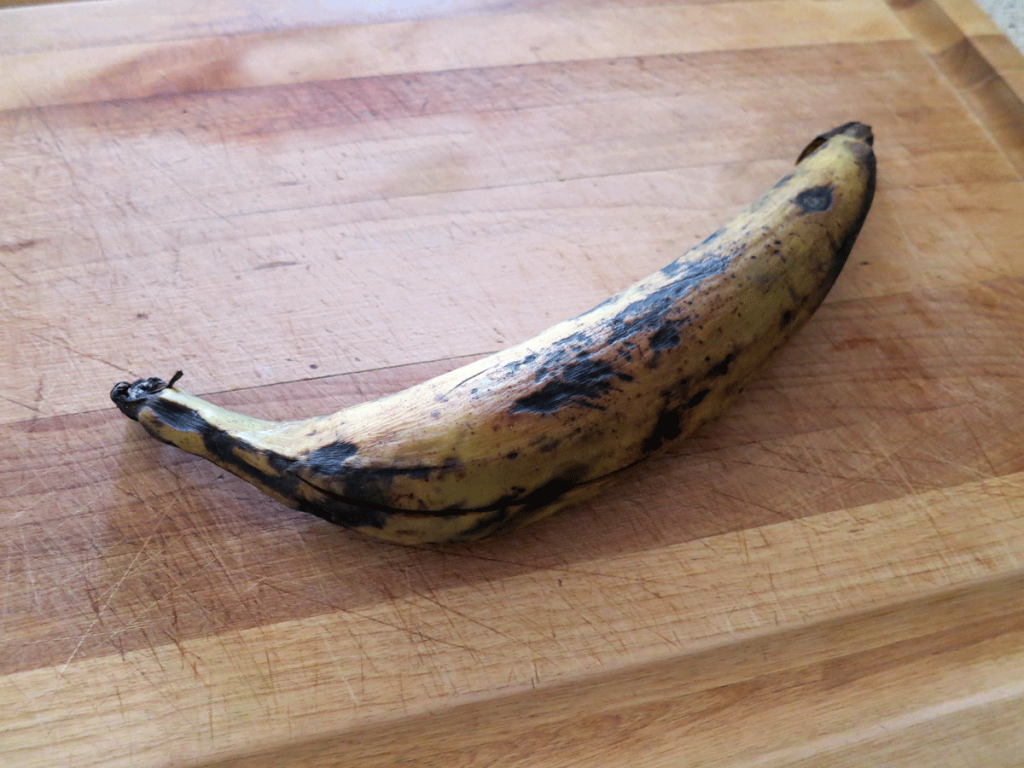
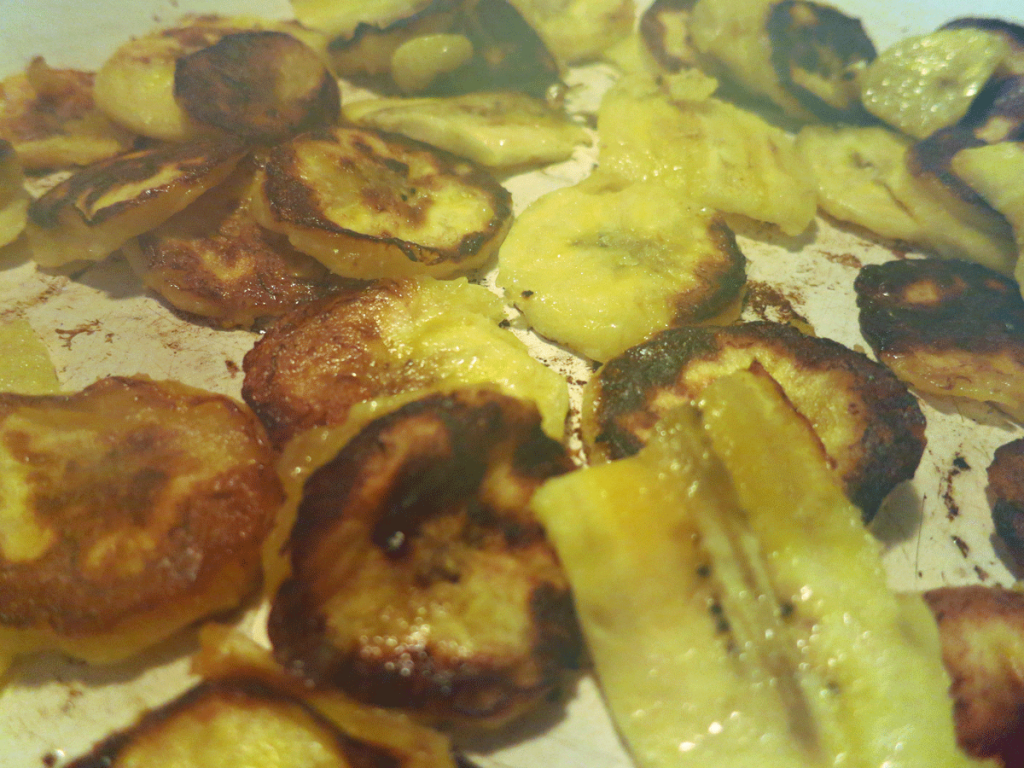
I’ve put a large image of a plantain above showing the types of colors you’ll want to see on yours (and this one turned out delicious!). Pale yellow with plenty of black indicates a sweeter plantain. Green or plain, uninterrupted yellow, it’s not going to be as sweet, but can be used in a more potato-like manner. What I’m going for here: the more hellish and rotten (to a point) the plantain looks, the sweeter and more dessert-y it will be.
Note my plantain has a big-ass slash through it and a portion of the tip was also partially cut off. No matter! As long as the skin’s not totally breached, you’re as golden as your sweet plantain dessert will be.
Here’s the coconut oil I used for this recipe:
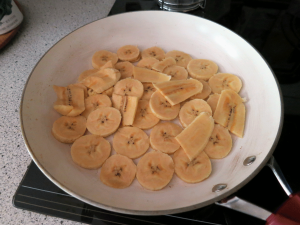
First, place a tablespoon (can be heaping!) of the coconut oil in a frying pan large enough to cook 4 – 6 hamburgers comfortably. Fire it up to medium heat and let the oil get hot enough so that once you add a test slice of plantain, it starts to sizzle immediately.
Peel and thinly slice your plantain into the pan and let the slices cook for several minutes, checking them periodically for level of brownness. Turn the slices periodically once you notice them browning.
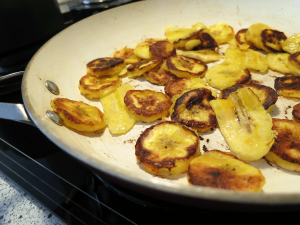
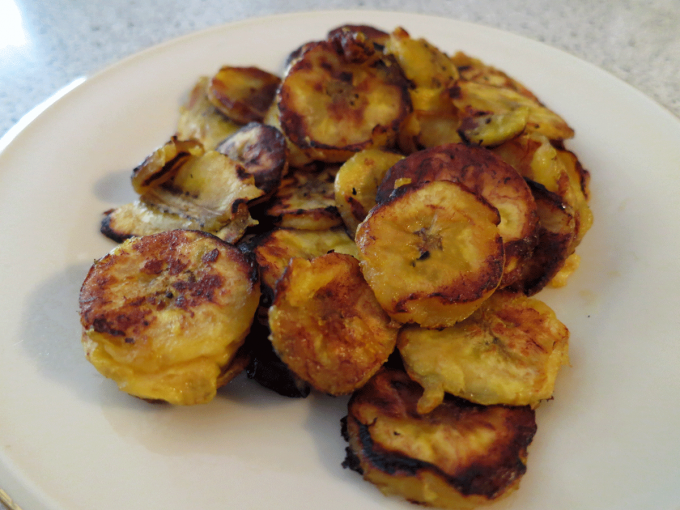
The picture to the right shows some browning on the plantain slices. Ideally, both sides of each slice should be browned, but don’t hold out for sheer perfection – that’s the surest way to burn your plantain. The key is constant attention and turning for the several minutes you’ll need to make sure the slices are cooked to softness while having those lovely and slightly crisp brown edges.
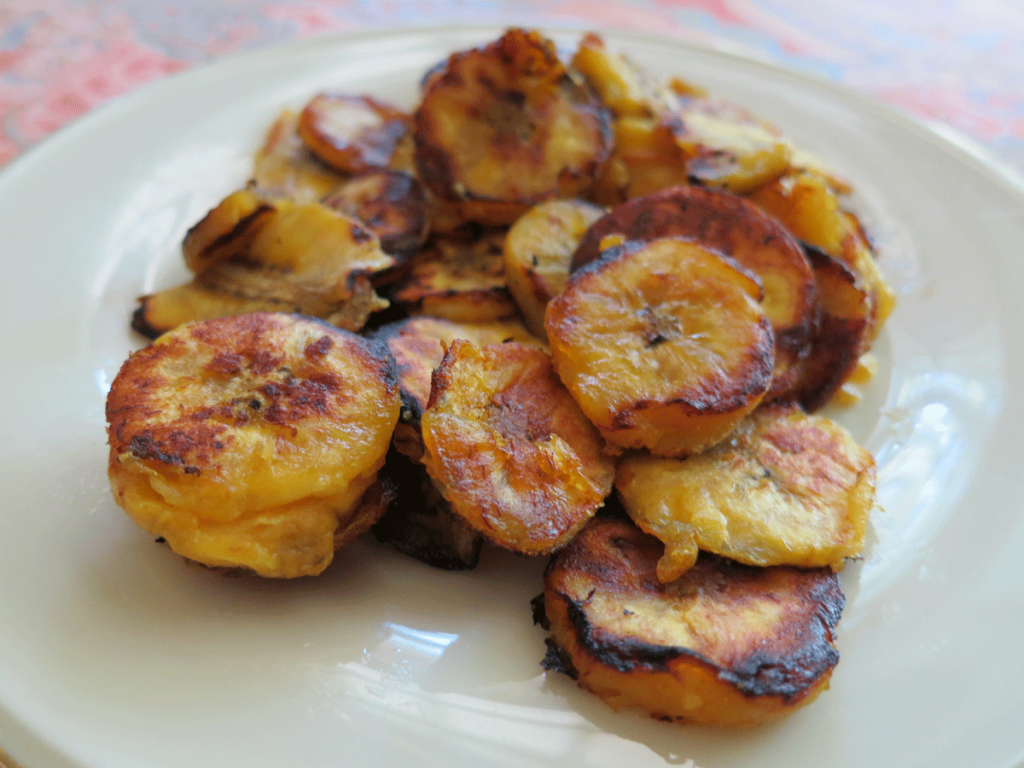
Through the smoke in the above photo, you see the plantains nearing completion – they have a browned, and at the same time, a gently wet look to them. The browning brings out the sweet, and the wetness indicates a nice, moist interior with the crispy-sweet edges.
At this point, you’ll want to remove them from heat and spatula them onto a plate. Optional: a light dusting of cinnamon is quite tasty, but wholly unnecessary. Just the coconut oil and plantain slices are enough to satisfy my sweet tooth anytime! (Note that if you are travelling, you can sub in butter if you don’t have coconut oil handy.)
There are many pleasures to experience with this lusciously unadulterated dessert! It is healthy, has no added sugars and is a highly nutritious sweet. The coconut oil only adds to its healthy profile 🙂 and plantains are also known for their being mucilaginous – that is, containing mucilage, a natural prebiotic fiber found in various foods and herbs like chia, okra and flax that can help sooth an upset stomach. Mucilage isn’t for everyone, however, as it has been said to also feed detrimental organisms as well as trigger immune responses in susceptible individuals.
But if you like plantains and they like you, indulge!
Yours in Great Health,
Alison
There’s something about a juicy, grass-fed beef burger that never, ever disappoints. And it’s even better when there’s salty, full-flavored and digestive-aiding miso involved. The flavors here mix very well, and this recipe is so damn quick and easy, you just might find yourself making these quite often.
As someone dealing with the Big C, I’ve often been lectured (mostly by lay people) about beef being a no-no, when actually it is part of my doctor’s orders. “No-no-NO vegetarianism for you!” she always admonishes. It seems my need for nutritious, carefully-sourced red meat just is. My body’s demands for minerals, fats, and other necessary substances are rather high. I have a very fast metabolism and the need for a lot of nutritious food.
Grass-fed beef in particular has health benefits that go beyond the label, and I think a lot of the criticisms I’ve heard about beef are truthful – if it is factory-farmed beef, that is. But organic and/or grass-fed beef is a different animal entirely. Literally. And, most importantly, chemically. It contains a great balance of Omega-3 and -6, CLA (or Conjugated Linoleic Acid, an important fatty acid), is nutrient-dense and is the way nature intended. According to Mercola, CLA bennies are many – including anti-tumor benefits in the case of cancer.
So to those who pan beef (pun certainly intended!), I say this: Try being more aware of where your beef is sourced – and what its actual chemical profile really is – instead of using the too-wide brush to declare all beef as bad. It is not.
Do read Fastfood Nation by Eric Schlosser to get rid of any factory-farmed meat-eating habits that you still practice. It’ll turn your stomach in ways you’ll need to stay aware and healthy, and it’s right up there with Upton Sinclair’s The Jungle.
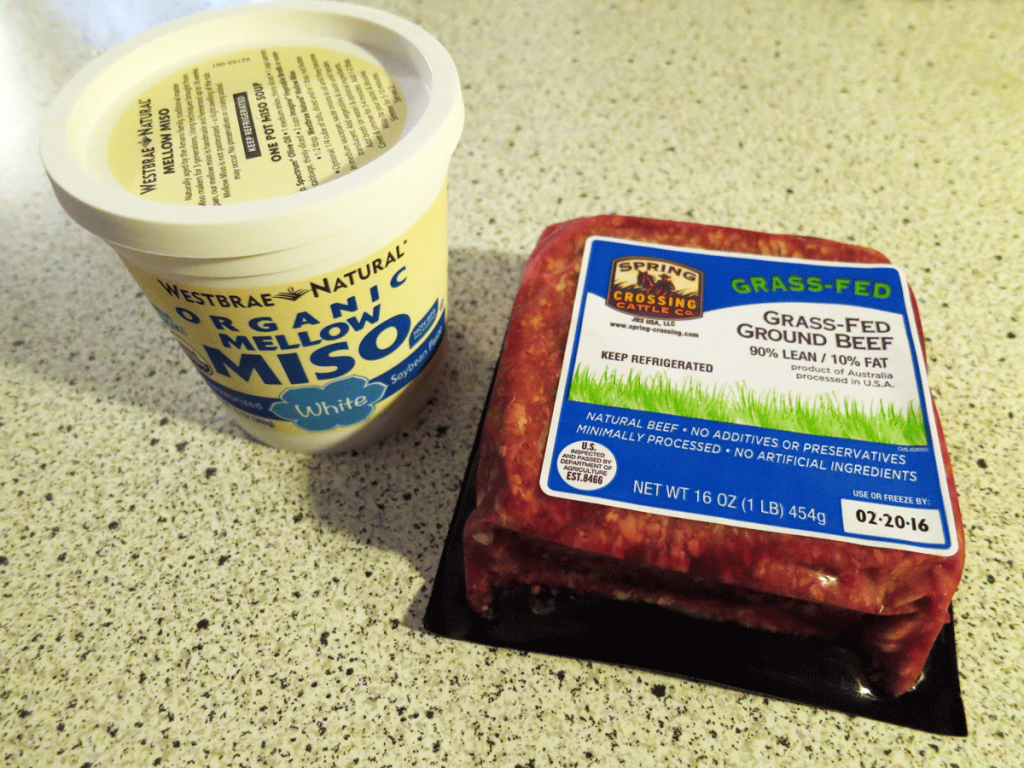
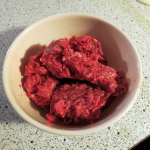
That said, all you need for these delicious and highly satisfying and nutritious miso beef burgers is beef (get organic and/or grass-fed) and miso (I used Westbrae Natural’s for this recipe because it is organic and has very few ingredients – rice, soy, sea salt, water and koji starter):
- 1 lb ground beef (grass-fed and/or organic is healthiest)
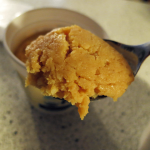
- 1 heaping spoonful of miso
I consider this as a Simple as Hell two-ingredient recipe, yes, but the miso is technically a cheat. I have completely rationalized my cheating as fair – since I didn’t make the miso, I count it as a single item in this two-item recipe 🙂
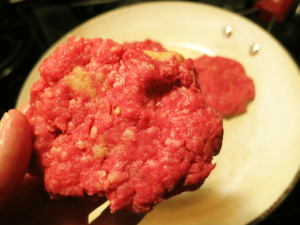
Start with a small mixing bowl, or even a large cereal bowl will suffice. Place the beef into the bowl, and add a heaping spoonful of miso (and note the spoon I’m using is just a regular flatware spoon):
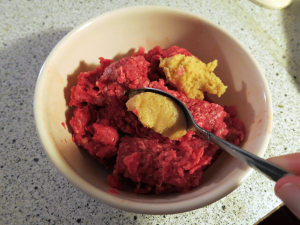
Next, briefly mix the miso into the beef, but don’t overdo it. I tend to like biting into a burger where there are little pockets of just plain miso. It adds variety, surprise and makes for a much more delicious burger than if you stir the hell out of the miso and beef such that they “become one” – and too much stirring is a surefire way to toughen the beef such that it doesn’t taste as good texture-wise:
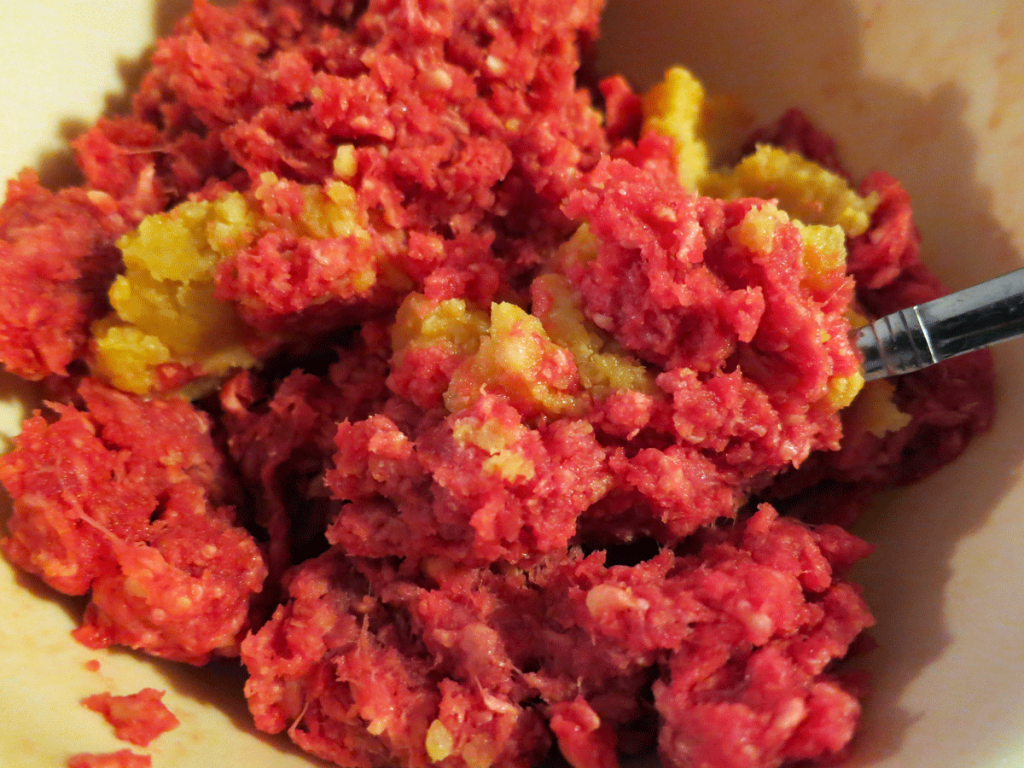
After that, quickly and lightly form the miso-beef mix into burgers, your preference as to the size – quarter-pounders, six burgers to a pound of beef…or mini-burgers, whatever you like…
Place your burgers in a hot frying pan on medium to medium-high heat. Important note: I don’t use any cooking spray or third-party grease when cooking burgers or any other cut of beef, with the occasional exception of cow’s milk butter. Burger meat is fatty enough to cook in its own fat – why corrupt it?
When I want browned-on-the-outside, but rare-on-the-inside burgers, I find a medium-high setting to be best. When I want more thoroughly-cooked, but not-so-brown burgers, the lower setting works better. However you like your burgers, find the adjustment that suits you!

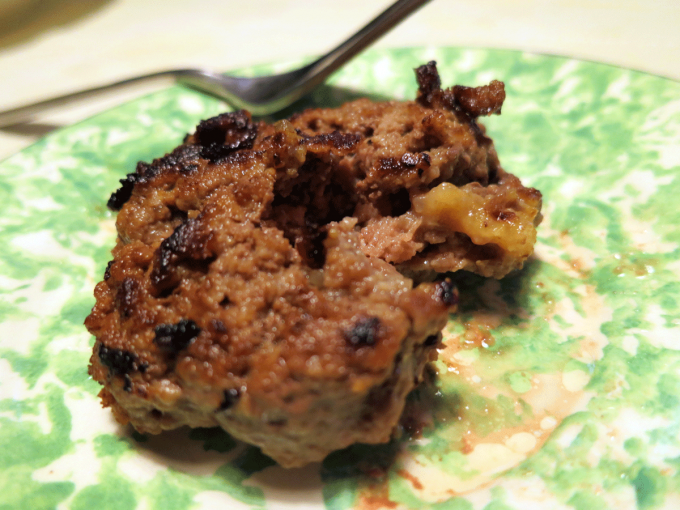
Turn the burgers over when you see the outside edges getting brown, usually several minutes, depending upon how high your heat setting and the quirks of your range are. When the burgers are done to your preference, it’s really nice to serve them up on a nice plate for all to admire before digging in!
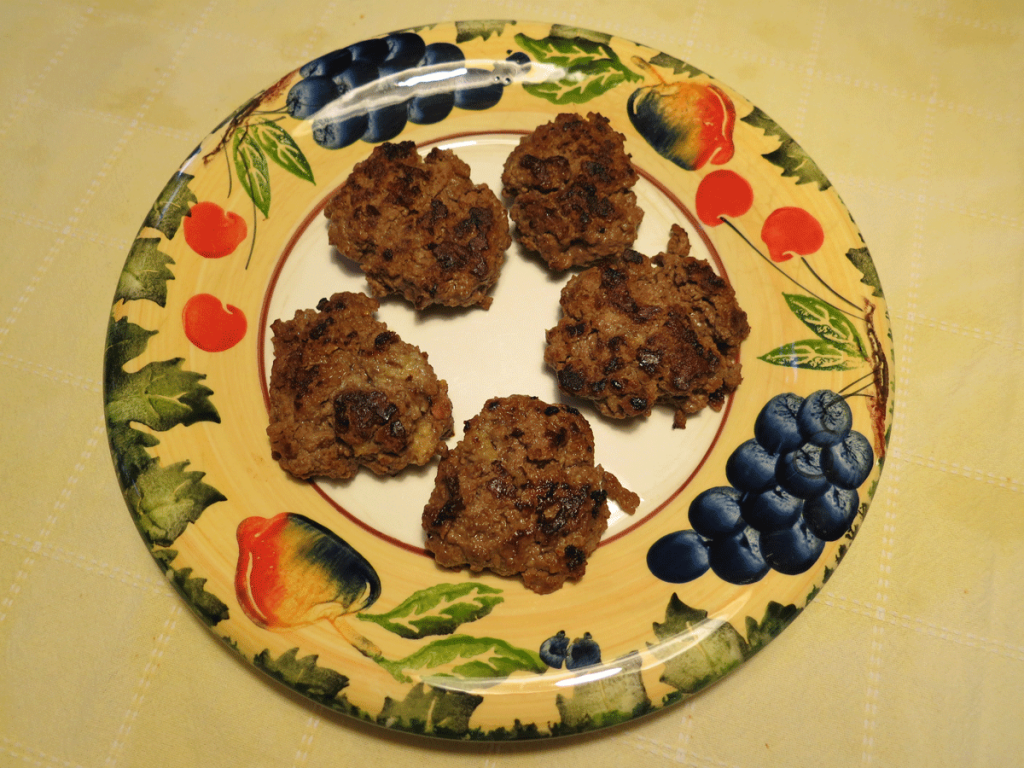
And damn, these are good! They melt in my mouth, and you can see why below…

Enjoy!
Yours in Great Health,
Alison
Kale is the green’s green – thick, hearty, and full of nutritional value. And like any self-respecting green, it tastes like one. At least until you add a few simple things, then everything changes. Flavor happens. People start asking you to “make that kale thing you made that other time,” and all sorts of good stuff that’ll lower your karmic debt.
Hell, it’s one way to get some meaningful veggies down your throat!
I cooked this at my best friend Kelly’s house in Pennsylvania. She, like me, is always looking for better eats and health, and well, there I was. This simple dish will add flavor and pleasure to any meal, and is also a pretty good snack on its own.
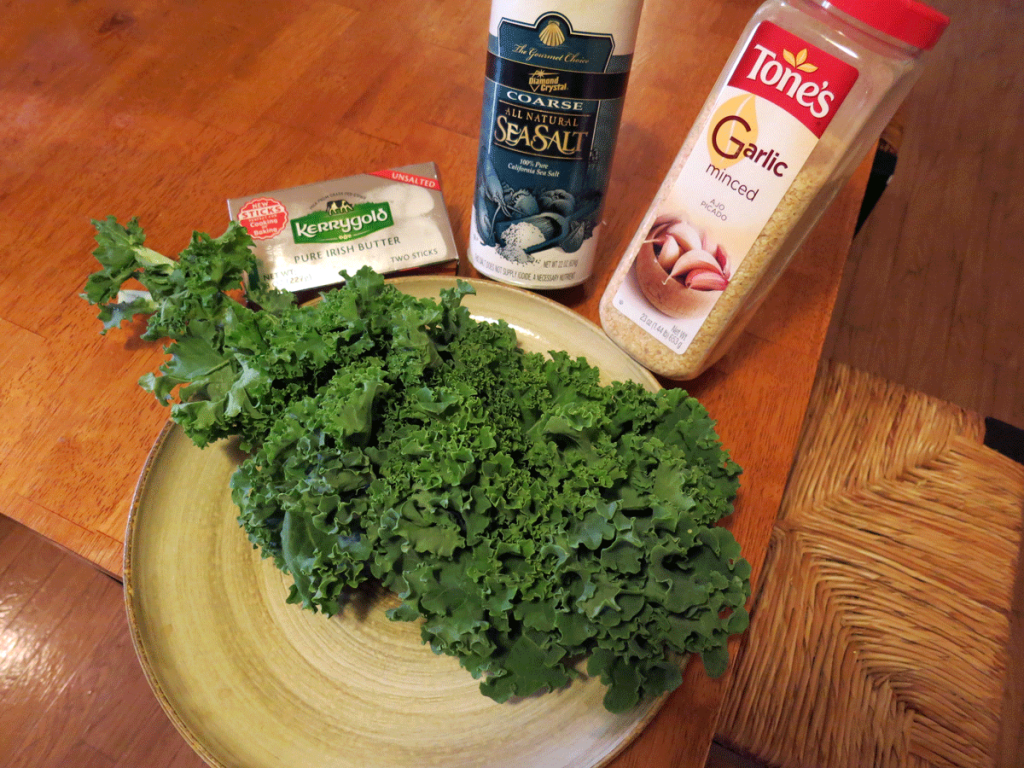
All you’ll need are:
- One Bunch Organic Kale
- 1 Tsp Dried or One Clove Fresh Garlic, Minced (Organic, if Possible)
- 1/2 Tb Butter
- Sea Salt
First, you’ll want to disassemble your bunch of kale and slice the leafy parts of the leaves off the stems, rip them into bite-size pieces and place them in a pan with just a little water, say a couple of tablespoons. The easiest and fastest way I’ve found to de-stem kale leaves: Use kitchen shears. They will save you time you will want to waste procrastinating on facebook.
But seriously, a good set of kitchen shears will keep the time spent and the lacerations to a minimum.
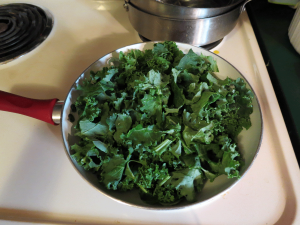

Once the kale is in the pan, cover then heat it on a high heat setting to get the kale to start boiling. Kelly’s stove had knobs like this, so I used an 8 for a gentle boil.
After the kale has boiled for a few minutes and started to darken, add in your garlic, butter and a couple dashes of the sea salt, turning your stove’s heat setting down to medium:
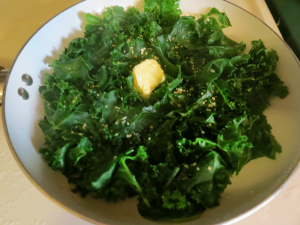

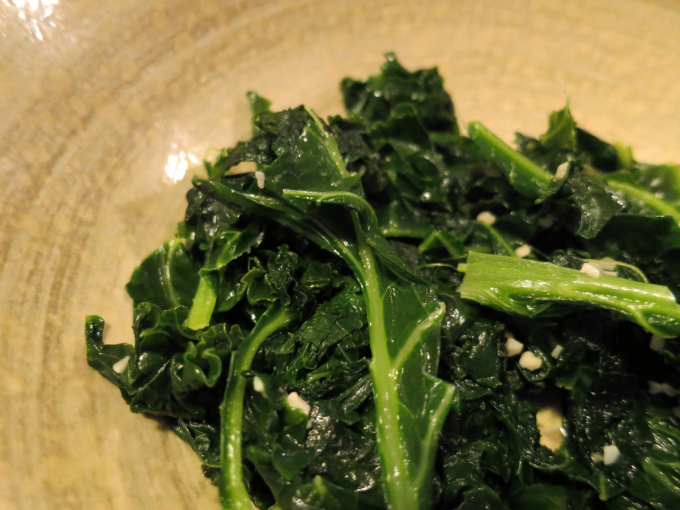
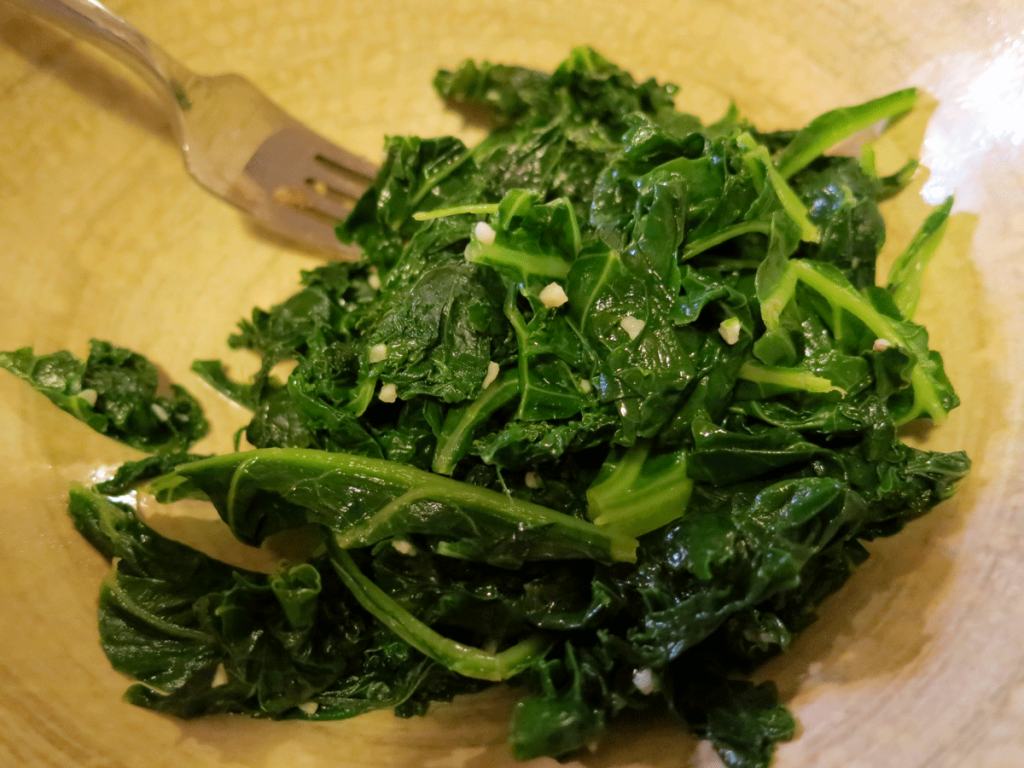
Cover the whole lot and let it simmer for several more minutes. I find that boiling and simmering for a total of 10 minutes works well – it softens the kale and mingles the garlic, butter and sea salt perfectly with it. I like soft kale, not the tough stuff, and I’ll take flavorful versus rabbit food anytime. Stir and taste test a piece when approaching 10 minutes to see if it’s the right amount of doneness for you.
Dee-lish! And a health-giving, colorful addition to any plate. Makes a great, hearty side for red meats, beans, and it’s great with potatoes and other starchy vegetables, such as squashes, or root veggies, like parsnips. Kale pairs well with things that have a sweetness about them, and that makes it one of the sweetest thangs 🙂 …so dig in!
Yours in Great Health,
Alison
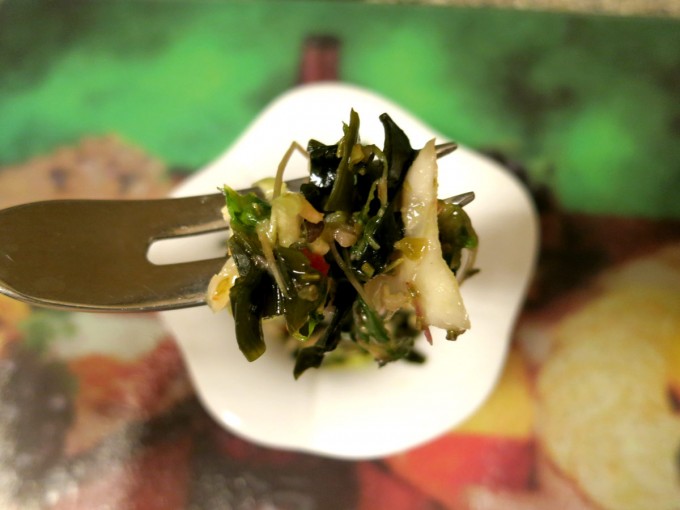
Given all the advice I’ve gotten to rid my system of heavy metals (and radioactive elements – and keep them out), I’ve taken to eating seaweed salads on a pretty regular basis.
Seems seaweeds have a real knack for drawing heavy metals, et. al., out of sewer systems – and human bodies. They hide no secrets, and carry with them the histories of the systems they’ve travelled through. Just such a confession does a body good.
Not to mention my Chinese Doctor here in Vegas keeps reminding me they’re jus’ plain ol’ good for my type as well as my biochemical makeup, and there’s nothing like a really healthy seaweed salad to remineralize the works while wicking out the baddies.
This recipe is one which I categorize as On-The-Fly – that is, you add ingredients, not in exact amounts, but in relation to each other, depending on what you have on hand. It is entirely flexible, but here’s where I start (and by all means, use organic wherever possible):
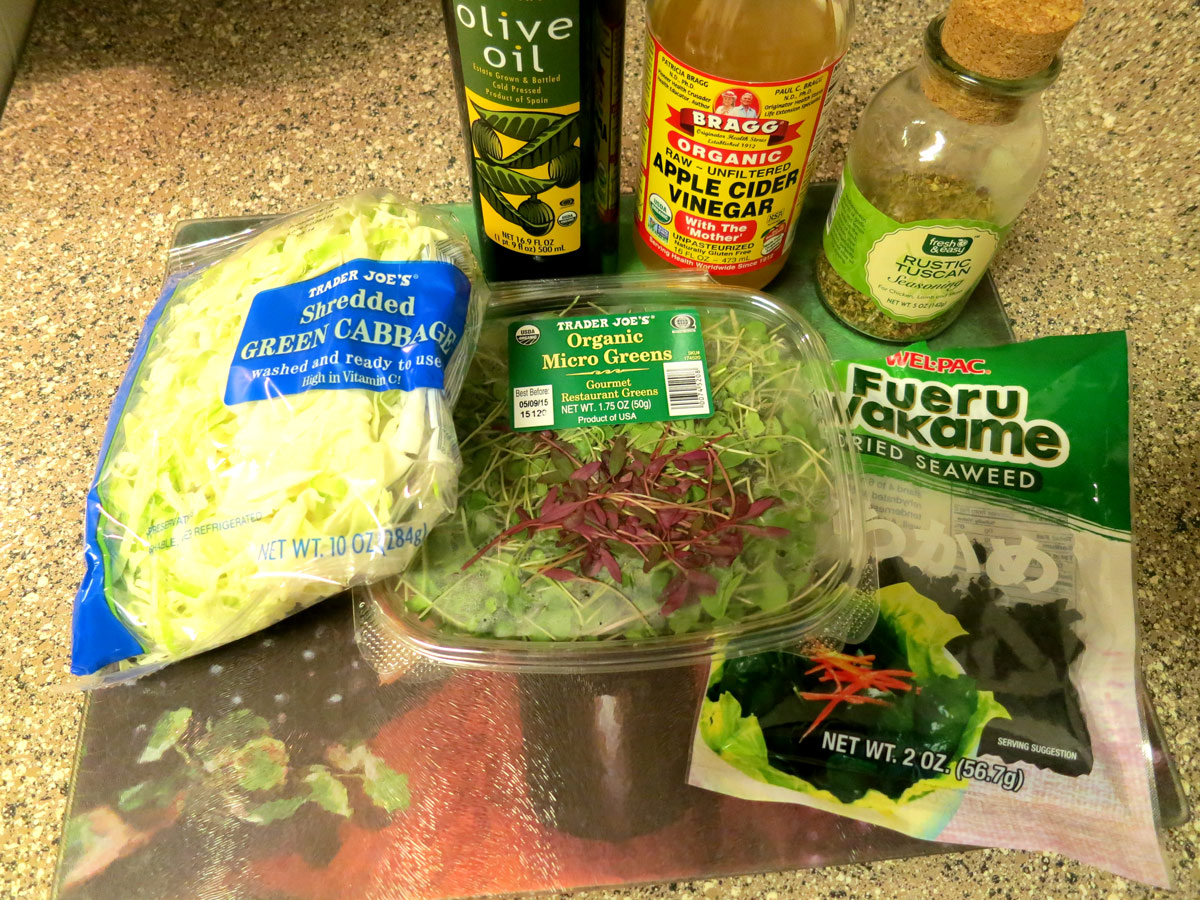
- Greens and/or Veggies of Your Favorite Kind (Shredded Cabbage, Shredded Kale, Trader Joe’s Broccoli Slaw, Mixed Salad Greens, MicroGreens…the choices are endless)
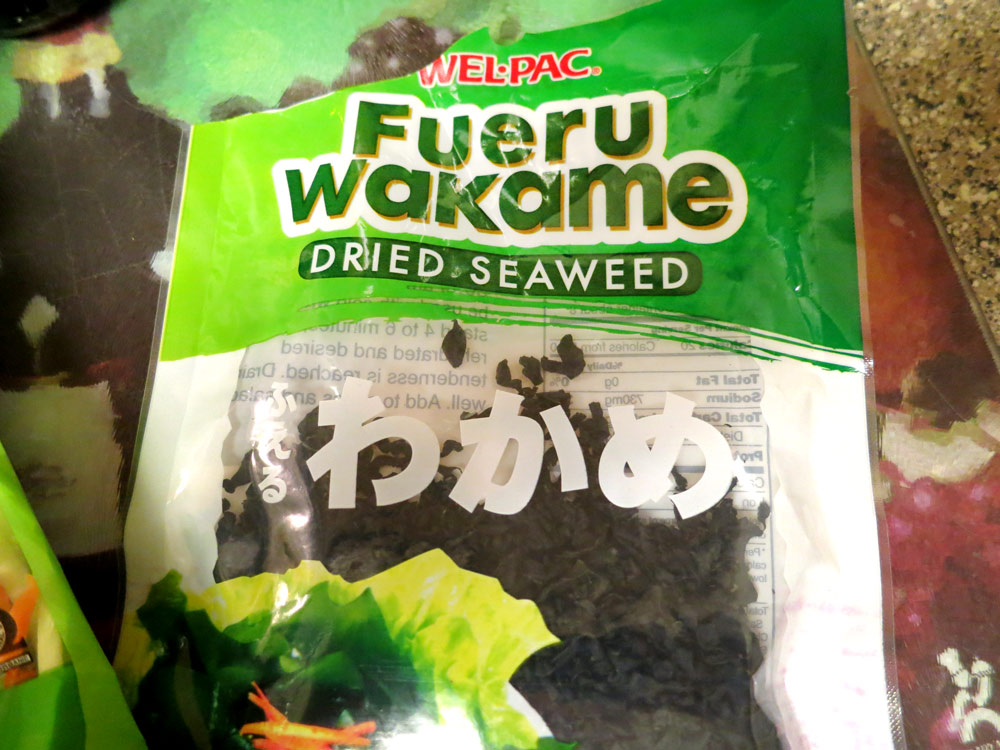
- Dried Seaweed (Your Choice – I’ve used Wakame and Mixed)
- Olive Oil
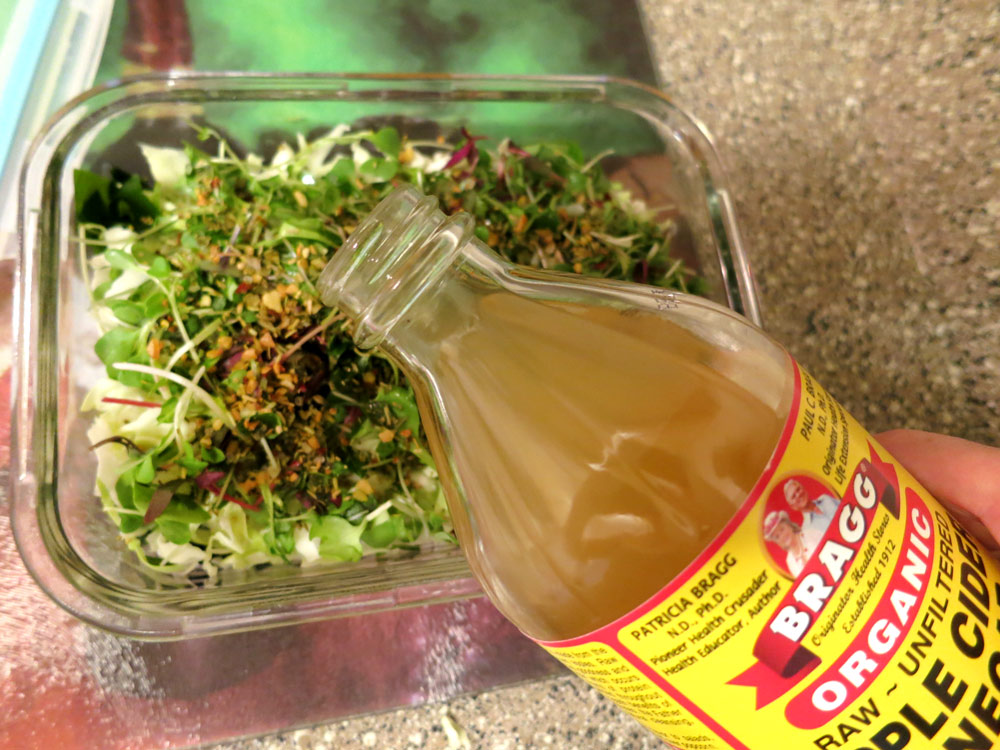
- Vinegar (I use Apple Cider Vinegar)
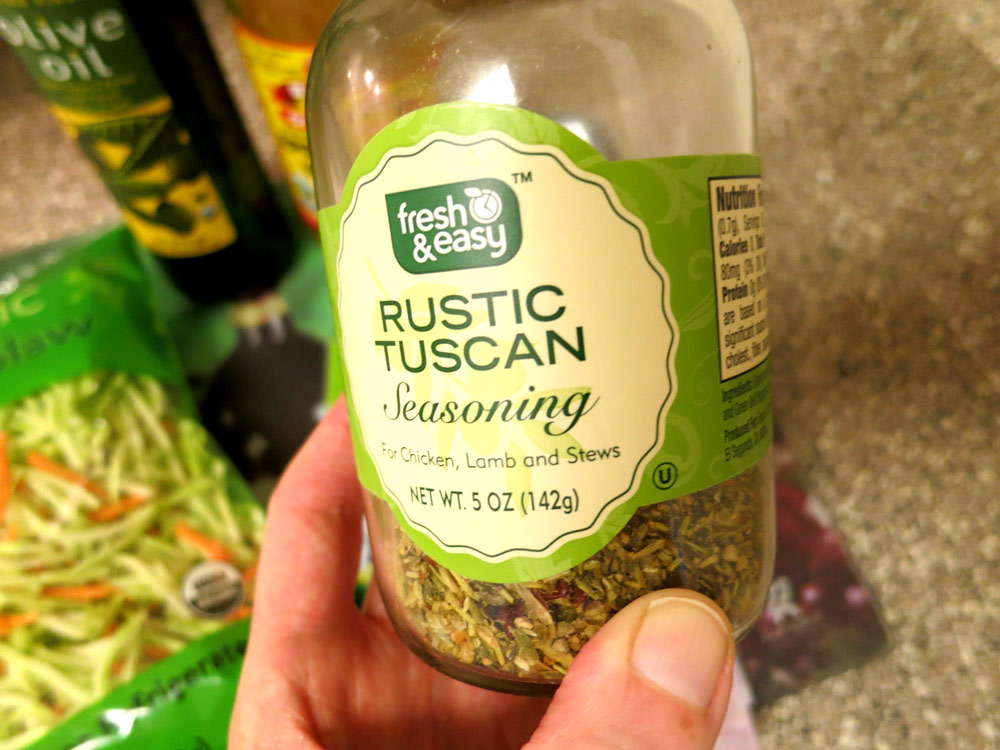
- Dried Spice Mix (Again, Your Choice – Right now, I’m using Fresh & Easy’s Rustic Tuscan, but why not Herbs de Provence or the like?)
You’ll also want to have on hand:
- 3-Cup (or 715 ml) glass storage container with snug-fitting plastic lid
- Water (Spring is best – enough to rinse veggies as necessary)
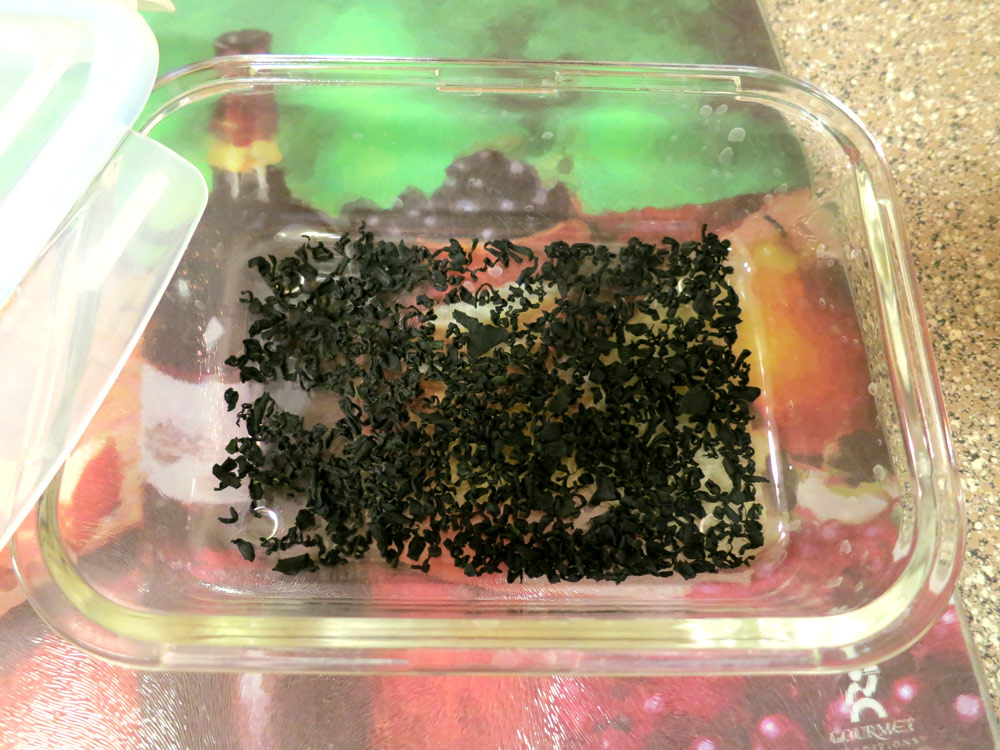
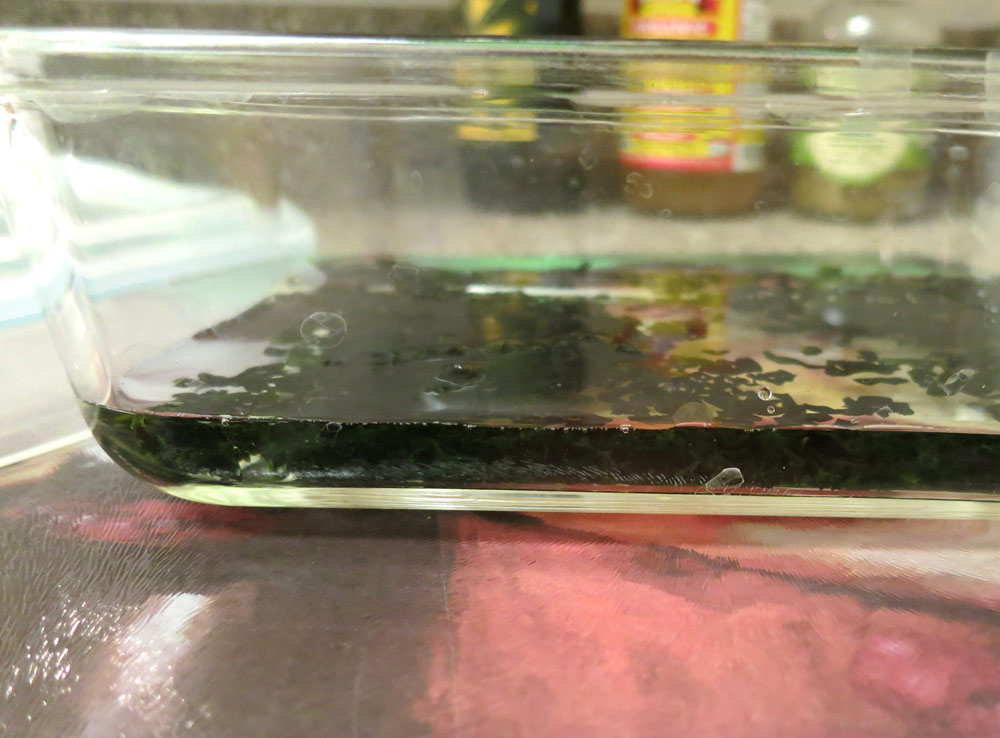
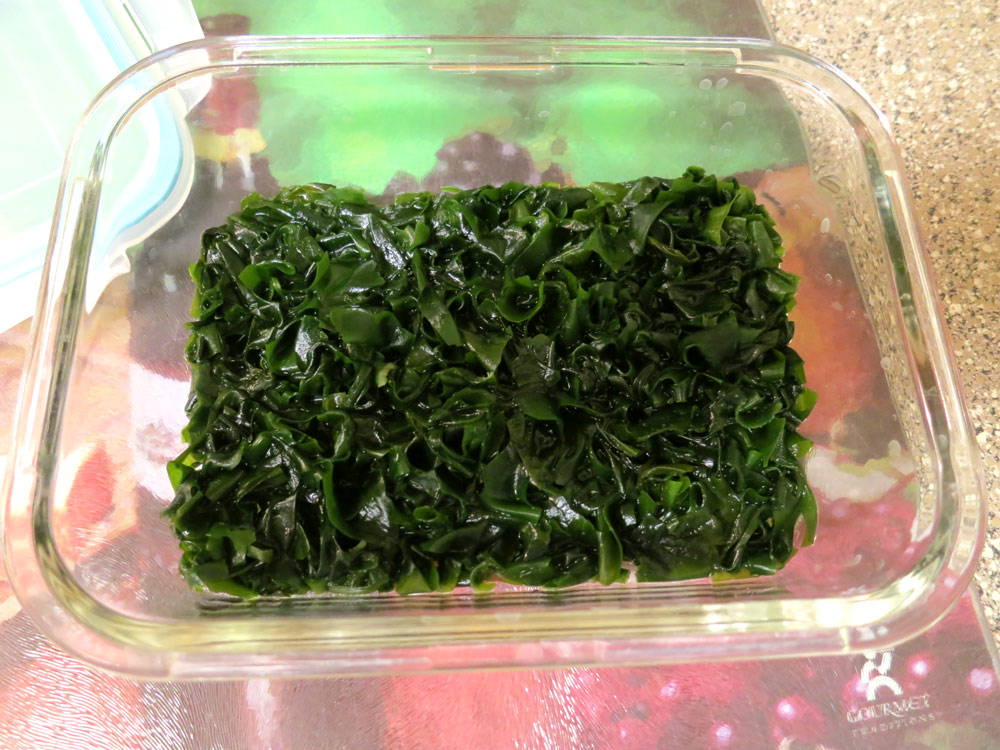
Pour your dried seaweed of whatever type into your glass storage container, just enough to cover the bottom, as in the middle thumbnail shot, above. Next, add about 1/2 – 3/4 inch of spring water. You’ll see the seaweed start to rehydrate, which is cool to watch. Cover loosely with the container’s lid and give it 20-30 minutes to totally rehydrate, stirring it around midway just a bit to distribute the water evenly and make sure there are no dried holdouts. It should look like this:
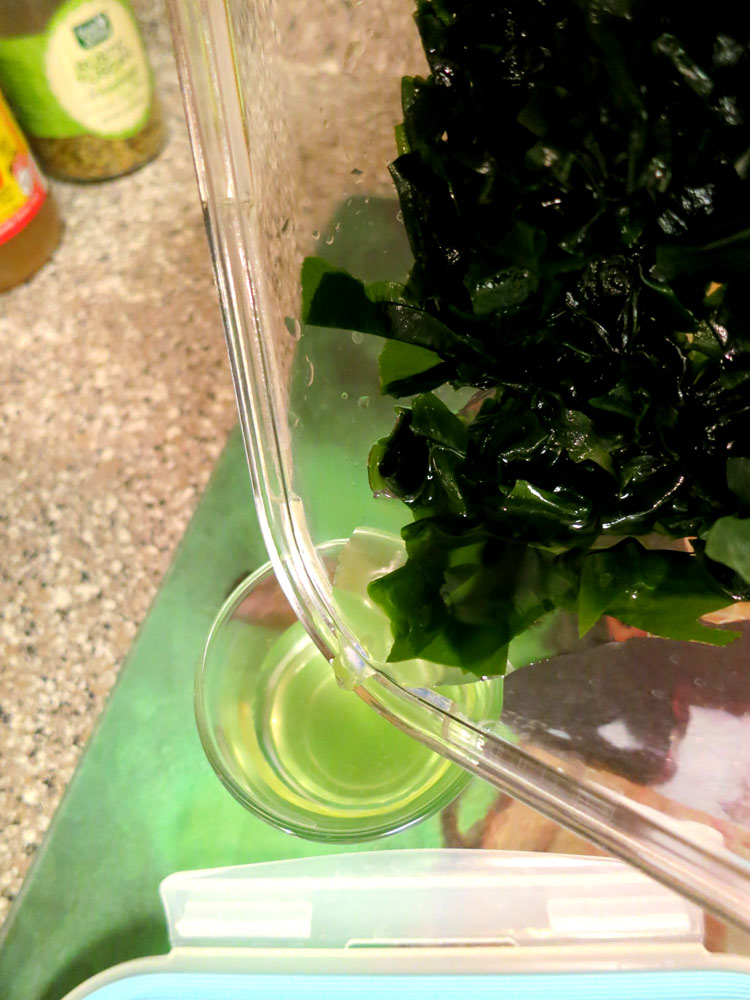
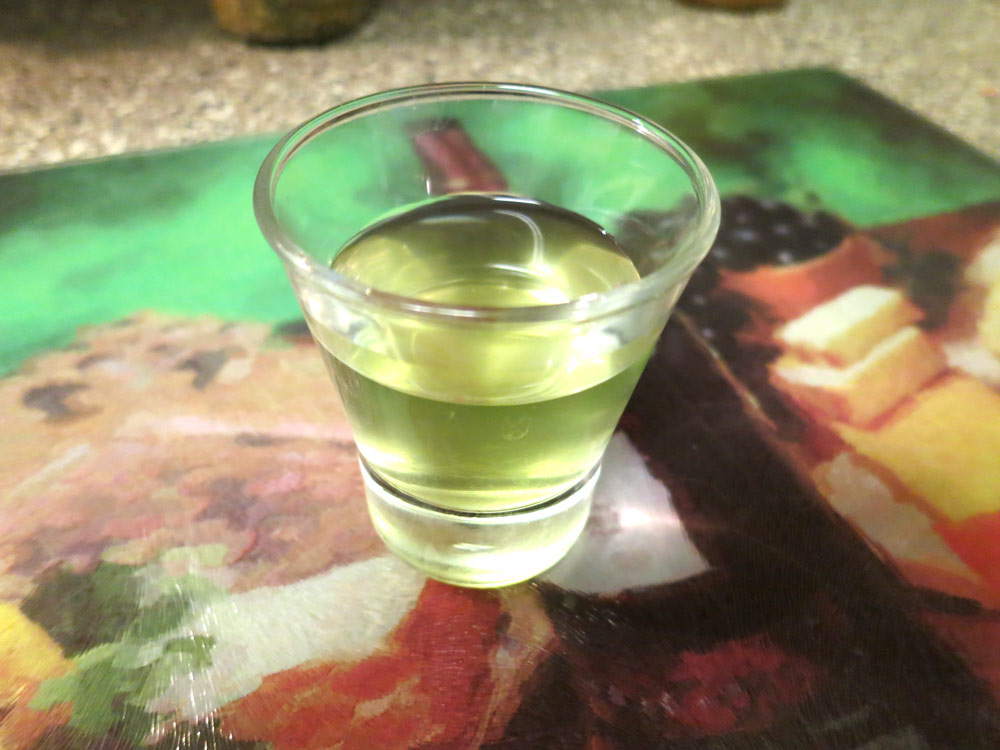
If there’s any excess water, drain it off into a shot glass and drink up – it’s got plenty of minerals, so don’t let ’em go to waste:
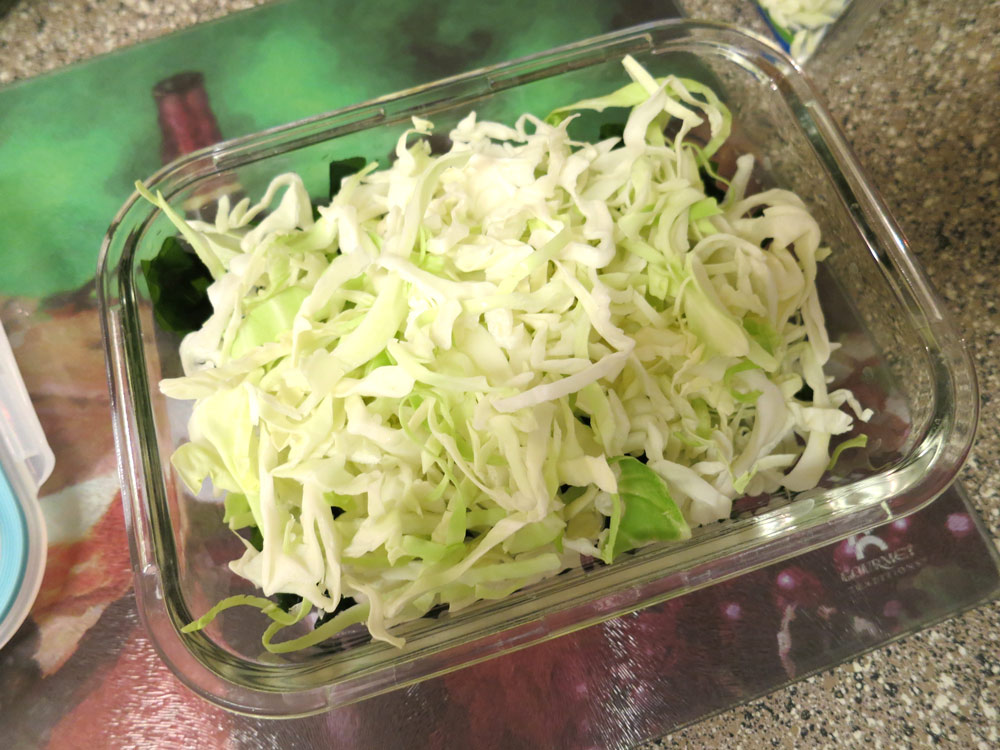
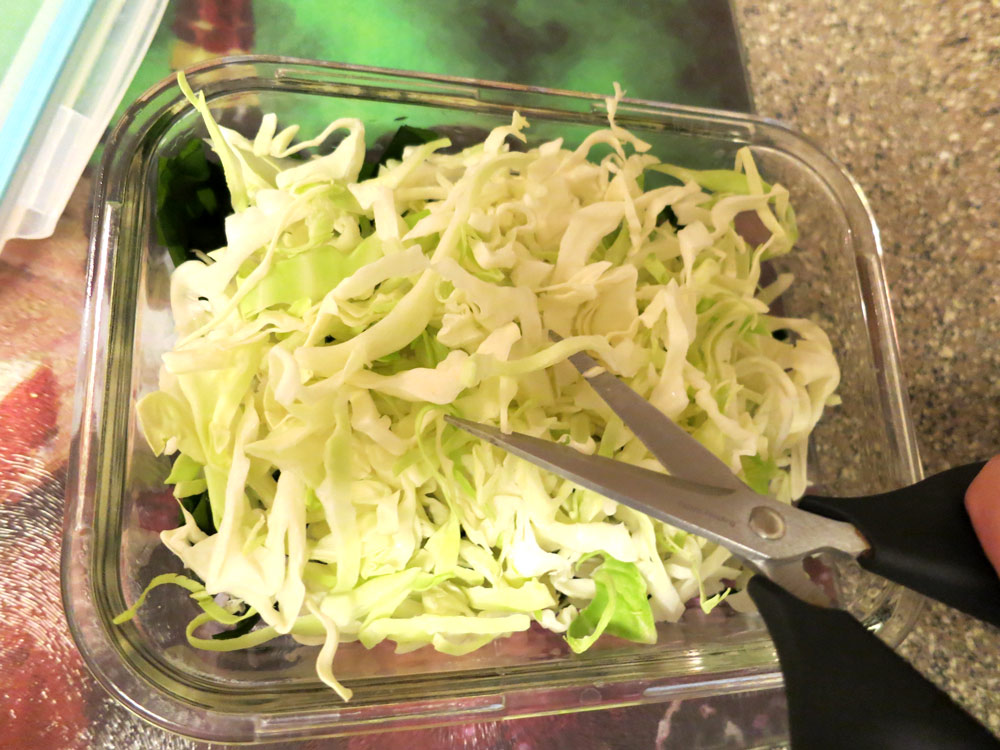
Now you’ll add your greens and/or veggies – if you buy them pre-packaged, it’ll save you loads of time, if you chop ’em yourself, just eyeball the amount you’ll need. I add enough cabbage to fill the container so it’s slightly heaping:
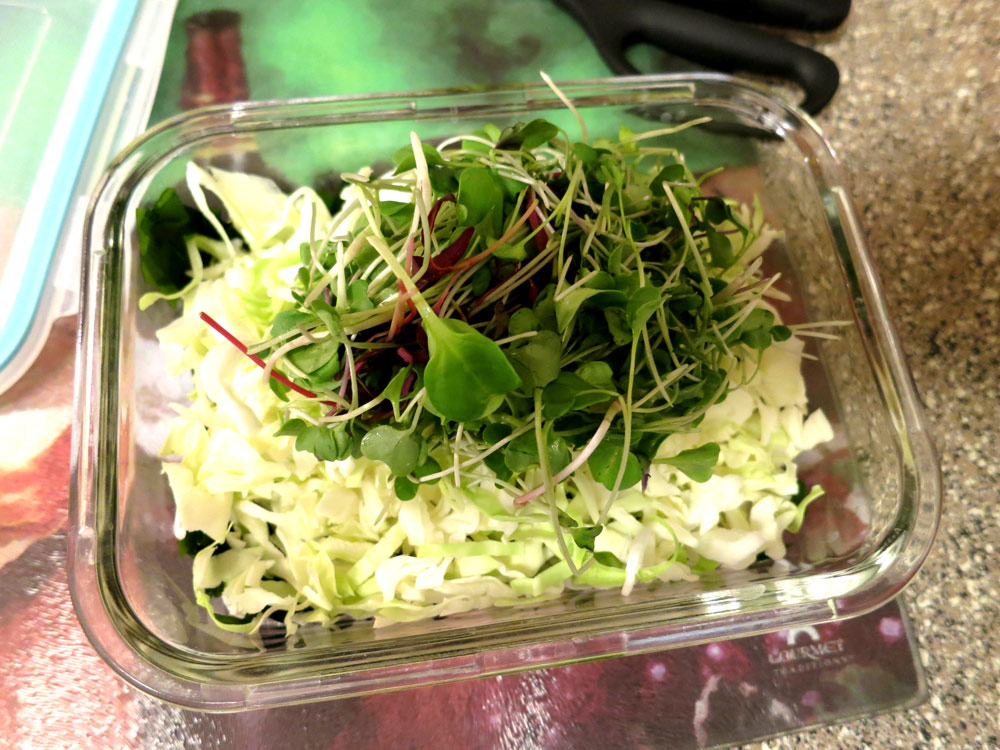
Don’t worry about everything fitting – the next step, you’ll use a pair of kitchen shears (or a very clean pair of office scissors) to “scissor” the cabbage so it starts to reduce in volume – and look more like confetti. I also rinse and add a healthy fistful of mixed salad or microgreens and scissor them a bit as well to de-vol:
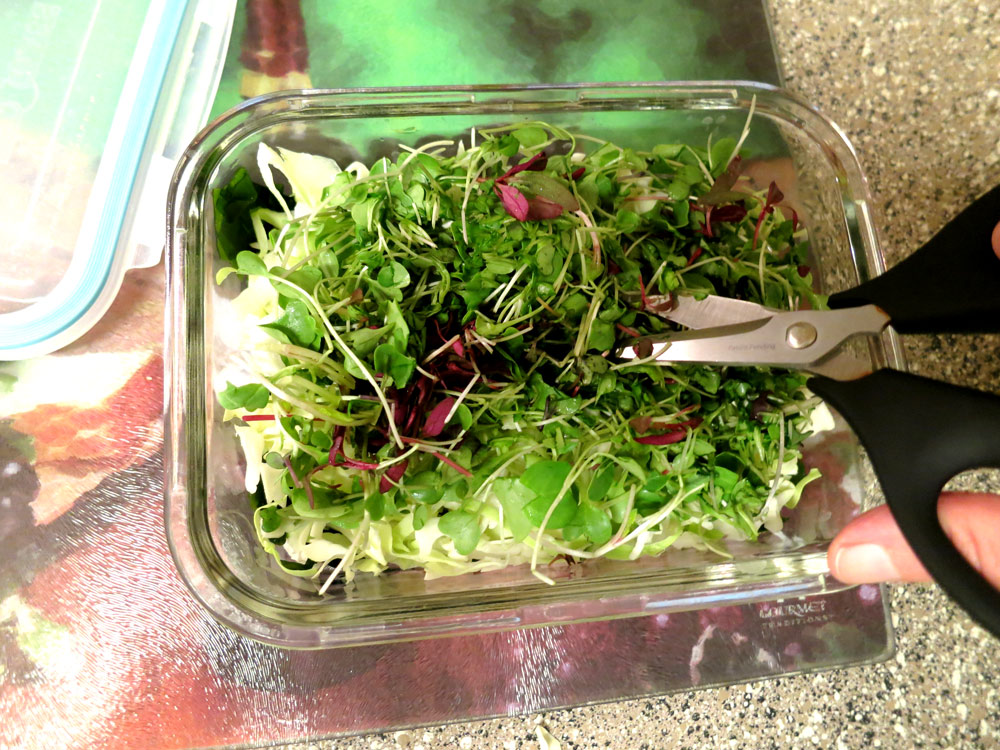
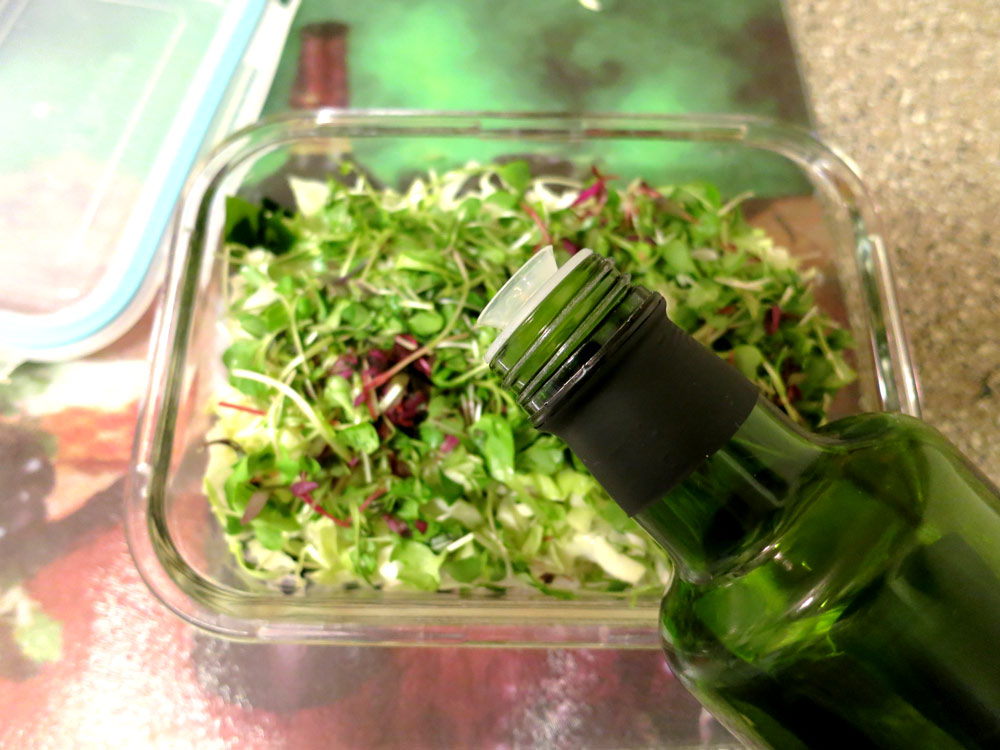
You’ll start noticing how the salad is becoming more dense after adding and scissoring. This creates the best conditions for spicing and marinading. To start, drizzle some olive oil over your scissored veggie-rehydrated seaweed mix:
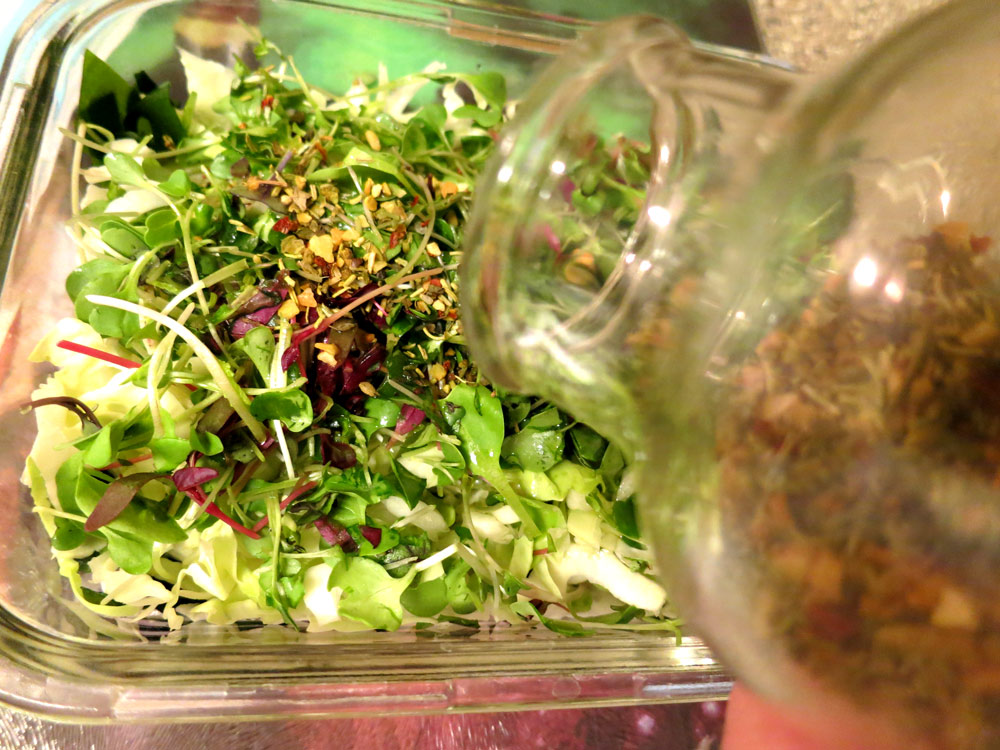
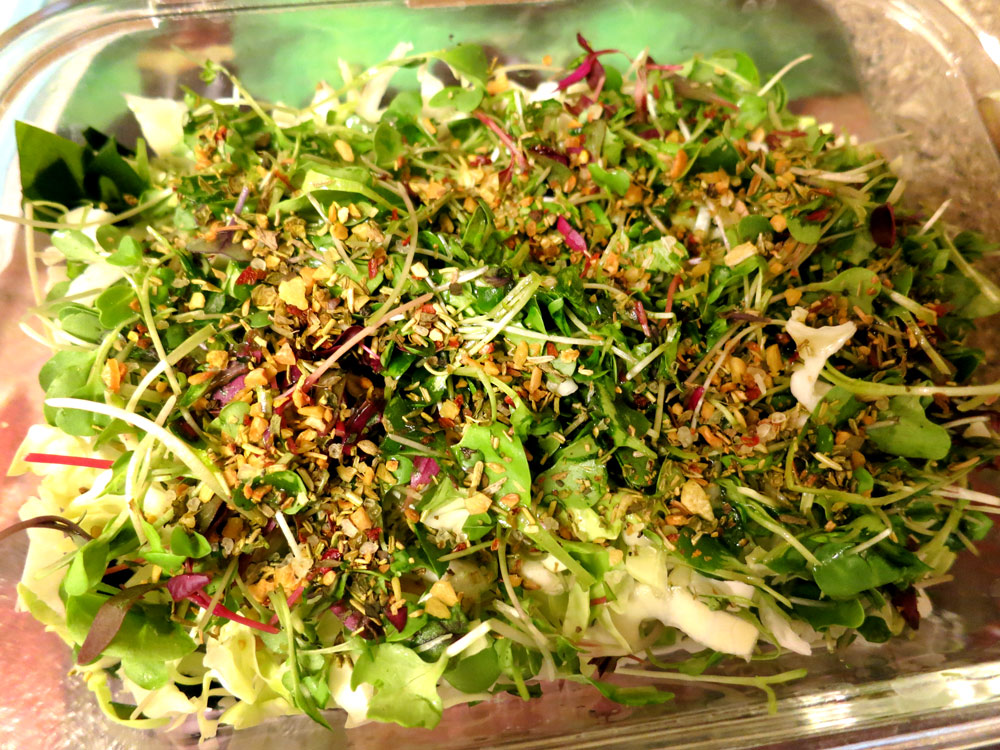
At this point, I’ll show you the spices I like to use at the moment – Fresh & Easy’s Rustic Tuscan, which has a selection of dried Italian herbs, vegetables and sea salt that makes this salad a winner. Pour enough on to give the top a nice coating, for flavor’s sake:
To finish out the marinade, drizzle vinegar over the whole thing. How much olive oil, spices and vinegar do I use? Approximately just under one tablespoon of olive oil, around the same for spices and slightly more for vinegar. It’s pretty scant, but these ingredients are the ones I’d categorize as “add to taste” – so start small, and if you don’t think there’s enough flavor, add a little more vinegar and/or spices later on.
Finally, gently and ever so slightly stir around your salad, just enough that the dried herbs and spices get mixed up in the oil and vinegar – they’ll need time to reconstitute, longer than the seaweed.
Once your mix is slightly stirred, secure the lid onto the container and place the whole container into the fridge for a few hours. At that time, take it out, stir it around so that everything is uniformly mixed together, then place it back into the fridge for another hour or two.
In just a few hours, the marinade will work its wonders and you’ll have a healthy salad to eat for days. And it can be extended or stretched to save you time and money – if you have extra chopped veggies or greens – or any old veggies that need using – you can add them and just a little more vinegar, oil and spices, stir them around, and you have salad for another couple of days.
Enjoy!
Yours in Great Health,
Alison