
Category : Heavy Metals
In my constant pursuit of taming the sugar beast, I can be frequently found in the kitchen trying to figure out just how many goddamn ways there are to use stevia. As it turns out, there are a lot.
And now that Spring has sprung, I find I have a taste for something sweet and light to match the warmer weather. An added bonus is the gelatin in this recipe, which helps build up the gut lining for those of us who have dealt with leaky gut. Alternatively, consider using agar or other non-gelatin product if you are vegan or vegetarian. Seaweed has a benefit as well: It helps to clean up the heavy metals within the body, something which I’ve dealt with on more than a few occasions over years, including now.
Stevia is a no-sugar, no-calorie sweetener that is far sweeter than sugar, so a little bit goes a long way. But the challenging thing about it is that it doesn’t provide the bulk that white sugar or other sugars provide to a recipe. In the case of Lime (or Lemon) Wiggles, the bulk is just water and gelatin mixed with a bit of fruit juice, which is stored in the fridge for firmness’ sake.
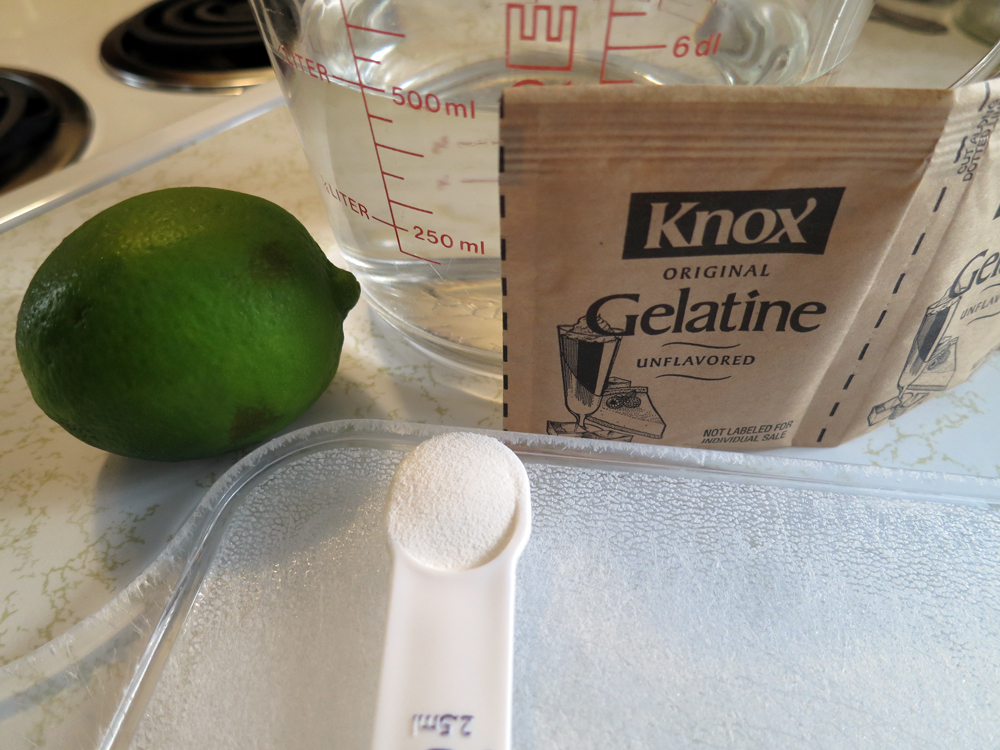
This little recipe is fast, easy, sugar-free and light. There are no sugar alcohols, sugar, fats, artificial flavors or colors. It’s just a little juice, water, stevia and gelatin:
- 500 ml water
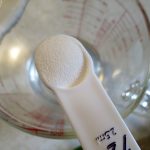
- 2.5 ml stevia (or more, to taste)
- 2 limes or 1 large lemon, to taste
- 2 packets gelatin
- A small saucepan
- A gelatin mold or other container
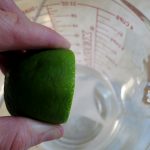
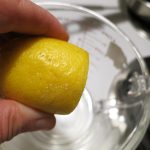
First, choose your fruit – lemon or lime. I find that using the juice of a whole, fresh lime is enough to satisfy my taste buds. If using lemon, I gauge it by the size of the lemon. If it’s on the larger side, I might use just half of it, but if I’m in a particularly sour mood, I’ll use the whole thing…and maybe a bit more than the usual 2.5 ml of stevia powder, which produces a mild, not overbearing level of sweetness.
Note as well I am now using metric measurements. I’ll probably add a conversion tool to the recipes on this blog, but I’ve decided to join the rest of the civilized world – actually, the rest of the world, period. Out of 195 countries on planet Earth (as of this writing), only three are still living in their colonial past: Burma, Liberia and the good ol’ US of A. Yep, we’re still acting like a British colony, all the talk about being “great again” notwithstanding.
But forward we must go if we are going to make it to dessert. To this end, fill your measuring container with 500 ml of water, then empty 300 ml or so into your pan and set it aside.
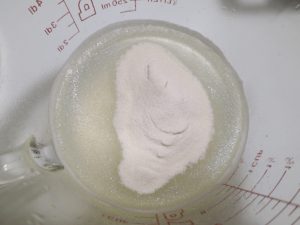
Then, cut your lime or lemon in half and squeeze the hell out of it over the remaining 200 ml to get all the juice you possibly can. This will help with your border frustration as well as your search for the imperialist equivalents to my metric measurements here. Next, add your 2.5 ml of stevia powder and mix it well with your newly-minted lime or lemon juice mixture:
And finally – and very slowly and evenly – pour in the contents of both packets of gelatin (or the equivalent agar, etc.). VERY IMPORTANT: Let the gelatin absorb fully into your juice mixture, or else you will find your self stirring for a long, long time to dissolve the little gelatin gummies that can form if it hasn’t sufficiently dissolved.
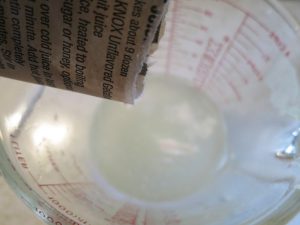
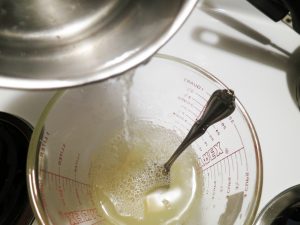
This may take several minutes (at least), so be patient, and please note that it is best to wait on boiling the water you set aside in the pan until all the gelatin has completely absorbed, as seen below:
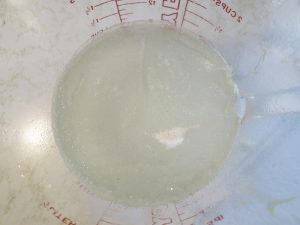
Once the gelatin in absorbed and you see no more powder on the surface, quickly boil and pour the hot water into the gelatin-juice mixture and stir vigorously until you have silky-smooth liquid, which will be light yellow in color whether you are using lime or lemon.
Taste the stirred mixture to see if it is sweet and/or tart enough for your tastes, adding more stevia or fruit juice as desired.
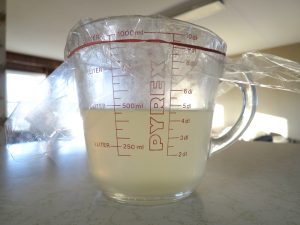
Let the mixture cool and then cover and place into your refrigerator, or pour the gelatin-juice mixture into your gelatin mold(s) of choice. You may even add in things at this point, such as whole fruit slices. Note that I’ve simply poured the hot water back into my original glass measuring container and let it cool before covering and refrigerating:
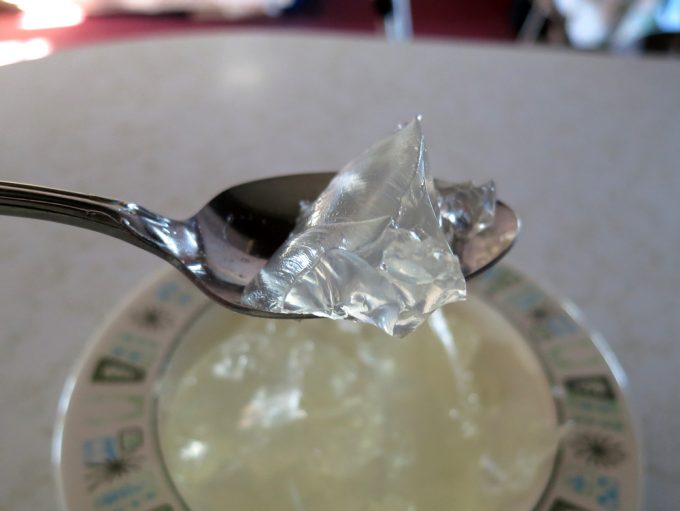
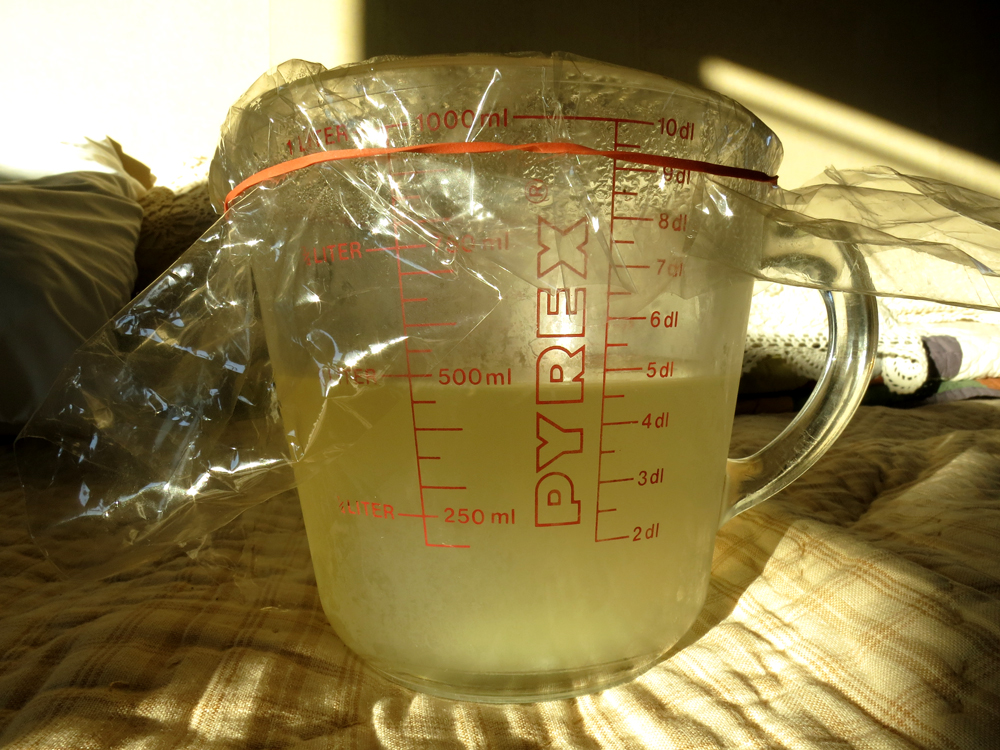
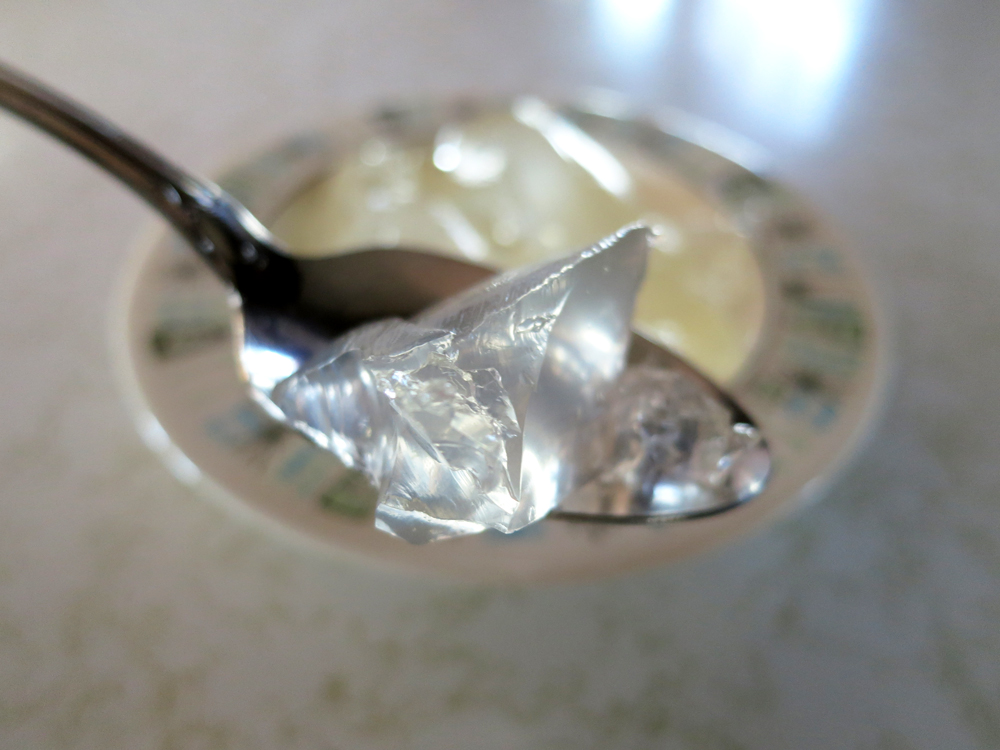
I usually let it sit in the fridge overnight, after which time I always have a very firm, very, VERY wiggly gelatin to spoon out several generous portions. Taking it out first thing in the morning is always fun…and it leads to eating a breakfast-dessert (who says every meal can’t have a dessert?). In any case, these Wiggles can start your day off very brightly…they are truly a light in the darkness…
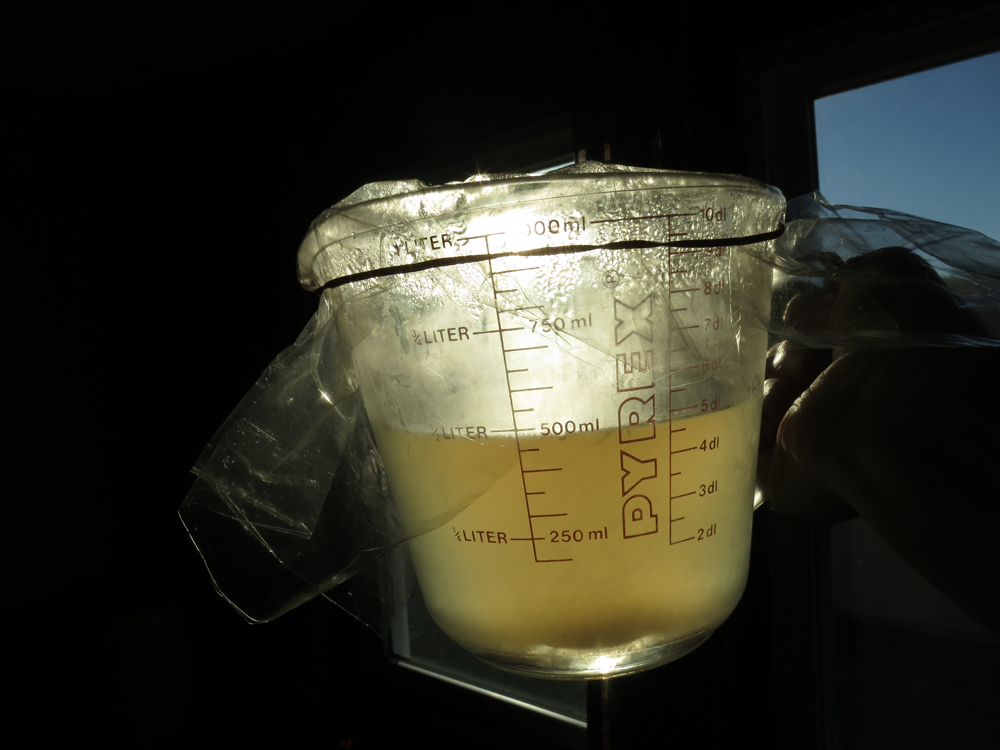
…and they can catch the first morning’s rays quite beautifully…
…and, of course, like Weebles, Wiggles wobble, but they don’t fall down…

In any case, enjoy…and this dessert is fantastic topped with vanilla yogurt, or even swirled in before refrigeration. Whipped cream is also great (the kind without the sugar!).
Yours in great health,
Alison
When people ask me what is most effective to keep the cancer cell count down to a minimum, I respond that chief among my medical therapies is the use of IV Vitamin C drip, or Intravenous Vitamin C.
To date, I’ve taken these treatments, which usually take a couple hours apiece, in both Mexico (Tijuana) and the US (Las Vegas). The cost in Mexico: $100. In Las Vegas: $160. In other words, Las Vegas is comparable enough cost-wise that the extra $60 is still a savings on the travel costs to Mexico, if you are just going for a standalone Vitamin C IV drip (which, at times between trips to Mexico for more all-inclusive health services, is the case).
The treatments themselves involve a needle-stick into a prominent inner-elbow vein, followed by the drip itself, which comes via plastic tube down from an IV bag, from which 50 grams (my dose, specifically) of Vitamin C is delivered, straight into my bloodstream.
Its actions are well-known…here are a few of the highlights:
- Chemotherapeutic action: It is a great cancer-fighter, because peroxide is created in the blood. This is due to the response of cancer cells to the Vitamin C, which is to create said peroxide. Normal cells do NOT make peroxide like cancer cells do in reaction to Vitamin C – making Vitamin C IV drip therapy a highly-effective, highly-targeted therapy. If you’ve studied Otto Von Warburg’s contributions to our collective knowledge about cancer, you know that cancer cells are anaerobic and that oxygen will kill them – and peroxide in the blood for raising oxygen levels is nothing new.
- Anti-inflammatory: Aside from the stress hormone cortisol, inflammation is enemy number one of good health. Inflammation plays a role in cancer and countless other disease processes, and Vitamin C IV can ameliorate this greatly.
- Heavy metals detoxification: Vitamin C IV is given to me by American Bio Dental in Tijuana, Mexico, for the purpose of keeping heavy metals from re-depositing in my system while undergoing mercury amalgam removal. Detoxification from these was very necessary in my case to even begin relieving my body from cancer growths, that is how toxic I was.
- Digestive & renal system bypass: Vitamin C IV drip goes straight into your veins, so there’s no going through the digestive and renal system barriers, which can limit the amount of Vitamin C that actually enters the system. This means blood levels of Vitamin C which are higher (and therapeutic) versus those which would be limited by the digestive and renal systems (and thus are lower and less effective).
I know quite a bit about that last one, having had some kidney weakness rear its ugly head from time to time. The desert environment of Las Vegas provided the treatment – namely beneficial minerals in small, steady amounts and liquids to match – but I can attest that at 50 grams per drip, I’ve never felt better.
Sensation-wise, it feels like an almost-high to me…I can literally feel my veins expanding to accommodate the IV drip’s contents. The first time I had this treatment…it was a bit disconcerting, it was like I was being “filled up,” but in a very good way 😉 Still, I wondered if I would really be okay…you know how those thoughts travel across your mind…but…I felt so much better and clearer in the head afterward, I was sold.
As for frequency of these treatments, that depends on the person and where they are in their treatment, what their treatment goals are, how many treatments they can tolerate, etc. Even though I say here that the Vitamin C IV drip bypasses the kidneys – i.e., the renal system – large amounts in your system can still affect renal function. The lesson: It is always best to start small – and I know some individuals who started with 10 grams and worked their way up to more, once it became clear the treatment was beneficial. As with every other treatment, everybody’s different, meaning every BODY is different, and thus your individual profile, including your sensitivities, must rule the day.
When choosing a Vitamin C source, please take very good care. I know some people for whom the treatment worked great…until they changed their provider and ran into serious problems because they received a different source for making their IV drips. All ingredients – including additives and preservatives – should be disclosed in full to anyone receiving an IV drip – this is going directly into the veins. If something is in your drip that doesn’t like you, you’ll know it – and most likely very quickly, so don’t end up on the wrong end of that equation.
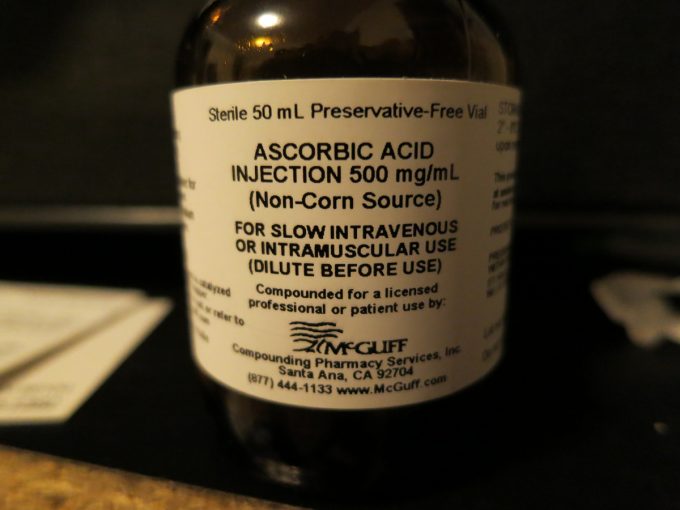
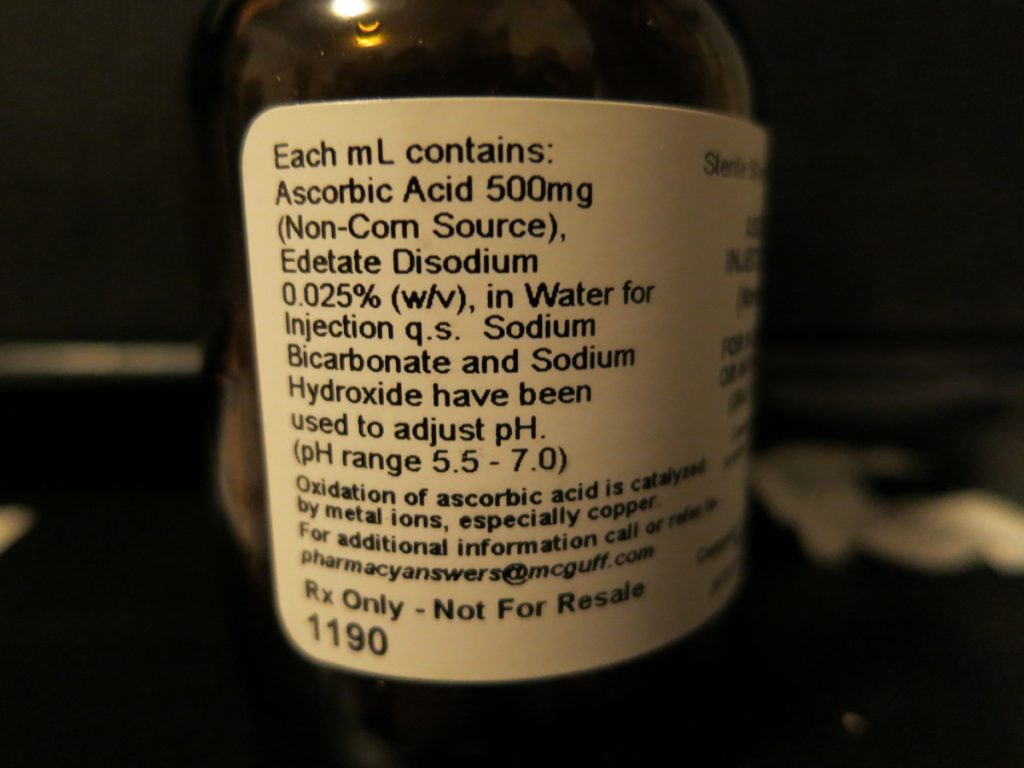
To this end, a wonderful doctor in Las Vegas gave me the bottle that he used to make my IV drip, fresh on the spot. Take a look at the following image, which shows the ingredients for a drip which made me feel great and has no preservatives:
And of course, check out the image behind this content or at the very top of this post for the “front page” of that same bottle…and note where it says “Preservative-Free.”
So it really is worth checking out Vitamin C IV drip therapy as a possible cancer treatment. Cancer is one of those things where I don’t want to leave any possible stones unturned. Vitamin C IV therapy has worked many wonders for me, and it is possible it will for you as well.
As always, do the research. Know thyself! And find great doctors – as guides, not gods – to help you.
Yours in Great Health,
Alison
Given all the advice I’ve gotten to rid my system of heavy metals (and radioactive elements – and keep them out), I’ve taken to eating seaweed salads on a pretty regular basis.
Seems seaweeds have a real knack for drawing heavy metals, et. al., out of sewer systems – and human bodies. They hide no secrets, and carry with them the histories of the systems they’ve travelled through. Just such a confession does a body good.
Not to mention my Chinese Doctor here in Vegas keeps reminding me they’re jus’ plain ol’ good for my type as well as my biochemical makeup, and there’s nothing like a really healthy seaweed salad to remineralize the works while wicking out the baddies.
This recipe is one which I categorize as On-The-Fly – that is, you add ingredients, not in exact amounts, but in relation to each other, depending on what you have on hand. It is entirely flexible, but here’s where I start (and by all means, use organic wherever possible):
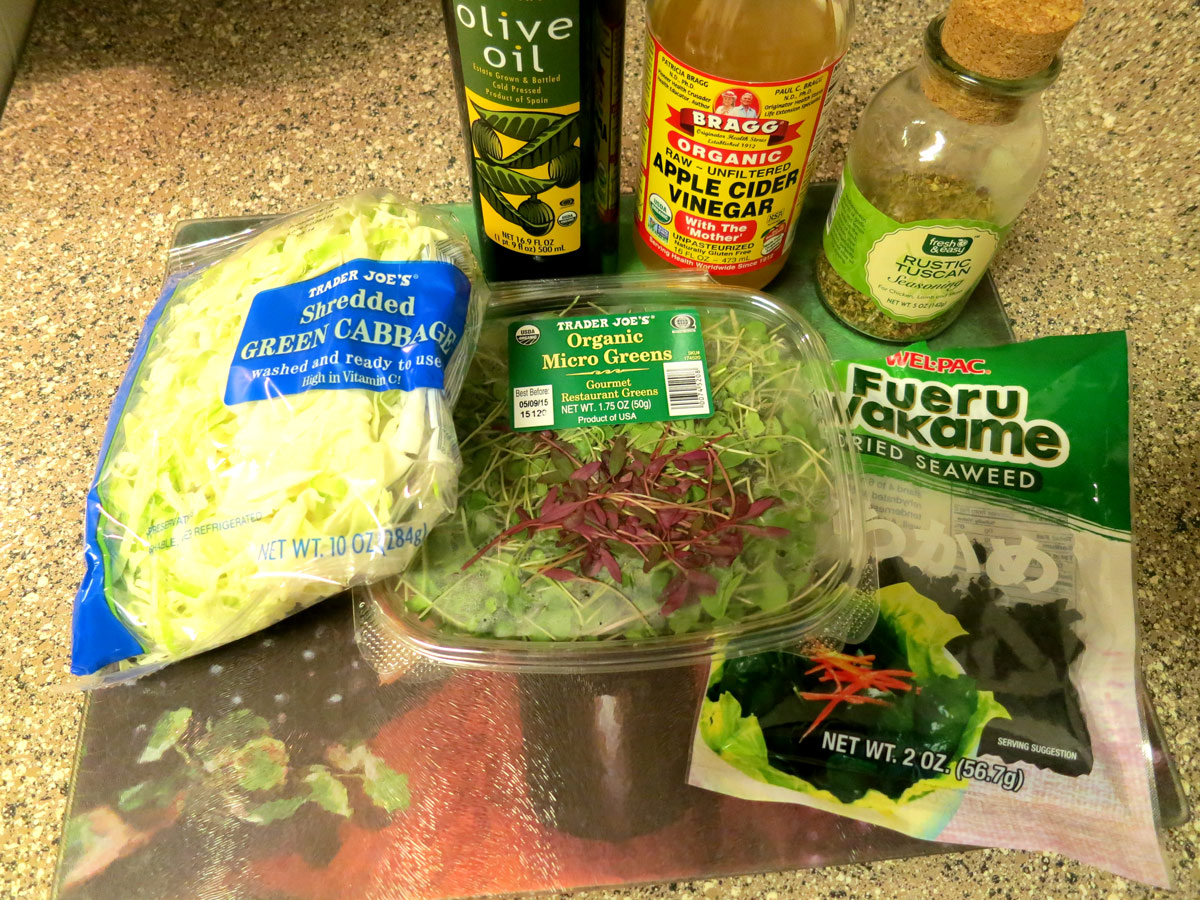
- Greens and/or Veggies of Your Favorite Kind (Shredded Cabbage, Shredded Kale, Trader Joe’s Broccoli Slaw, Mixed Salad Greens, MicroGreens…the choices are endless)
- Dried Seaweed (Your Choice – I’ve used Wakame and Mixed)
- Olive Oil
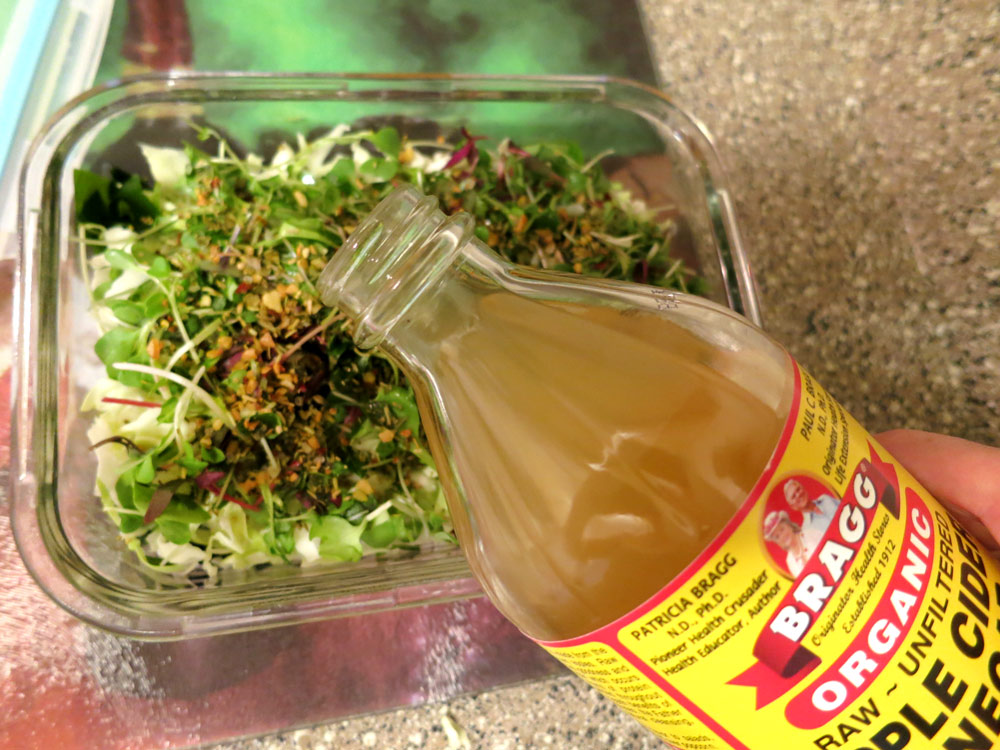
- Vinegar (I use Apple Cider Vinegar)
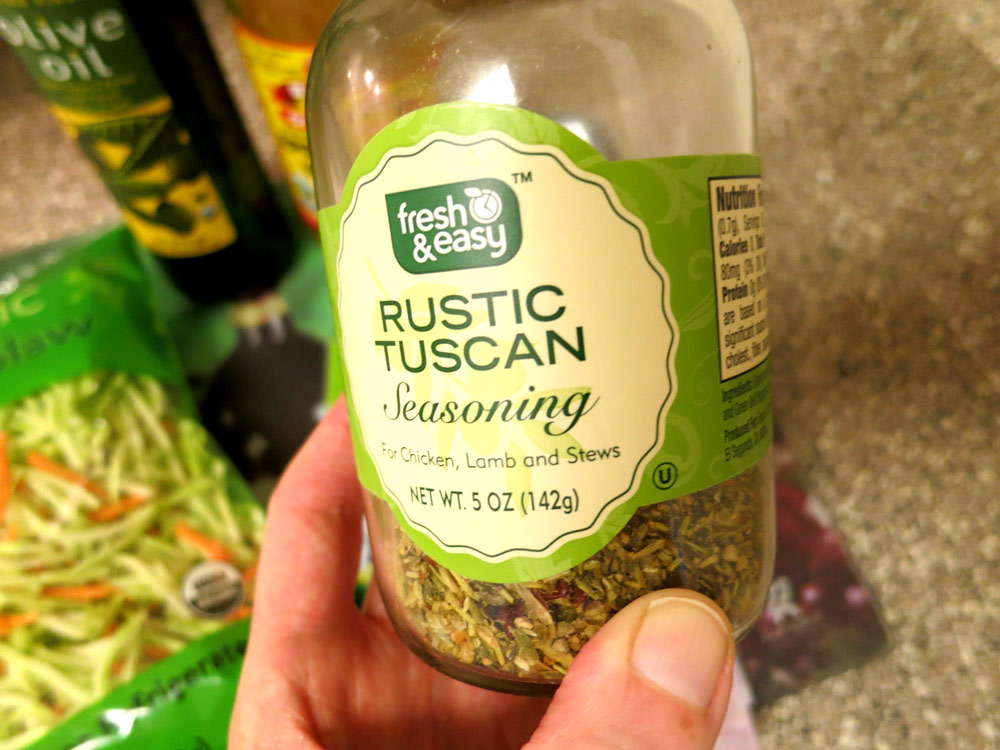
- Dried Spice Mix (Again, Your Choice – Right now, I’m using Fresh & Easy’s Rustic Tuscan, but why not Herbs de Provence or the like?)
You’ll also want to have on hand:
- 3-Cup (or 715 ml) glass storage container with snug-fitting plastic lid
- Water (Spring is best – enough to rinse veggies as necessary)
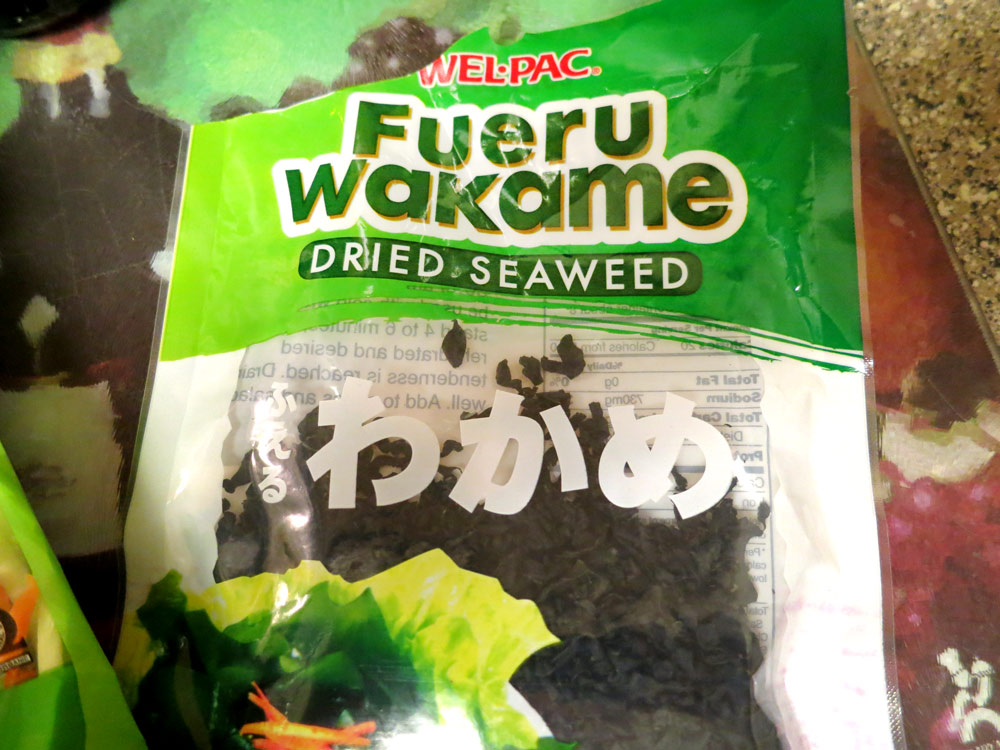
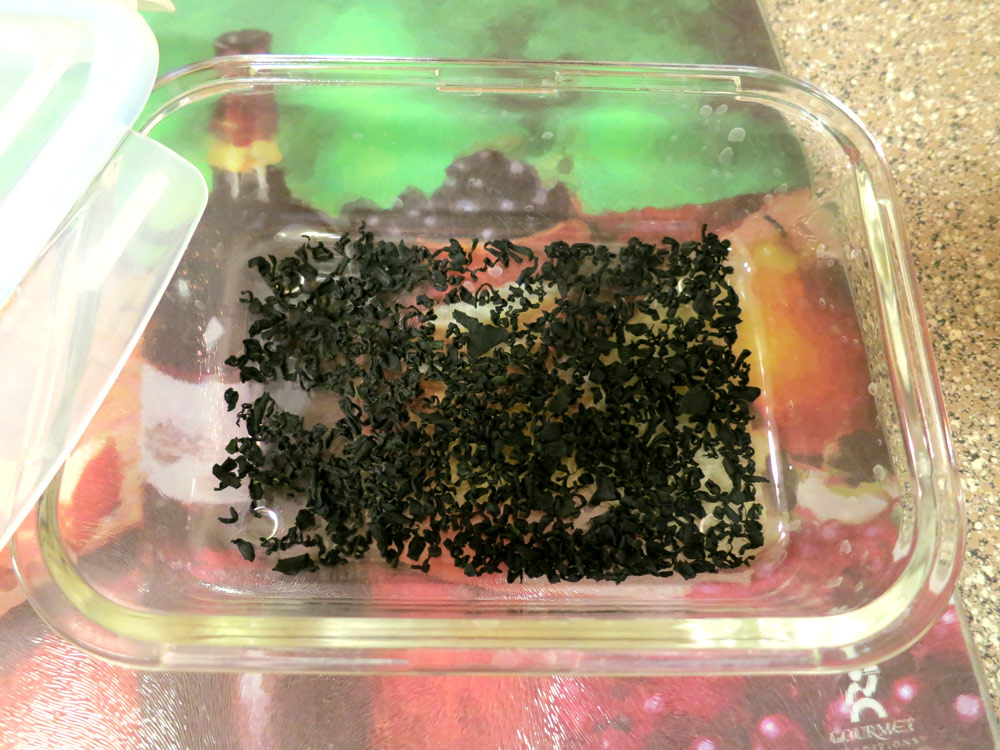
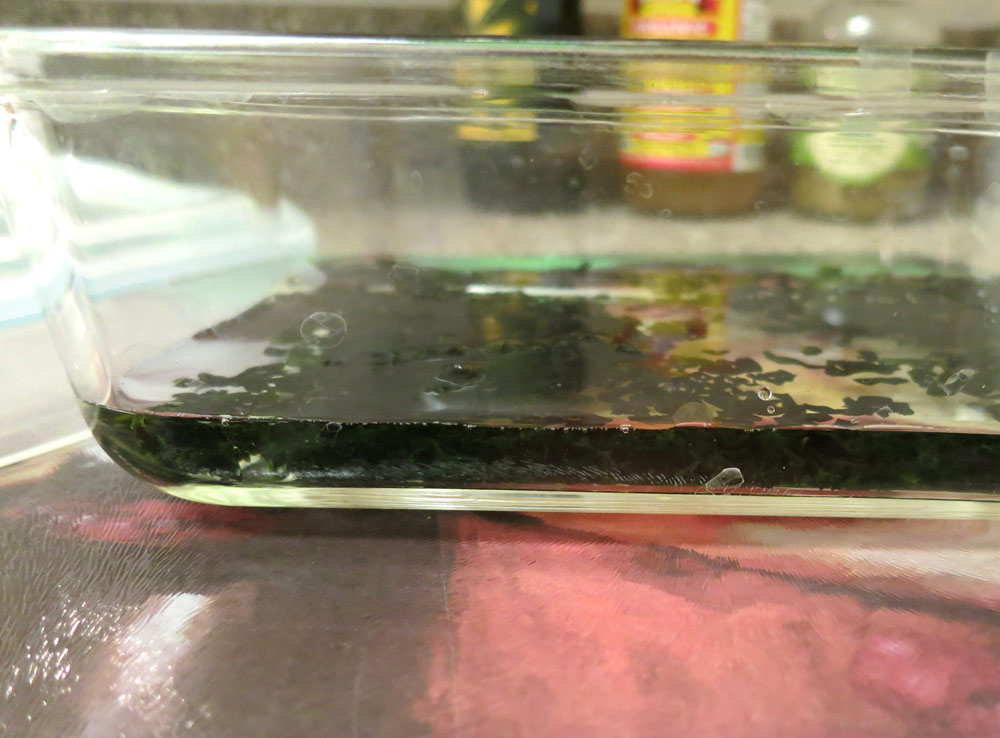
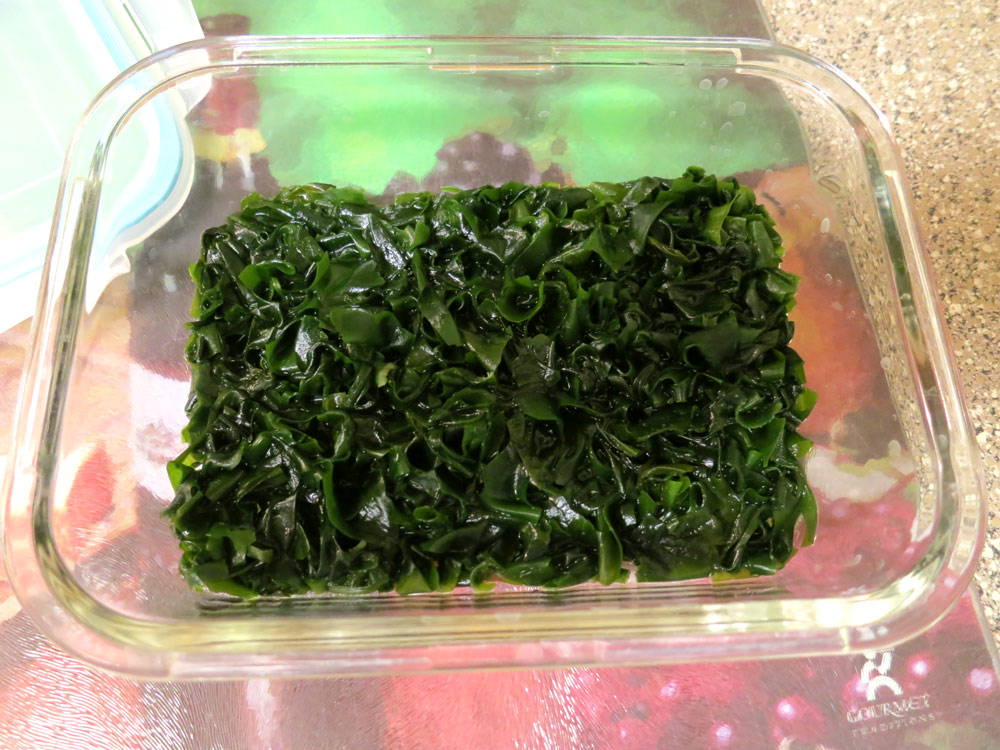
Pour your dried seaweed of whatever type into your glass storage container, just enough to cover the bottom, as in the middle thumbnail shot, above. Next, add about 1/2 – 3/4 inch of spring water. You’ll see the seaweed start to rehydrate, which is cool to watch. Cover loosely with the container’s lid and give it 20-30 minutes to totally rehydrate, stirring it around midway just a bit to distribute the water evenly and make sure there are no dried holdouts. It should look like this:
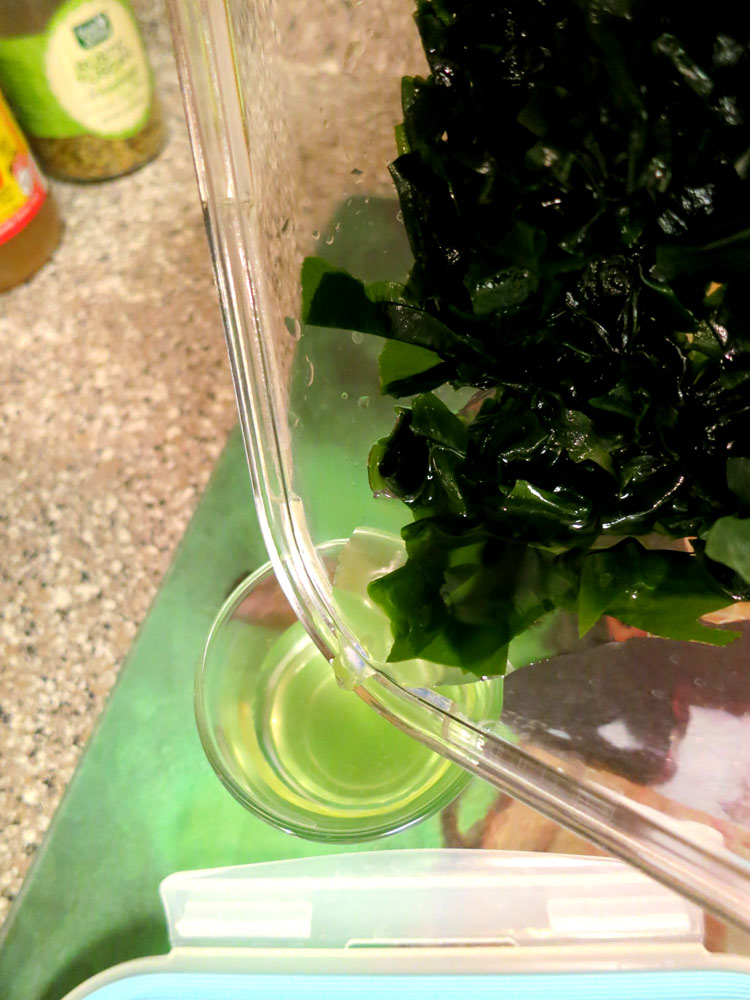
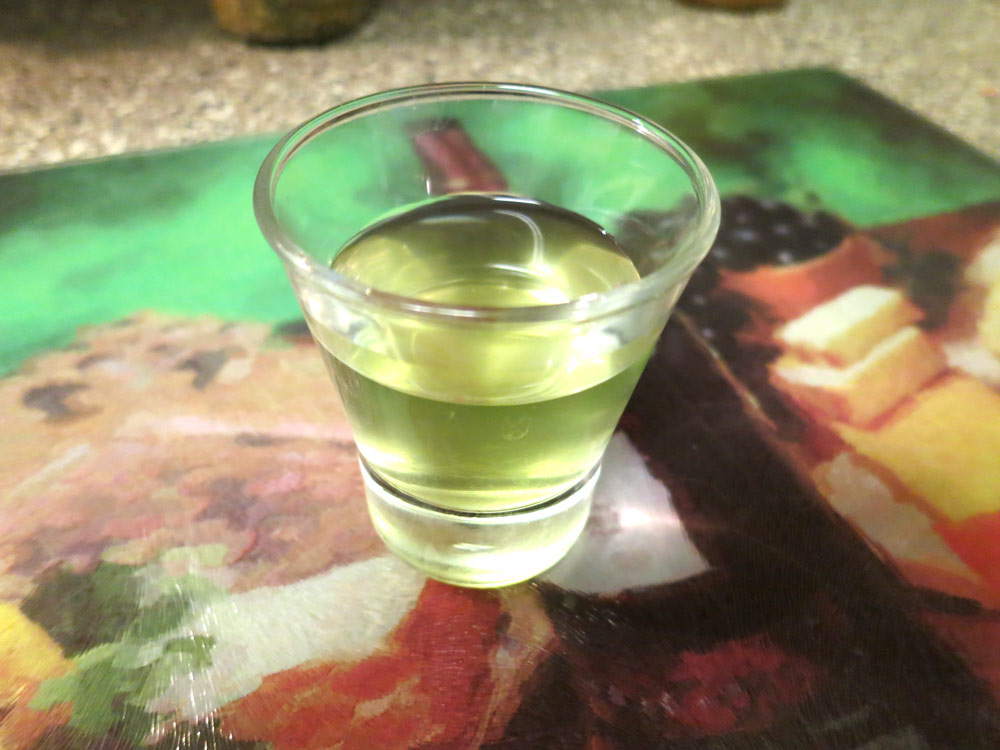
If there’s any excess water, drain it off into a shot glass and drink up – it’s got plenty of minerals, so don’t let ’em go to waste:
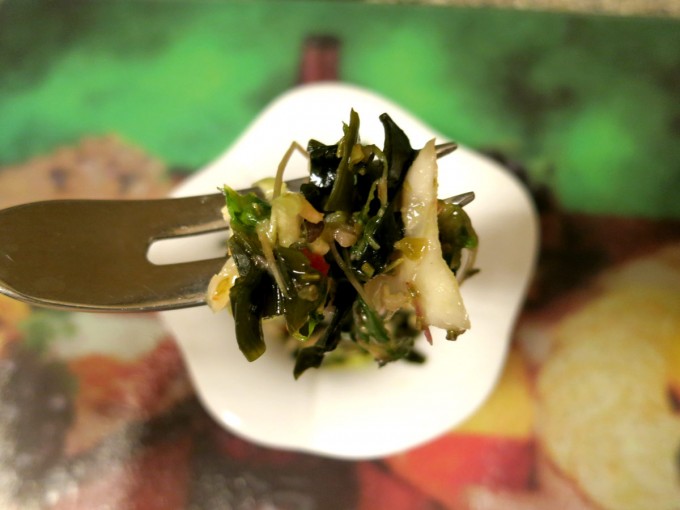
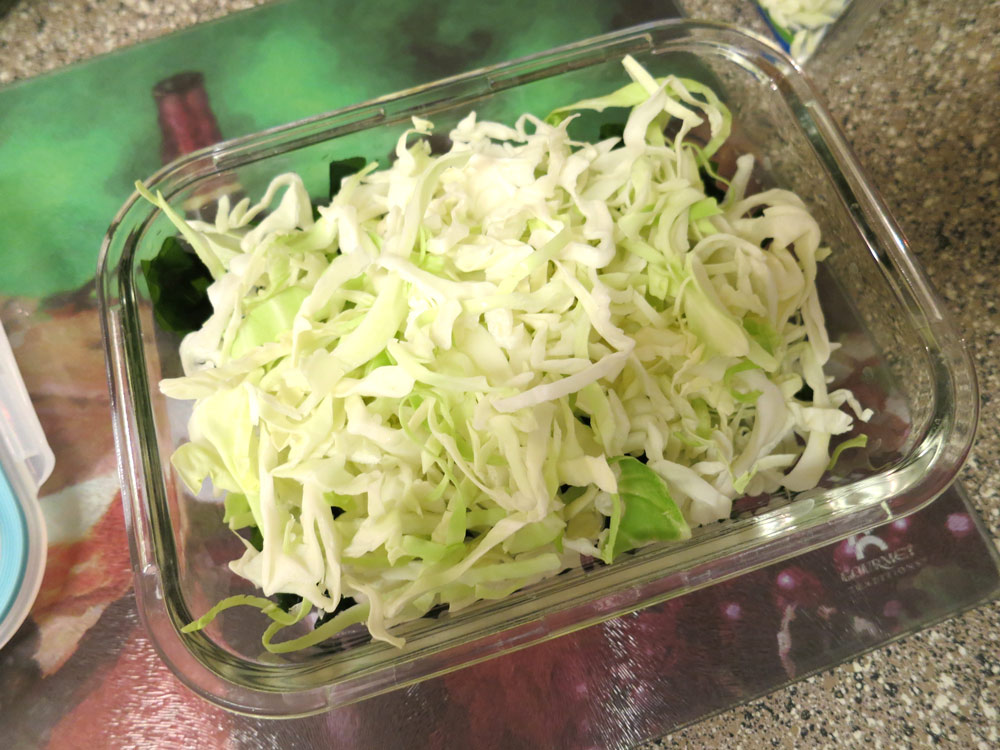
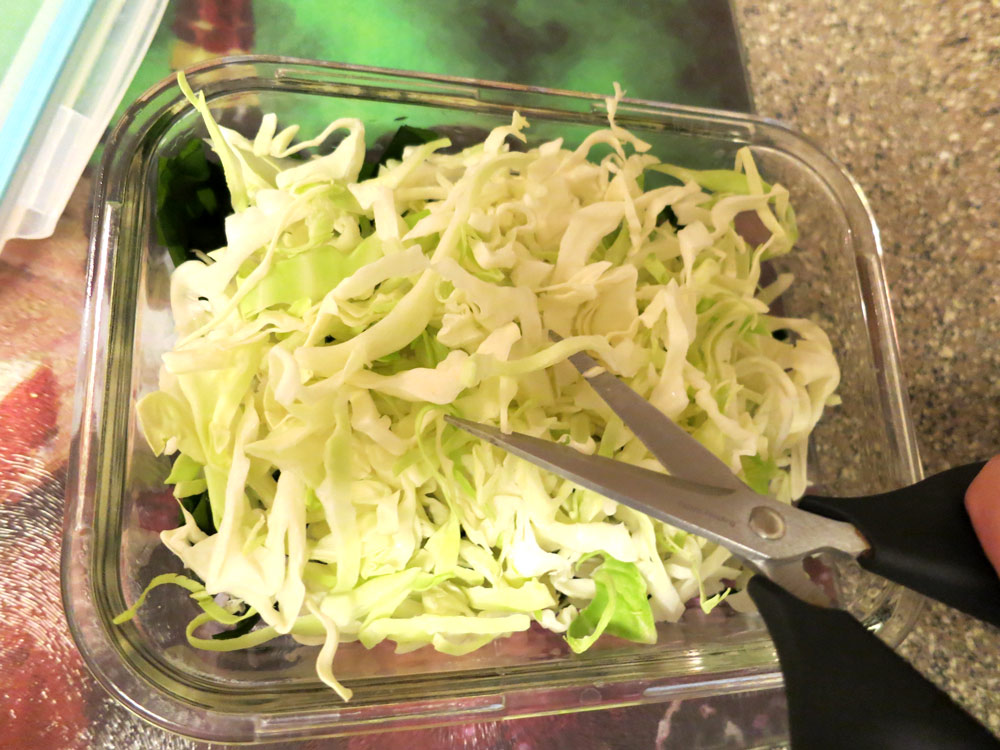
Now you’ll add your greens and/or veggies – if you buy them pre-packaged, it’ll save you loads of time, if you chop ’em yourself, just eyeball the amount you’ll need. I add enough cabbage to fill the container so it’s slightly heaping:
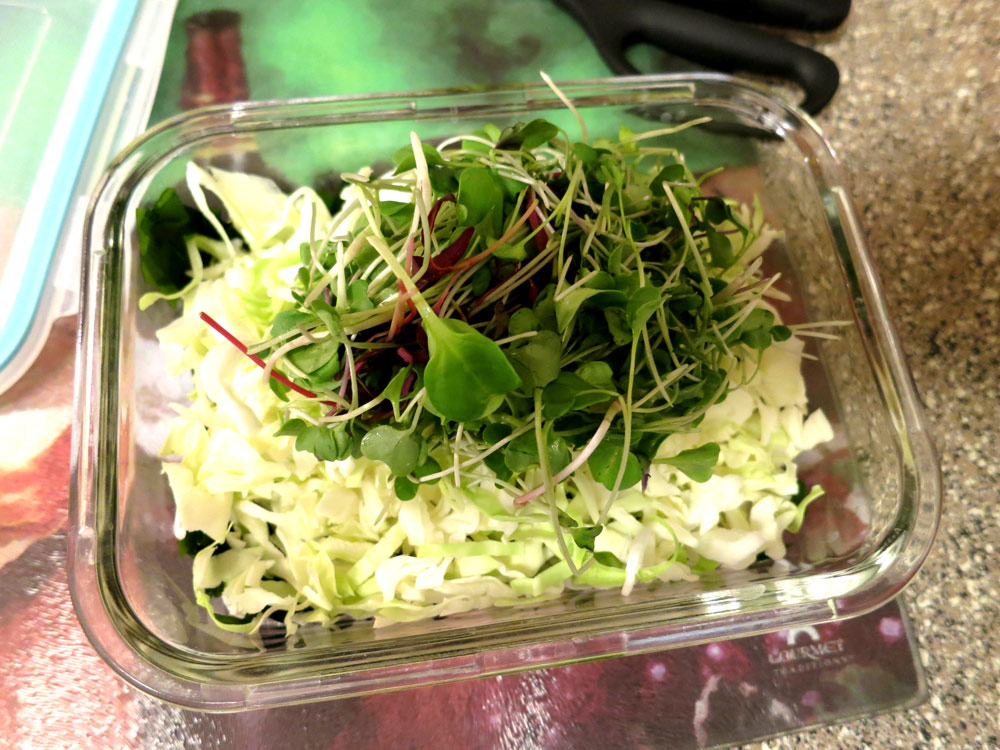
Don’t worry about everything fitting – the next step, you’ll use a pair of kitchen shears (or a very clean pair of office scissors) to “scissor” the cabbage so it starts to reduce in volume – and look more like confetti. I also rinse and add a healthy fistful of mixed salad or microgreens and scissor them a bit as well to de-vol:
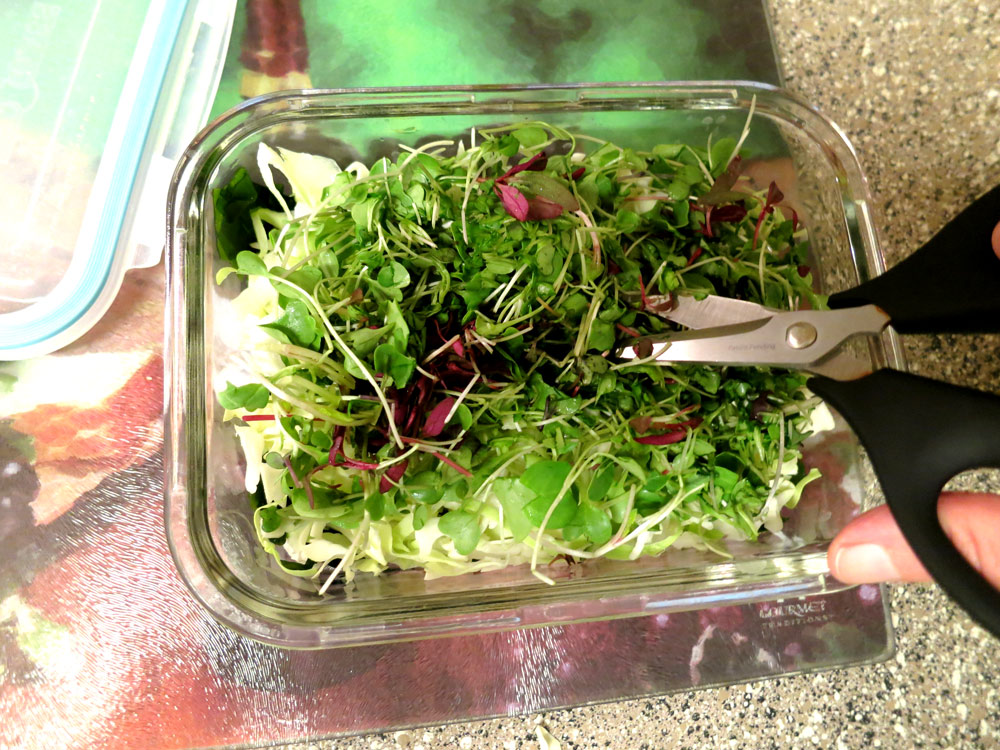
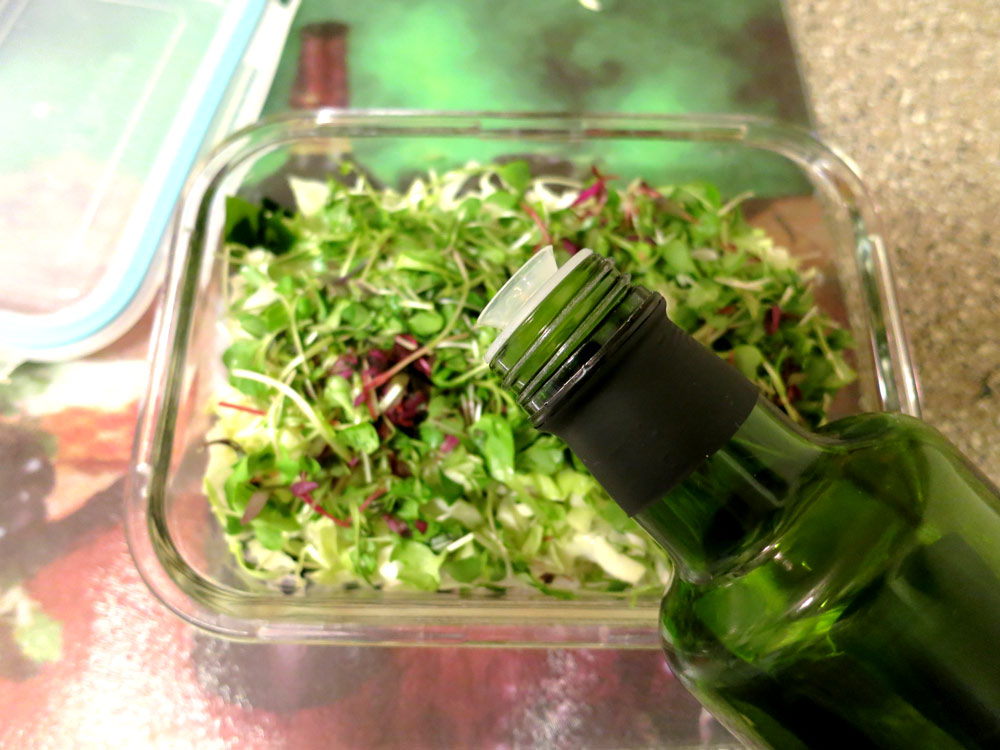
You’ll start noticing how the salad is becoming more dense after adding and scissoring. This creates the best conditions for spicing and marinading. To start, drizzle some olive oil over your scissored veggie-rehydrated seaweed mix:
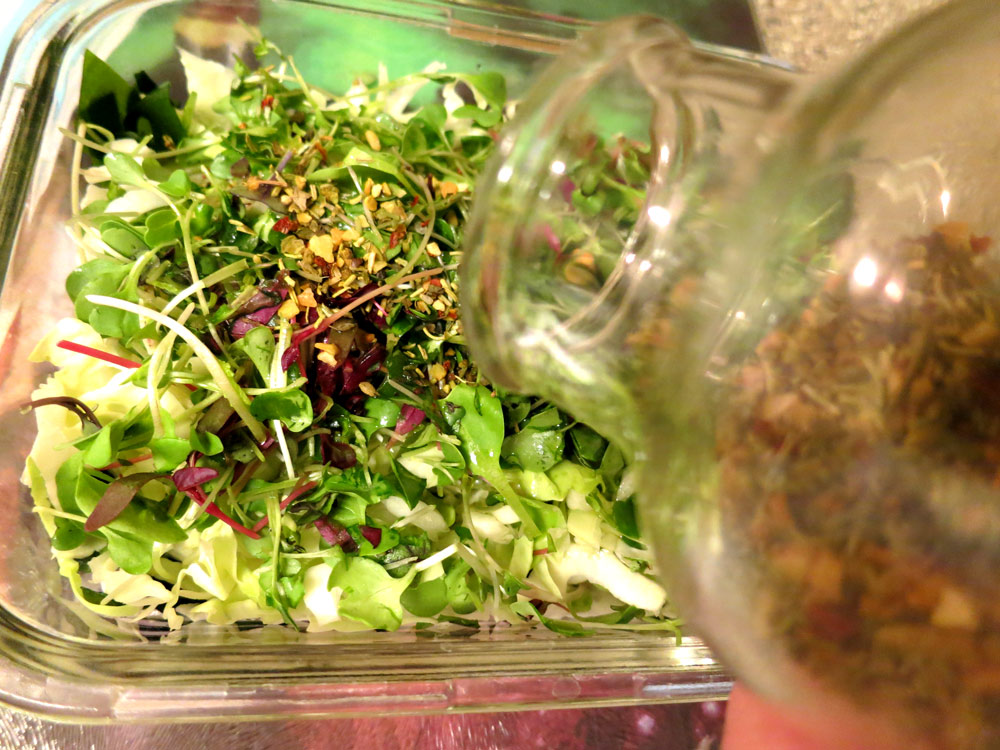
At this point, I’ll show you the spices I like to use at the moment – Fresh & Easy’s Rustic Tuscan, which has a selection of dried Italian herbs, vegetables and sea salt that makes this salad a winner. Pour enough on to give the top a nice coating, for flavor’s sake:
To finish out the marinade, drizzle vinegar over the whole thing. How much olive oil, spices and vinegar do I use? Approximately just under one tablespoon of olive oil, around the same for spices and slightly more for vinegar. It’s pretty scant, but these ingredients are the ones I’d categorize as “add to taste” – so start small, and if you don’t think there’s enough flavor, add a little more vinegar and/or spices later on.
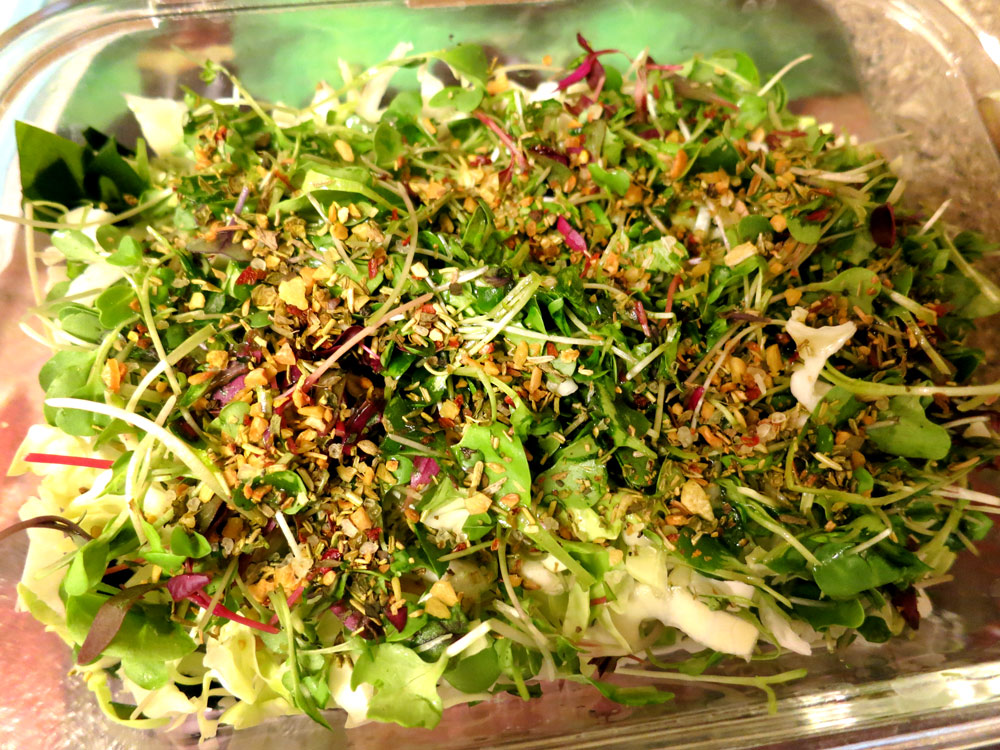
Finally, gently and ever so slightly stir around your salad, just enough that the dried herbs and spices get mixed up in the oil and vinegar – they’ll need time to reconstitute, longer than the seaweed.
Once your mix is slightly stirred, secure the lid onto the container and place the whole container into the fridge for a few hours. At that time, take it out, stir it around so that everything is uniformly mixed together, then place it back into the fridge for another hour or two.
In just a few hours, the marinade will work its wonders and you’ll have a healthy salad to eat for days. And it can be extended or stretched to save you time and money – if you have extra chopped veggies or greens – or any old veggies that need using – you can add them and just a little more vinegar, oil and spices, stir them around, and you have salad for another couple of days.
Enjoy!
Yours in Great Health,
Alison
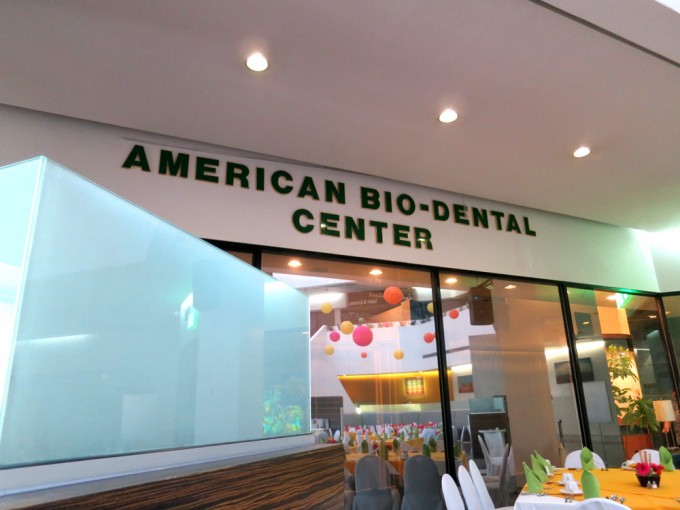
[This is a blog on my experiences travelling to and at American BioDental, a Mexican dental clinic specializing in holistic dentistry and alternative treatments for cancer, such as IV Vitamin C.]
While researching on treatment tactics for the breast lesion I was dealing with in 2012 and 2013, I found dental revision being recommended over and over as a foundation-level plank in the overall platform for beating cancer. Many self-directed cancer treatment sites even go so far as to say it may be enough in itself to clean up the dental environment to see big improvements, so my search was on!
Who knew this would be my view when I got there?

When looking around for a dentist to clean up the remaining mercury mess in my mouth, I sought four things:
- Simpatico. That whole feeling of likeability and ease of working together that is critical to any doctor-patient relationship, or should be. I’m not much of a yes-person and I sure don’t like being dictated to, then charged for it.
- Holistic. To a fault here, after years of having leaking mercury in my mouth, not by choice and which were never vetted as compatible with me…and, ummm, mercury isn’t compatible with…humankind.
- Qualitative. I wanted the best material my money could buy – and the least harmful, aka the most biocompatible. Anything being permanently placed in one’s mouth will certainly affect overall health. Profoundly.
- Affordable. I live in the US and own a body. Need I elaborate?
After much research and talking to various people, I chose American BioDental Clinic, located in Tijuana, Mexico. They hit favorable notes for all four of my requirements – whenever I called them, they happily explained everything and answered all my questions, including border-crossing options and then some. They specialize in holistic dentistry, including the removal of mercury, and I’d been in touch with several fellow survivors who’d gone there and reported success.
When I visited their website, I saw very reasonable pricing, and even more importantly, transparent and right out there for all to see. No having to call around and hear about payment plans that would have me in hock for years to come in the Great American Transfer of Wealth for what should be reasonably priced healthcare.
When I got to the Clinic, I saw that yes, their facilities were top-notch and yes, they used the best materials on the market for their patients – even encouraging them to get a biocompatibility test if they were dealing with cancer (my results).
After the initial intake and panoramic x-ray, I was told I had 23 teeth that needed work, including new fillings, replacement fillings, several inlays and a surgical mercury tattoo removal. Not being too much of a glutton for punishment, I arranged the work to be done in two parts – later that day, the right side of my mouth, top and bottom. Several weeks later, the left side. And then a third, very short visit for a quick follow-up on one problem tooth the dentists at the clinic saved with their excellent work, but told me to keep an eye on.
While under the drill, I also had Vitamin C IV drips – 50 grams each time – well-known to be extremely helpful for the immune system and a great treatment for cancer. Additionally, IV Vitamin C has the benefit of keeping re-exposure to heavy metals to a minimum while dental work is being done.
In my case, there were a lot of mercury tattoos left from half-assed amalgam removals not done safely or completely (but very expensively!) in the US back in 2008. After those, I’d thought – I’d hoped – that my problems were over. But they weren’t, as evidenced by ongoing cancerous lesions on my skin and left breast. Since there was still mercury residue in the form of grey-colored areas on my teeth and gums, along with loose fillings and cracks, the effects were still playing out in my system to my detriment.
Dental work and detoxes were in order, as soon as possible and within a reasonable budget, because it seems patients in the US are out of luck in getting mercury-related dental revisions paid for by the system that visited them upon us all. It would be akin to an admission that there was a problem, which I can only guess is a real no-no. It was only fitting that I took my business elsewhere.
So, on to the nitty gritty details about my trip(s) down under the USA’s southern border…
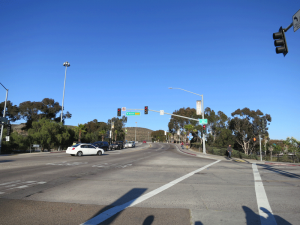
Crossing the Mexican border. I park and walk across, and for this, I take the 805 south to San Ysidro – the “LAST US EXIT” – the signs are very clear and say just that. At the end of the off-ramp, hang a right, go down the little hill, and what I usually do at the first intersection is make a right, then another quick right straight into a pay-as-you-go parking lot (cost, as of this writing: $7 per day). Park, and then you can either walk to the border crossing, or pay for one of the many rickshaws, etc., that come around looking to help out (plenty). I just walk it, it is not that far, and I don’t usually have more than a backpack.
Walking out of the parking lot toward the Mexican flag…which is right under the American flag in my pic…


Once out of the lot, cross the street and hang a left to the intersection (pictured below), where you’ll cross the street using the crosswalk (shown below). After crossing, go straight…
You’ll come to the pedestrian bridge that takes you back over the 805. You’ll see other people going where you want to go, so just follow them over the highway 🙂
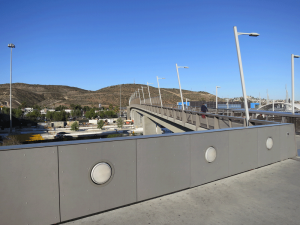
You’ll come to a set of stairs, and at the bottom, go to the right and walk toward the train station area:

You’ll also see busses and lots of people, taxis and the like. The walkway to Mexico goes in between two buildings, then behind them and to the right. There’ll be plenty of others walking this route, and you’ll see this:

…and then you’ll see this…

…and you’ll realize that all the jokes are true: There really is a revolving door between Mexico and the US, lol! Two, in fact…

The revolving doors are the way to the “customs” area – and I put this in quotes, because it’s pretty basic – it is just a couple of revolving doors under the “MEXICO” sign (see the image above) that lead you into a small room where (sometimes) your bags are checked and (most of the time) you will see a member or two of the Mexican military standing guard as you exit.
After you exit customs, you’ll cross over the same highway in the other direction – and be warned, the path is just as circuitous as on the American side – to the taxi cab area. Per my previous advice, follow the crowd, they will lead you well. And note one of the first things you see on the Mexican side is a big pharmacy. Supply and demand. Go figure.
The taxi ride to the Grand Hotel Tijuana, where I usually stay when I have an appointment at American BioDental, is around $7 – 10, and takes around 10 minutes.
At the Grand Hotel Tijuana. This is a veeeerrrry niiiiiice hotel! You’ll pay the same for a shithole in LA, and with that, you’ll start to learn why over a million Americans call Mexico home, probably many of them “illegally.” The rooms are very nice and clean, have great bathrooms, and if you’re on one of the upper floors, you’ll have a fantastic view to boot. They have a very nutritious morning buffet, with complete proteins like eggs, chicken, beef, etc. You will not starve.
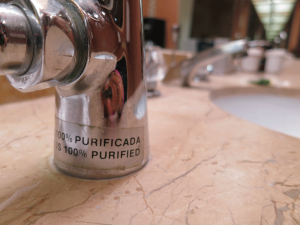
The water. Okay, had to get to this, and I’ll say this first: I drank the water freely on my first visit, and a few days later, had the most thorough and inexpensive full-body detox I’ve ever had. Otherwise known as Montezuma’s Revenge. Not very pleasant, but all-inclusive to a fault. The next few times I went, I was more careful, and I took a strong probiotic called Primal Defense with me. I think Saccharomyces Boullardi would also work well, just make sure to take enough of it. There is filtered water in the rooms, as pictured below:
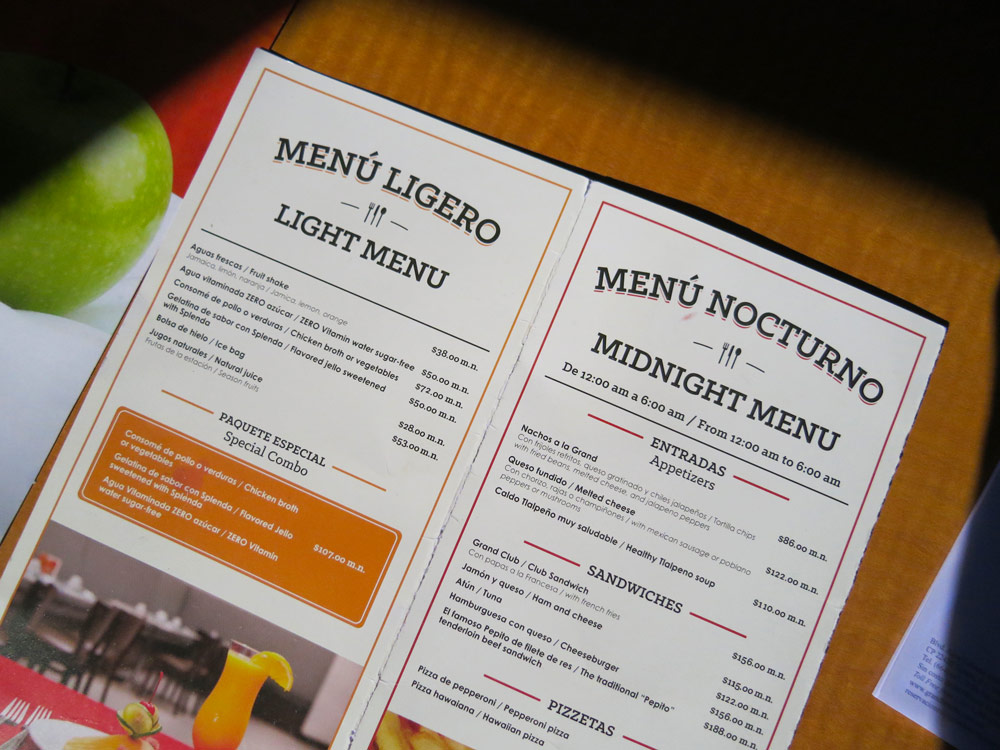
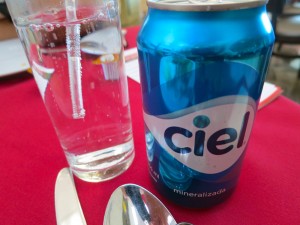
But…you know how it goes: Somehow, something always goes awry. The tea water isn’t quite boiled long enough to kill everything. Or, you brush your teeth and forget to use the filtered water. So I’m careful, and at restaurants, I usually order a mineral water called Ciel – it is canned and entirely (…uhhh, at least as far as canned drinks go) safe:
Going back to the US (do we have to?). One of the Alessandros, aka either American BioDental’s head doctor or his son, usually drives me and a few others back across the border. They usually leave once or twice per day, and this is VERY preferable to walking back across, as they have frequent crosser permits and it’s usually pretty painless. Take my word for it: Crossing into Mexico is a piece of cake. Crossing back into the US is an overblown exercise in paranoia. Go, and you’ll see for yourself.
Yours in Good Health,
Alison
[This blog details heavy metal biocompatibility testing as regards dental materials placed in the body long term.]
In 2008, I had the last of my dental mercury fillings removed, which promptly put me back in intimate touch with my old standby, Big C. The connection between heavy metals and cancer is one I know very well, though it is also one that the mainstream medical system likes to say doesn’t exist, thus my recent excursion into finding and taking a blood serum test that told me whether or not I was mercury reactive based on scientific analysis.
The dental work itself was sloppy – leaving several mercury tattoos and a cracked tooth – and not following the recommended Huggins protocol for safe removal of heavy metals for me saw new melanomas cropping up over 2009, 10, 11 and 12, all capped off by the crowning event of late: a left breast cancer lesion.
As usual, I’m in it to win it. And along the way, gather as much proof along the way as I can, first for me and secondly for all those naysayers who think I’m off my nut for “believing” in heavy metals toxicity. It is not a question of belief, it is a question of testing to see if I’m reactive, how much toxicity is in my system, and then figuring out what to do about it.
While dealing with my left breast nipple lesion in 2012, I read some very interesting things about how teeth are connected to specific organs and systems in the body via meridians, as in Chinese medicine. No real surprise to me that the left breast corresponded tooth-wise with the upper left first molar, where, interestingly enough, a very noticeable mercury tattoo still lived on the tooth and gumline (see the dead set sexy pic of the interior of my mouth above where you’ll notice the grey-tinged areas above and on the tooth of concern). When I was a kid, this tooth developed a full-on hole on its inner surface on the gumline, which was filled by…drum roll, please…silver-mercury amalgam. As the American Dental Association declares on its website:
Dental amalgam is considered a safe, affordable and durable material that has been used to restore the teeth of more than 100 million Americans. It contains a mixture of metals such as silver, copper and tin, in addition to mercury, which binds these components into a hard, stable and safe substance. Dental amalgam has been studied and reviewed extensively, and has established a record of safety and effectiveness.
The FDI World Dental Federation and the World Health Organization concluded in a 1997 consensus statementi: “No controlled studies have been published demonstrating systemic adverse effects from amalgam restorations.” Another conclusion of the report stated that, aside from rare instances of local side effects of allergic reactions, “the small amount of mercury released from amalgam restorations, especially during placement and removal, has not been shown to cause any … adverse health effects.”
[Source: American Dental Association]
My response? My ASS.
And I’ll give you even more than that: a material safety data sheet on mercury (and here’s one on dental amalgam alloy). It took about 30 seconds on a wireless internet connection to find all these, so please read them for yourself and do your own research as well to see where your opinion falls on the ADA’s statement.
I’ve heard plenty of “it’s all in yer head, Sweetie” – enough for me to get into the habit of questioning everything that’s ever been said to me by a mainstream medical practitioner. In my experience, suggesting to a mercury-sensitive individual that mercury or other toxins aren’t possible culprits in chronic diseases (such as cancer) is like telling a peanut-allergic individual to get over it and have a Reese’s.
As well, the ADA hasn’t studied yours truly, and as someone who is sensitive to mercury (tested, yes) and who seems to have no problem retaining too much of it in my tissues (tested again – and a genetic predisposition, from what I’ve read regarding certain genotypes not being able to excrete metals efficiently), I have to ask: Who the hell paid the ADA to state such things?
Given my experience with insurance companies that refused to cover mercury removal (otherwise they’d get found out and have to do a whole lotta freebie dental revisions, I suppose), my trust in the ADA regarding the mercury toxicity issue doesn’t even register. Their interests and my interests are divergent – ne’er shall their paths cross – and science corrupted by money isn’t really science, and all that.
I first discovered there was a blood serum biocompatibility test for heavy metals in the form of dental materials when I started talking with the American Bio Dental Clinic in Tijuana, Mexico. They encouraged all their patients dealing with cancer to have one, and for me, it was a no-brainer as I’m always after proof of what is actually going on…not what someone “thinks” just by looking at me, aka the Bill Frist “diagnosis.” Only when I see the real deal picture can the action I take be accurate and effective.
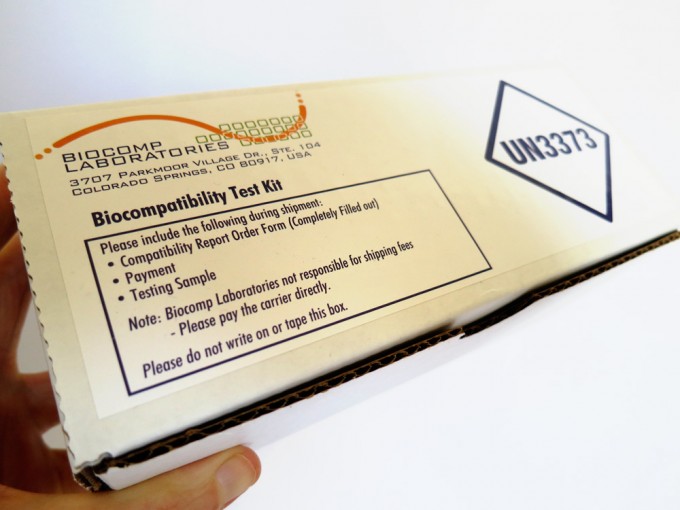
The test recommended to me was the Biocompatibility Test Kit from BioComp Labortories in Colorado Springs, Colorado in the US of A, which American Bio Dental forwarded directly to me previous to my initial scheduled dental revision in Tijuana. The picture behind this blog post (toggle the content away and back by clicking the round button with the + or – sign in it) shows what the test kit’s box looks like, including the test number (UN3373) along with the lab’s address and simple instructions.
Contents of the test kit include paper work (a Compatibility Report Order Form, Lab Instructions, Patient Instructions, FAQs and a Request for Client Serum Sample). In addition, there is a styrofoam container with a serum tube, outer tube and two small freezer packs that must be frozen for serum shipment to the lab for testing.
After fasting overnight per the instructions, I took the kit first to LabCorps, which had this test in their system under the instructions “Do NOT Use – Pending” and could not do the blood draw. Then it was on to Quest Diagnostics, who happily did the test per the instructions. After the blood draw and my payment, Quest sent my kit directly to BioComp Labs for the analysis.
The total cost for this was as follows:
$350 Serum Biocompatibility Test (including shipping & compatibility report)
$41.80 Blood draw at Quest Diagnostics:
$391.80 – Grand Total (and note that this test was not covered by insurance – nor was I – at the time it was done in mid-November, 2013)
When I got the results back from BioComp’s Blood Serum Compatibility Test, I was not at all surprised. This is further validation for what several top-notch holistic medical pros claimed was a major factor in the health problems I’ve had.
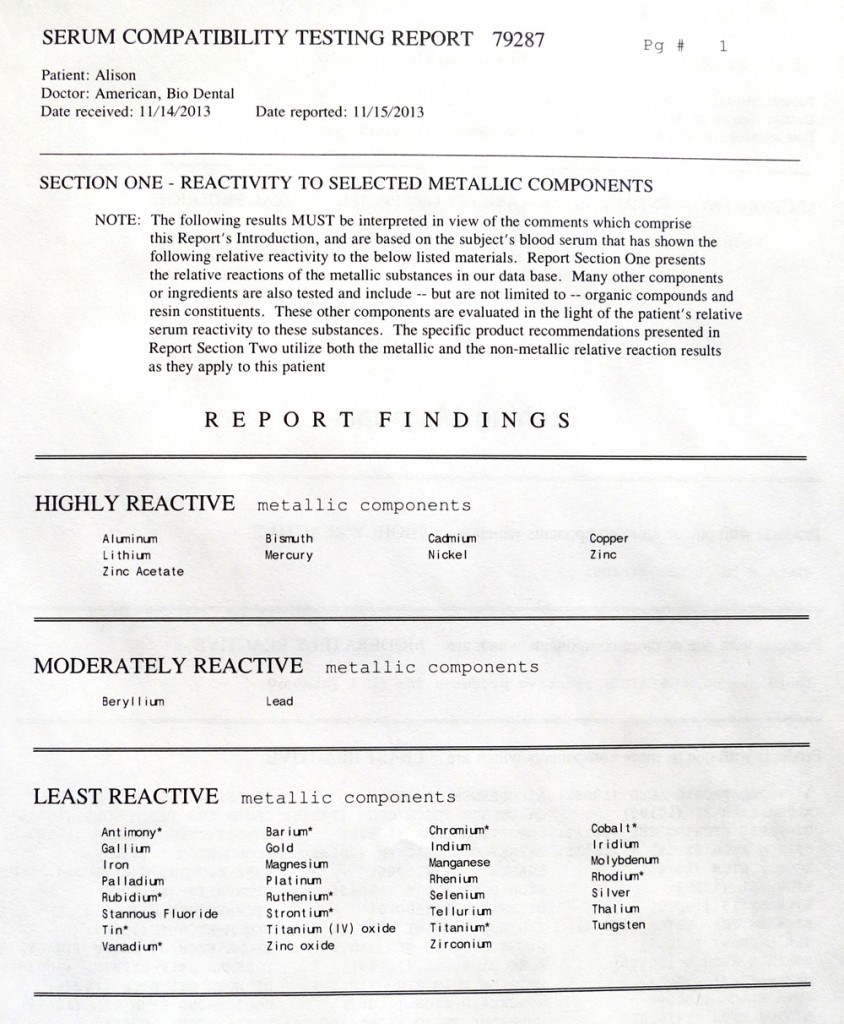
Page 1 from BioComp Labs’ report (see above image) contained a listing of dozens of metals used in various dental materials, separated by reactivity level in me as the subject tested via blood serum analysis.
As you can see for yourself above, in the Highly Reactive category was my old pal mercury and a few other heavy metallic malcontents, including nickel (petro fumes, cigarette smoke, cookware, etc.), aluminum (cans, foil, cookware, etc.), lithium, cadmium, copper…and even zinc and zinc acetate.
Of interest was bismuth, that ingredient in Pepto-Bismol (or Pink Bismuth if you’re going generic) that also showed up in the Highly Reactive category. I’m not sure what the full interpretation of this is, because Pepto-Bismol seems to work just fine for me (though I rarely use it, so that may be telling).
Silver and gold turned up in the Least Reactive category (of course, I’ve always had an affinity for those :-)). So did Titanium and Zinc oxides (used in sunscreens and other products), Stannous Flouride (toothpastes) and plenty of other metals.
This testing report also contains dozens more pages of thousands of dental materials, categorized as Highly, Moderately or Least Reactive. The American Bio Dental Clinic in Tijuana informed me they use a product called Diamond Crown for composites, fillings and inlays (most of the work I’ve had done by them), and this showed up in my report as being among the Least Reactive. That is good news! Anything that is permanently fixed in my mouth had better fall into that category, otherwise it’s yet another possible cause for the cancer cup to runeth over.
This brings me to some commentary on the dental industry as a whole, speaking from the experience of years spent down the hole on mercury toxicity and other issues that could have easily been prevented had my childhood dentist simply tested me for compatibility with dental mercury amalgam. The fact that at least a dozen amalgams were placed in my mouth without my knowing the possible effects – or even being given a choice in the matter – illustrates everything that is wrong with the mainstream medical system and its largely one size fits all mentality.
Considering that Romney-Obamacare doesn’t yet include this type of biocompatibility test as part of a larger preventative scheme, it needs revision – and soon. Having read that we are now exposed to more toxins in 15 minutes than our grandparents were over their whole lives makes lowering the body’s burden even more critical than ever.
Yours in good health,
Alison
PS – BioComp Laboratories can be found via www.biocomplaboratories.com and the American Bio Dental Clinic by pointing to www.americanbiodental.com. Ain’t research fun? Cheers…