
Tag : dessert
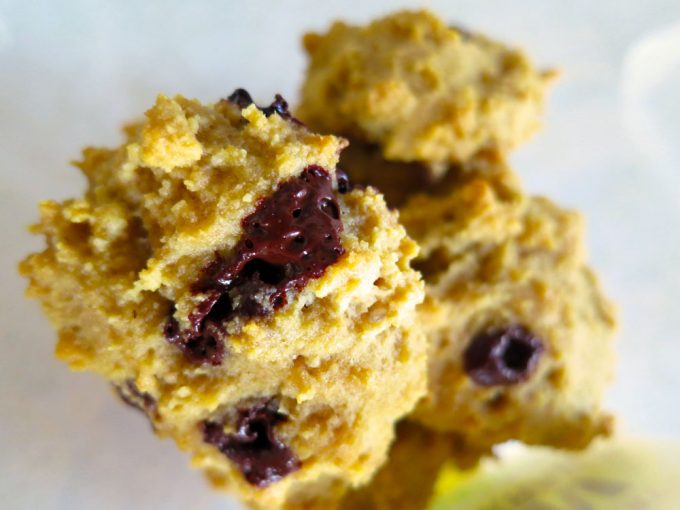
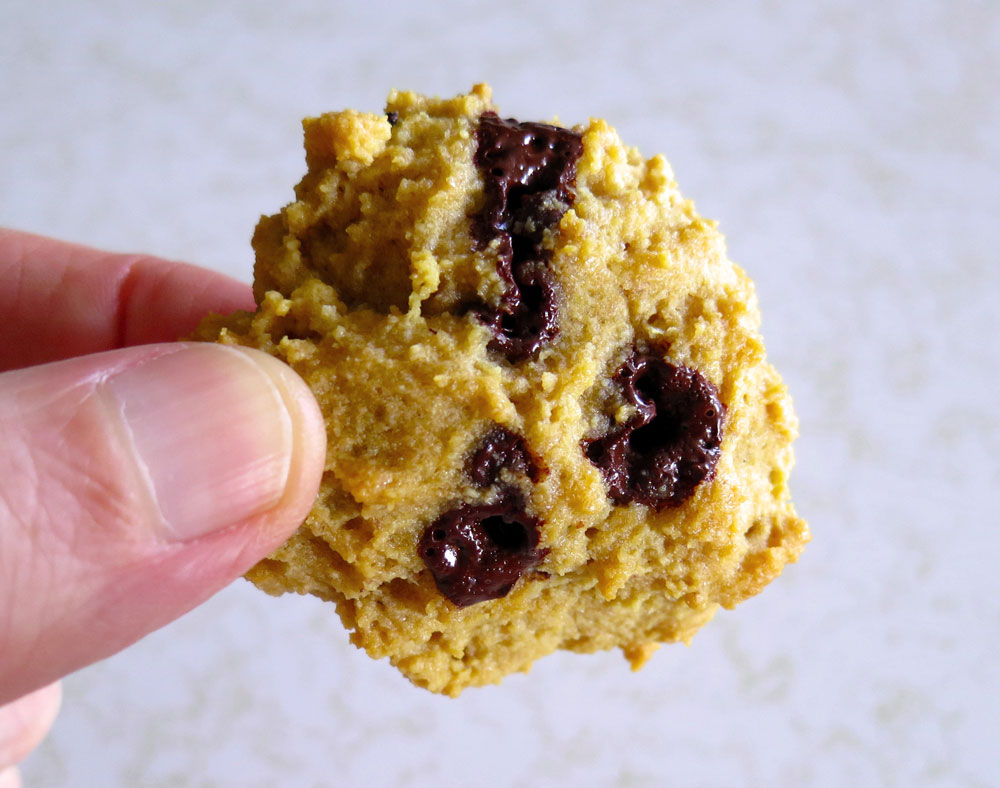
This fast, easy and naturally sweet, but very low carb and low fat chocolate chip cookie recipe uses two of my favorite things, almonds in the form of almond flour, and chocolate chips. These are not just any chocolate chips, however – they are sugar free, nothing but 100% chocolate, and amen to that. For a while, baker’s chocolate had to suffice – along with time spent chopping it up, which wasn’t pretty.
Sugar, along with sugar alcohols, artificial sweeteners and other additive sweeteners like agave, are so overused in our food supply that it is truly rare to find an unadulterated, unsweetened product like Pascha Organic Dark Chocolate Baking Chips, which are 100% cacao, and nothing else. These chips are unsweetened, nut free, wheat and gluten free, and dairy and egg free as well as free from soy.
A product of Peru made for the Pascha Chocolate Company in Toronto, Canada, I found my curiosity piqued and visited their site to see the bag of chips on their front page along with that ever-so-important tagline: One Ingredient. One of their site’s main menu categories is “Free From.” It’s what I look for most of the time these days, simple things without all the BS in order to keep the “cup runeth over” diseases and syndromes at bay.
Recommendation made, so let’s get to the recipe, which is super quick and easy. You’ll need:
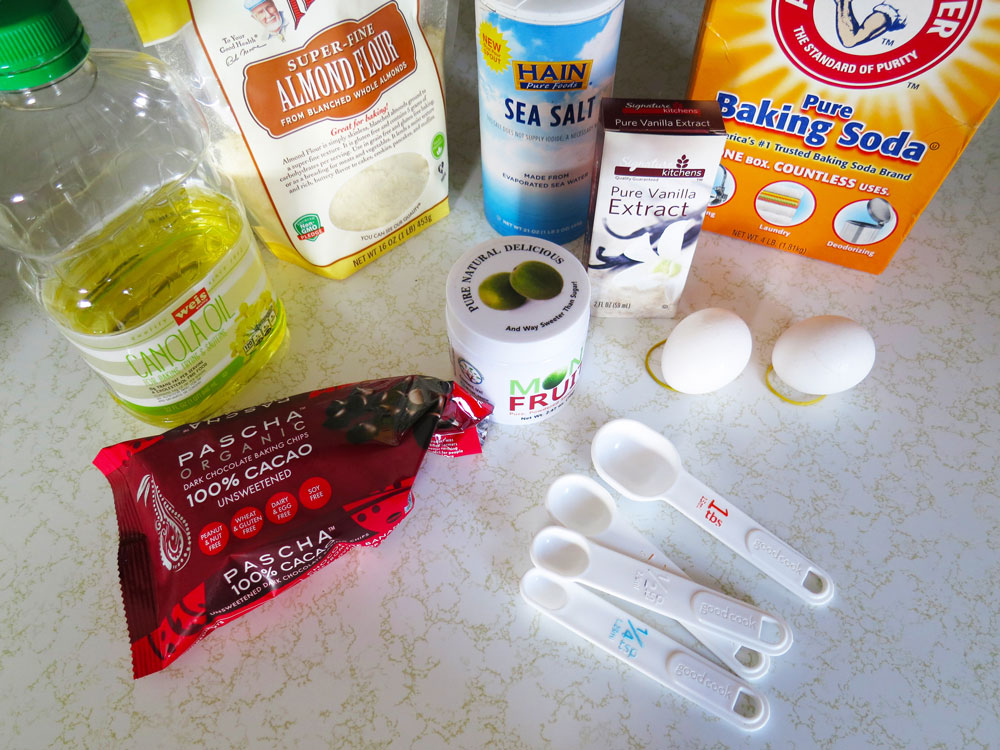
- 250 ml fine almond flour (I use blanched almond flour)
- 2.5 ml baking soda
- 1.25 ml sea salt or Himalayan salt
- HEAPING 2.5 ml spoonful monk fruit powder
- 1 whole egg
- 1 egg white
- 10-15 ml *canola oil (or other fave oil)
- 2.5 ml vanilla extract
- 1 small handful 100% cacao chocolate chips, to taste…and a little goes a long way!
*Canola oil was chosen for its low saturated fat profile (and as a money saver). Choose any oil that is right for your purposes, but be wary of the saturated fat content.
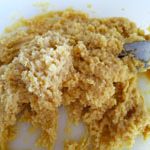
Combine all ingredients except chocolate chips in a medium-sized mixing bowl, like so…
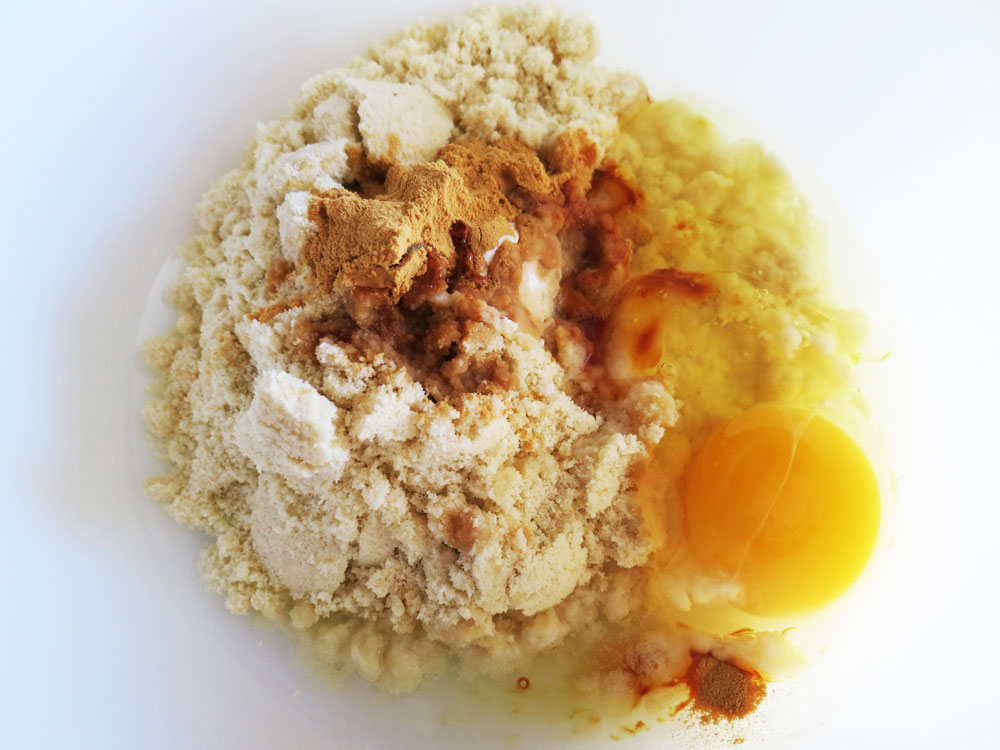
…and mix all ingredients until the dough is uniform:
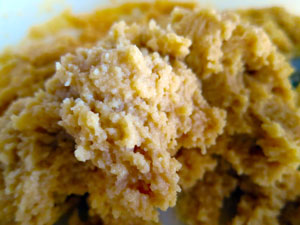
Next, add in your delicious, decadent-without-the-shite chocolate chips. Enjoy these photos…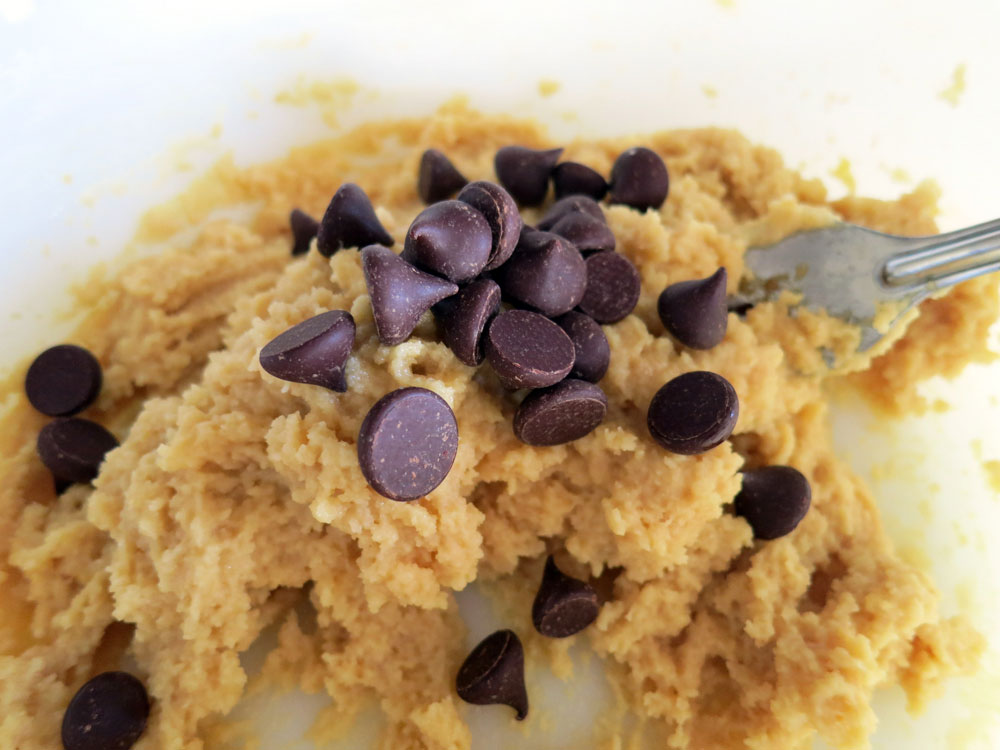
…I could take an extended, slow, sensual bath in this stuff…
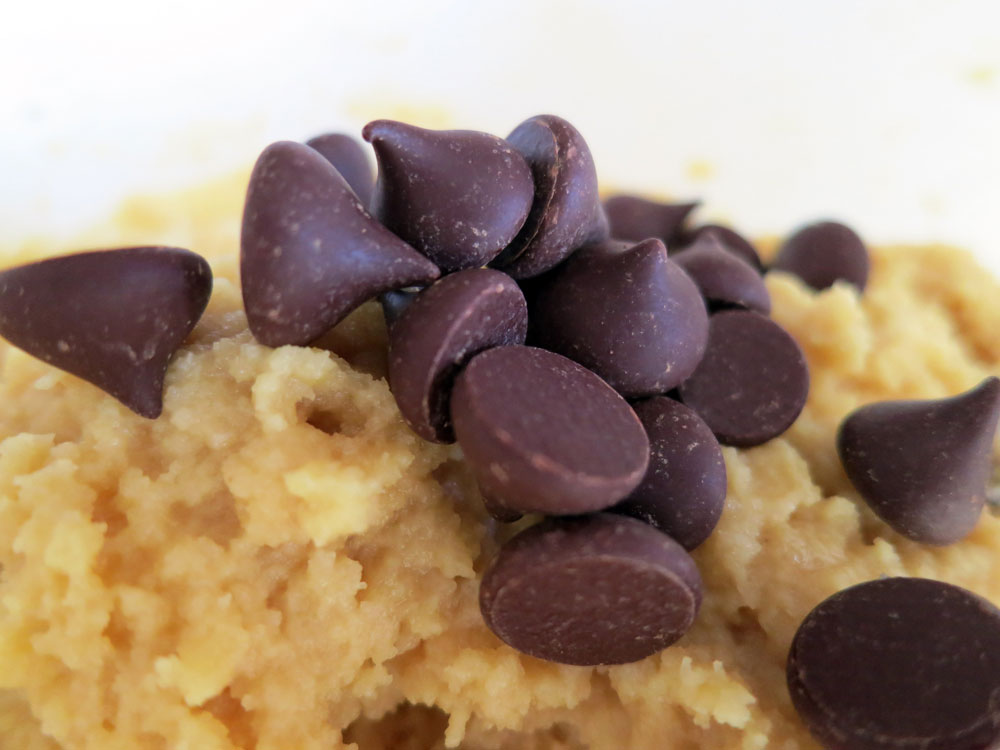
…and I’d do it all day if I could stave off my chocoholism for long enough. But, having preheated the oven to 375 Fahrenheit degrees on a hot day, I gotta get back on track here.
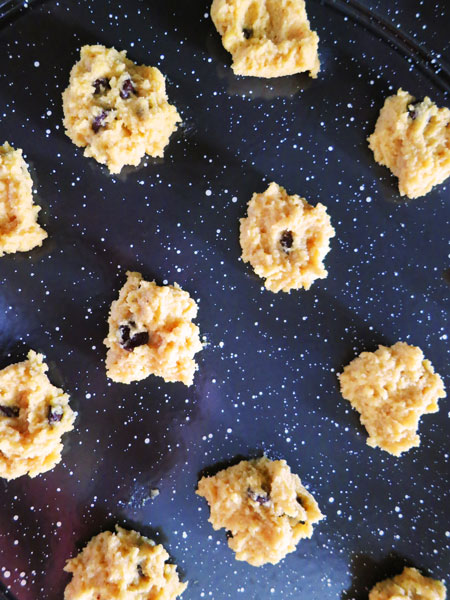
After mixing in the chocolate chips, take two regular flatware teaspoons and spoon out the dough in small dollops – about 2.5 cm or an inch or so in circumference each – onto a baking sheet or whatever you have available. As all my other baking sheets are out on other projects at the moment, I’m using the oven’s broiling pan, which turns out to be better than the baking sheets I’ve been using. It has enamel instead of that chemicalized non-stick material that is now lodged in all our body tissues, is better than that crappy non-stick anyway, and it also makes for a great contrast with the little No-No dollops. They kind of look like little space cookies, don’t they? Cute!
Bake these at 375 for 10 – 12 minutes, remove them from the oven and scarf them up before anyone else sees them! These are a great low carb way to answer the chocolate chip cookie craving, which is absolutely fierce and must be answered. The good news: These are entirely BINGEable – I have eaten half the batch in one sitting and had no blood sugar issues at all. I’ve found them to be priceless while working on reducing insulin resistance, often eating these on the days I’m not doing HIIT (high intensity interval training) when I find myself craving something sweet, filling and “carby” tasting.
The tally here is about 16 of these dee-lish little gems:
I’m also cooking up a gingerbread version of these…I’ll add that variation in when it’s passed the taste test. Enjoy!
Yours in great health,
Alison
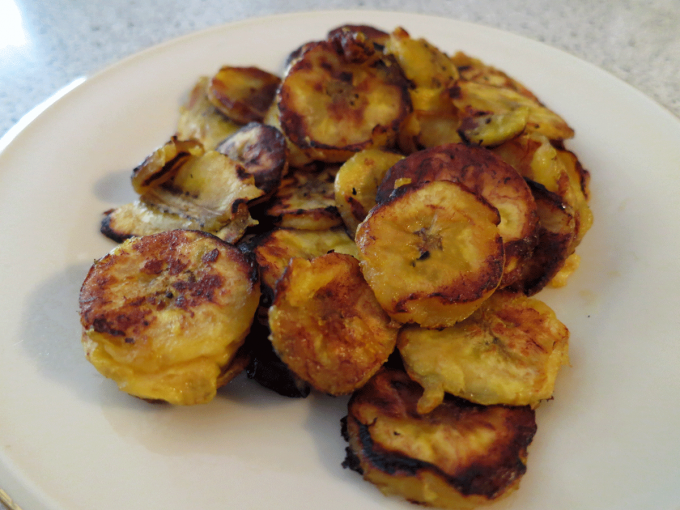
One of my favorite desserts is nothing more than slicing up a ripe plantain, spooning some coconut oil into a medium-heated pan, and then fry-sauteeing the plantain slices until they are browned and crispy on the outside and sweet and soft toward the middle.
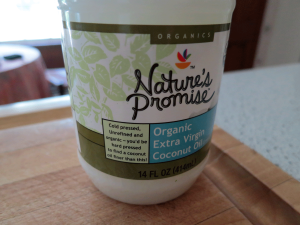
This is an excellent dessert without the need for added sugars or anything else. I’m not sure of the “organicness” of plantains in general, but I always use organic extra virgin unrefined coconut oil for this one.
You’ll need:
- One Very Ripe Plantain
- Tablespoon (or So) Organic Coconut Oil
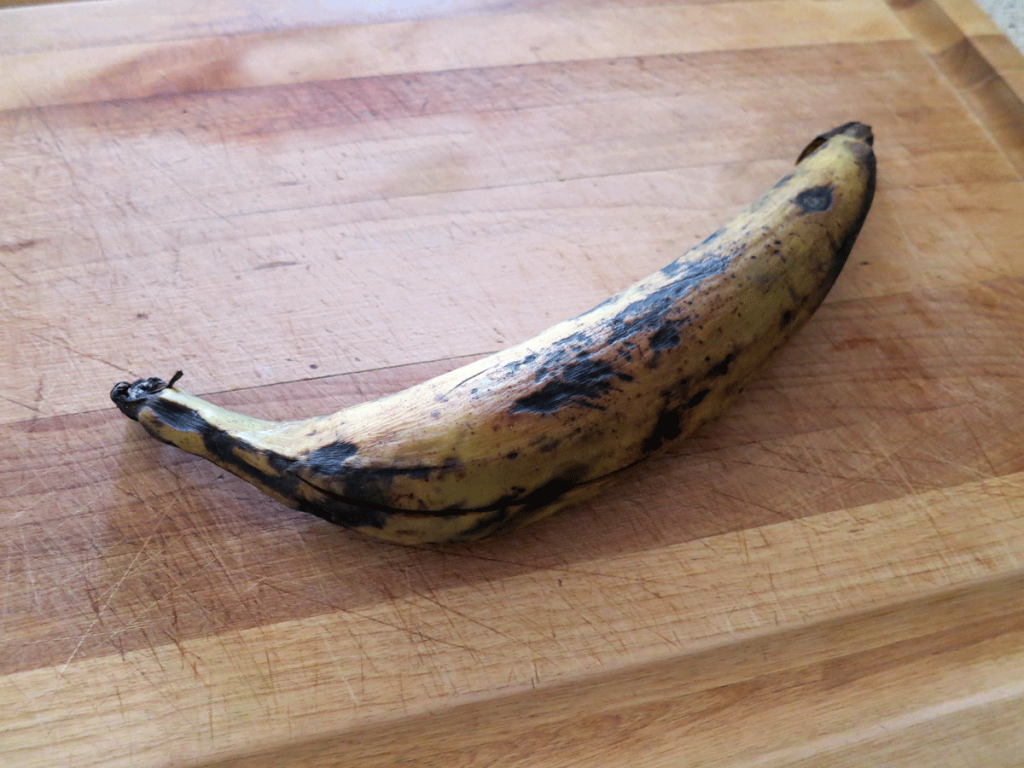
I’ve put a large image of a plantain above showing the types of colors you’ll want to see on yours (and this one turned out delicious!). Pale yellow with plenty of black indicates a sweeter plantain. Green or plain, uninterrupted yellow, it’s not going to be as sweet, but can be used in a more potato-like manner. What I’m going for here: the more hellish and rotten (to a point) the plantain looks, the sweeter and more dessert-y it will be.
Note my plantain has a big-ass slash through it and a portion of the tip was also partially cut off. No matter! As long as the skin’s not totally breached, you’re as golden as your sweet plantain dessert will be.
Here’s the coconut oil I used for this recipe:
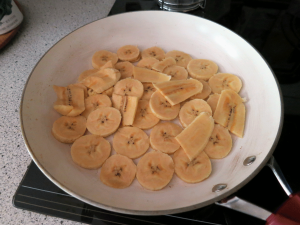
First, place a tablespoon (can be heaping!) of the coconut oil in a frying pan large enough to cook 4 – 6 hamburgers comfortably. Fire it up to medium heat and let the oil get hot enough so that once you add a test slice of plantain, it starts to sizzle immediately.
Peel and thinly slice your plantain into the pan and let the slices cook for several minutes, checking them periodically for level of brownness. Turn the slices periodically once you notice them browning.
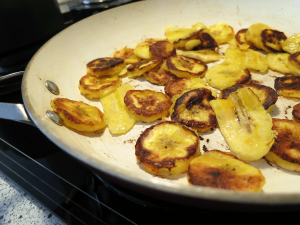
The picture to the right shows some browning on the plantain slices. Ideally, both sides of each slice should be browned, but don’t hold out for sheer perfection – that’s the surest way to burn your plantain. The key is constant attention and turning for the several minutes you’ll need to make sure the slices are cooked to softness while having those lovely and slightly crisp brown edges.
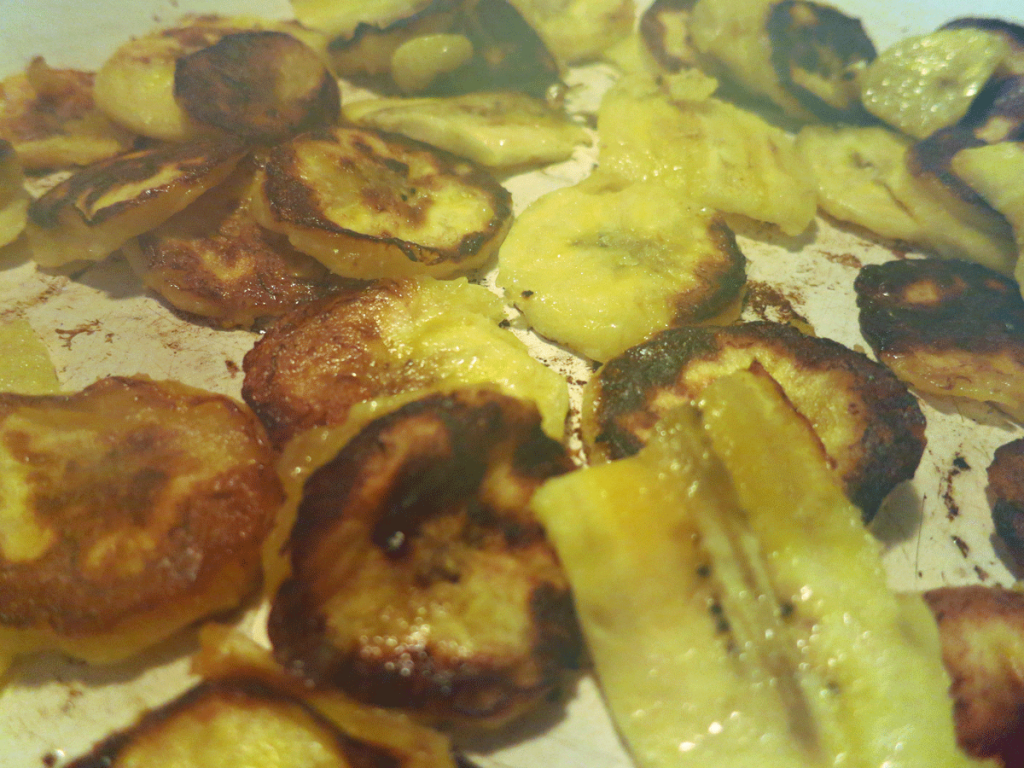
Through the smoke in the above photo, you see the plantains nearing completion – they have a browned, and at the same time, a gently wet look to them. The browning brings out the sweet, and the wetness indicates a nice, moist interior with the crispy-sweet edges.
At this point, you’ll want to remove them from heat and spatula them onto a plate. Optional: a light dusting of cinnamon is quite tasty, but wholly unnecessary. Just the coconut oil and plantain slices are enough to satisfy my sweet tooth anytime! (Note that if you are travelling, you can sub in butter if you don’t have coconut oil handy.)
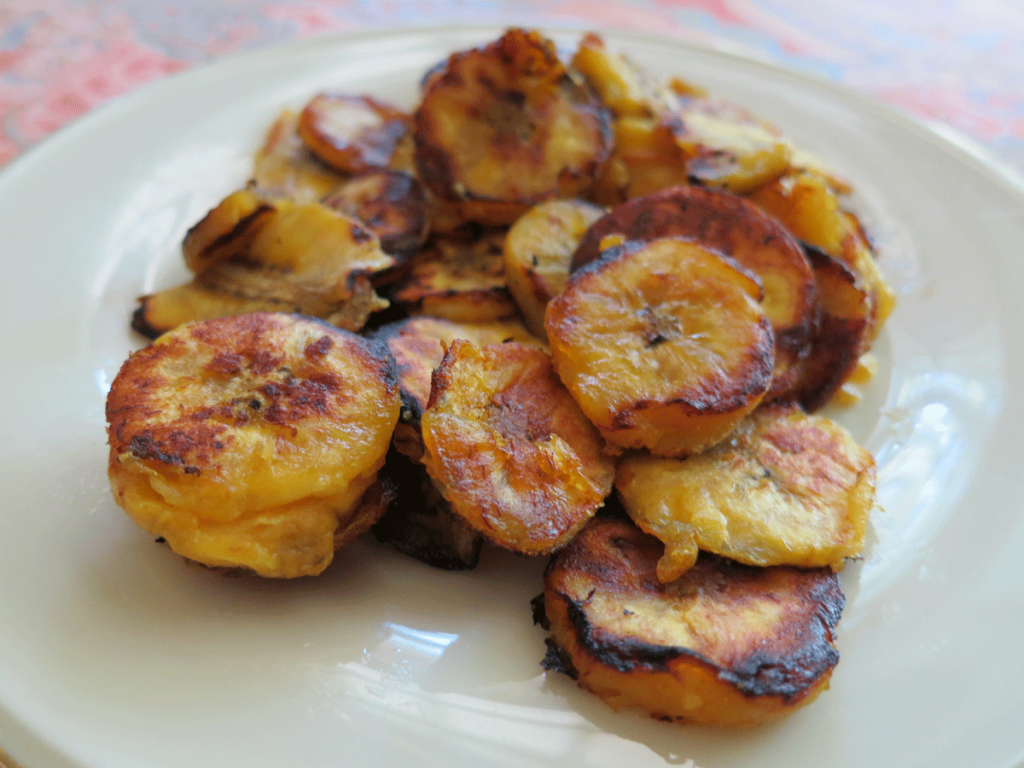
There are many pleasures to experience with this lusciously unadulterated dessert! It is healthy, has no added sugars and is a highly nutritious sweet. The coconut oil only adds to its healthy profile 🙂 and plantains are also known for their being mucilaginous – that is, containing mucilage, a natural prebiotic fiber found in various foods and herbs like chia, okra and flax that can help sooth an upset stomach. Mucilage isn’t for everyone, however, as it has been said to also feed detrimental organisms as well as trigger immune responses in susceptible individuals.
But if you like plantains and they like you, indulge!
Yours in Great Health,
Alison