
Tag : flavorful

The first time I had braised tofu, it was at a local Chinese restaurant in Doylestown, Pennsylvania called Golden Chopsticks. It was served with a delicious veggie sauce on top. So heavenly – and so damn simple and inexpensive to make at home!
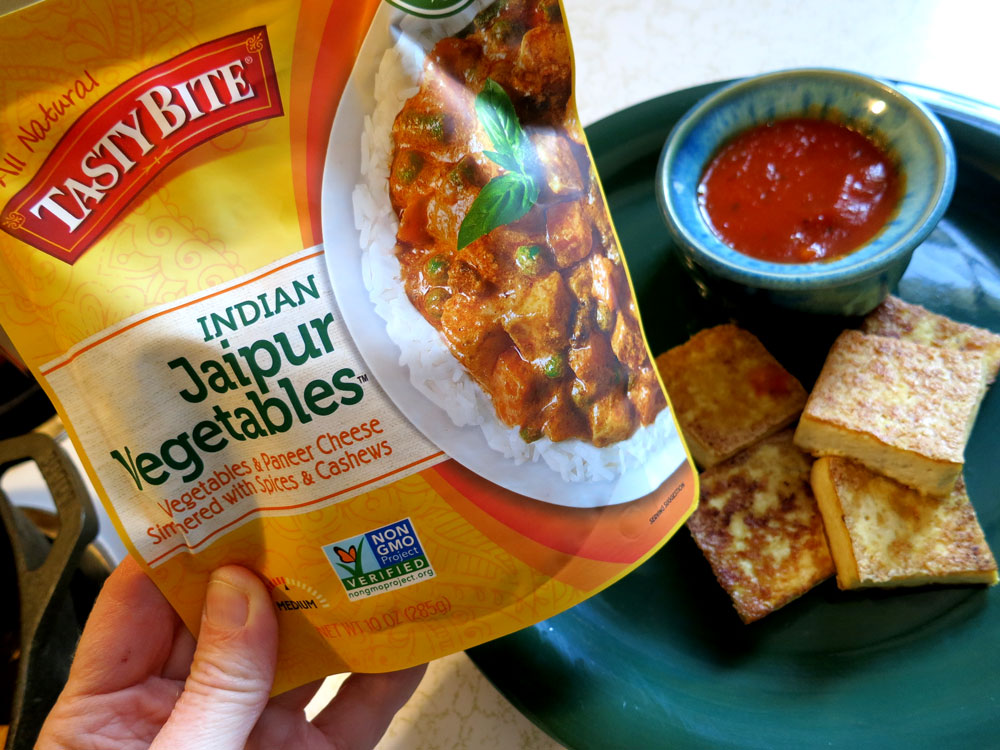
My favorite toppers for this quick and easy dish include tomato sauce and parmesan cheese, salad dressing, salt and vinegar – and ultimate fave Tasty Bite Indian Jaipur Vegetables. But really, any Indian or other sauce-based dish goes well with these delish golden-brown tofu squares, which resemble paneer, but with a snappy, crispy-soft texture that will have you making more batches of these on a regular basis.
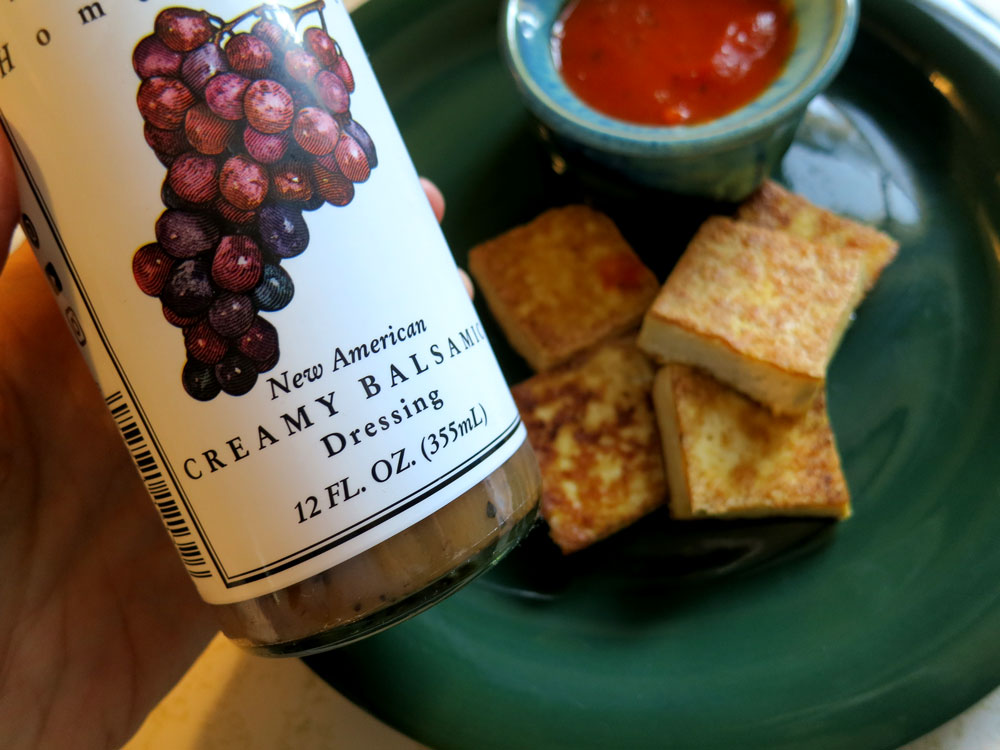
They store quickly and easily into the fridge, where they’ll stay fresh for a few days – if they last that long. For meals and snacks, I take a few out, and pair them with whatever moves me – sometimes I julienne them onto an arugula salad and drizzle on some of Brianna’s awesome Creamy Balsamic dressing…or just place a few on a plate with some steak sauce, cut fresh carrots and perhaps a little cilantro on the side.
Not only are they easy and versatile, they only really have two ingredients – tofu and oil – in addition to whatever condiments you like:
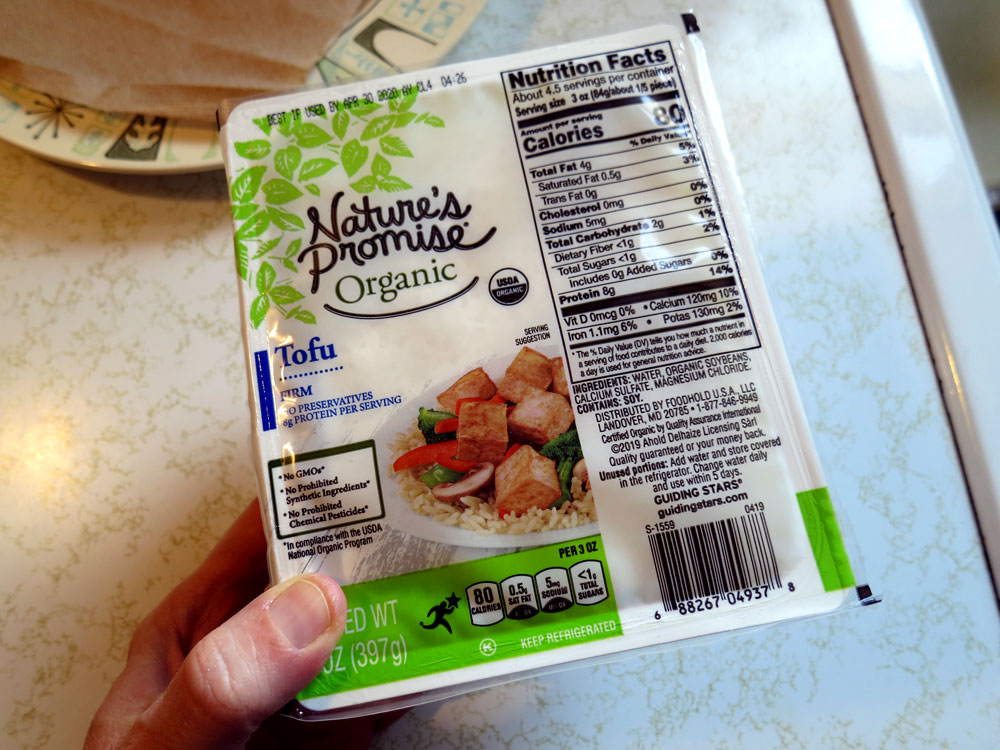

- 1 package firm or extra firm organic tofu (usually just under a pound, or 400 grams)
- Cooking oil of your choice (I mostly use canola* and/or olive oil…and use just enough to thinly coat the bottom of a skillet)
- Condiments of your choice
*Canola oil was chosen for its low saturated fat profile (and as a money saver). Choose any oil that is right for your purposes, but be wary of the saturated fat content.
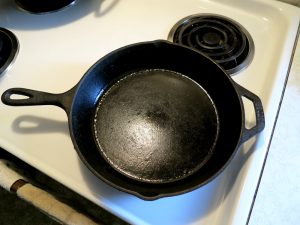
You’ll also need a skillet, a sharp knife, a stove or fire…
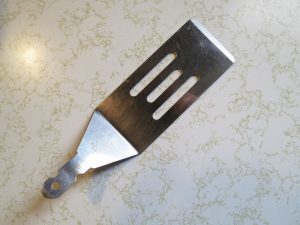
…and a small, broken, much-loved and handle-less spatula of your choice. I kid you not, it makes turning these little squares over in a hot oily pan a piece of cake:
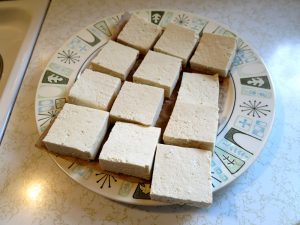
First, set your stove burner to just about medium, then open up your package of tofu and slice it…I usually slice it long-ways in half first, then into sevenths width-wise, then blot the squares on a napkin to shorten the cooking time…


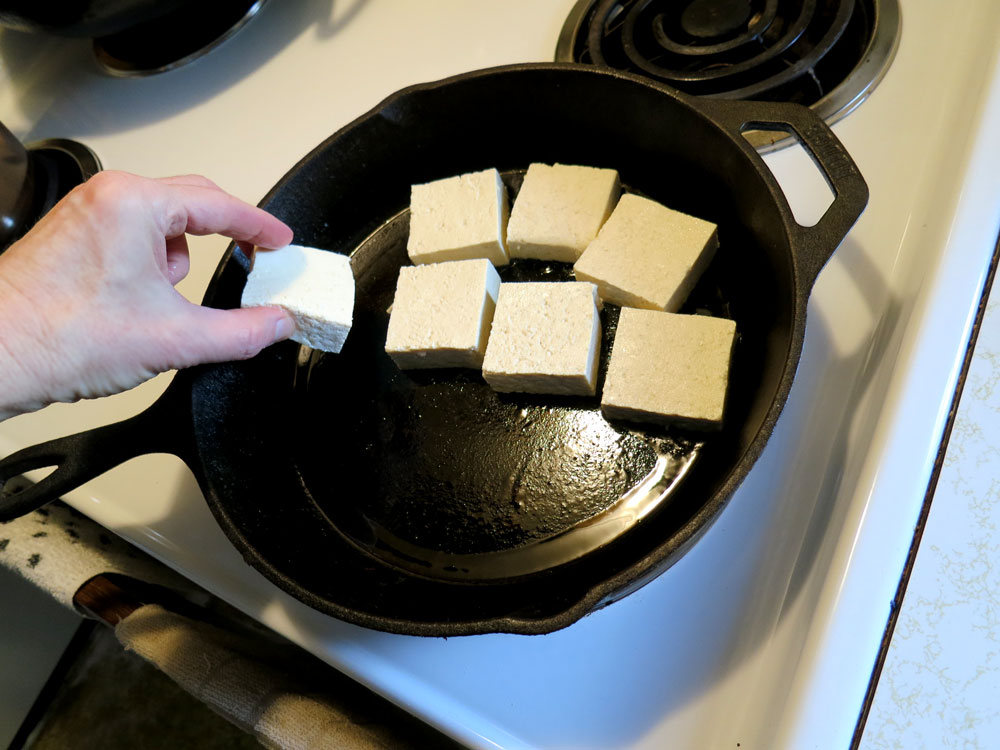
After blotting the tofu squares for a few minutes, carefully place them into your heated and oiled skillet:
I find that 14 squares fit perfectly into my 10-inch / 25.4 cm iron skillet…
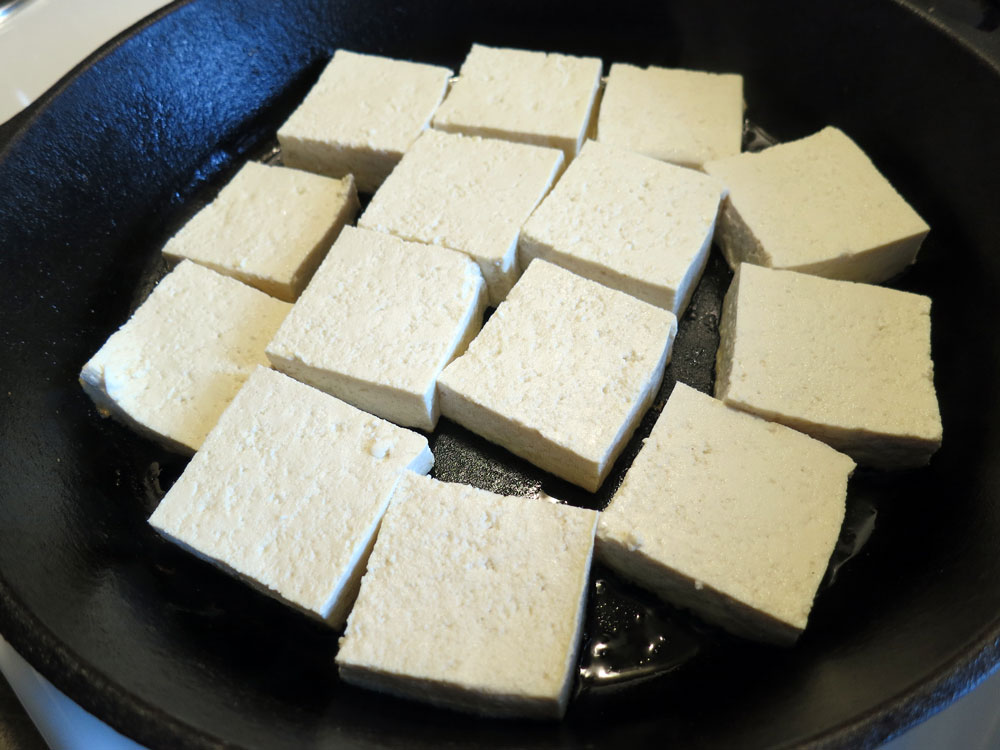
Let the squares cook on medium heat for at least 5 minutes, if not 10. The first side can take some time to cook to the desired texture because tofu has a high moisture content.
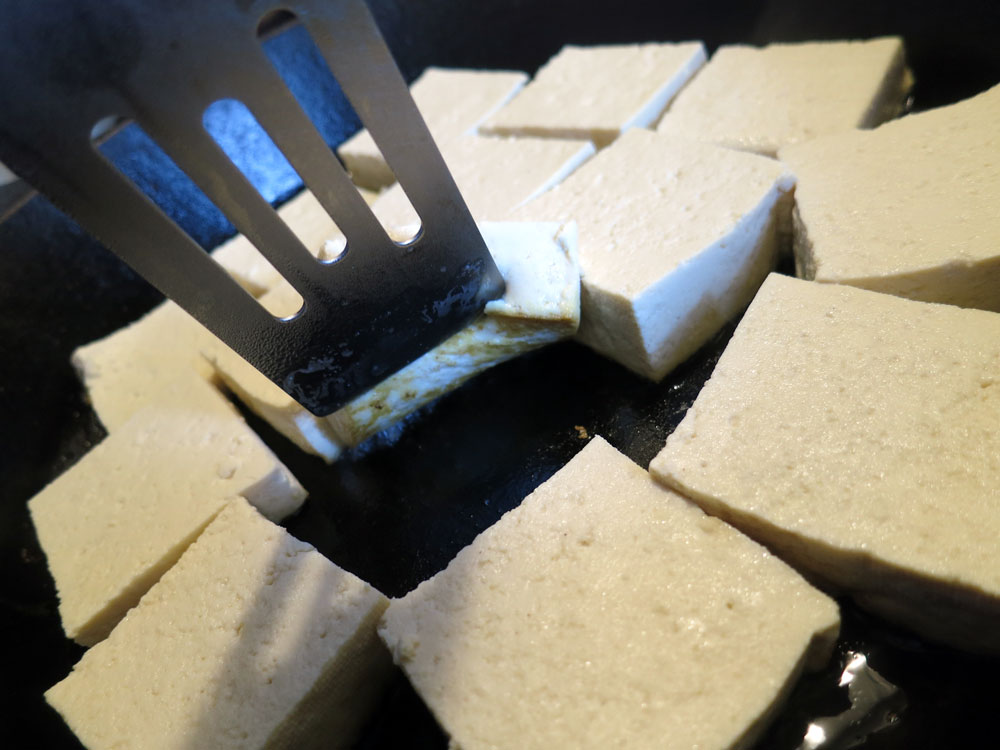
When you start to see the browning of the squares at the bottom edge, that’s when it’s safe to lift these little babies up without tearing them apart to check for doneness:
If you don’t wait until you see the browned edges, you risk breaking up the squares quite a bit. A little patience goes a long way!
Take your broken small spatula and gingerly lift up the browned-on-the-bottom square like so…
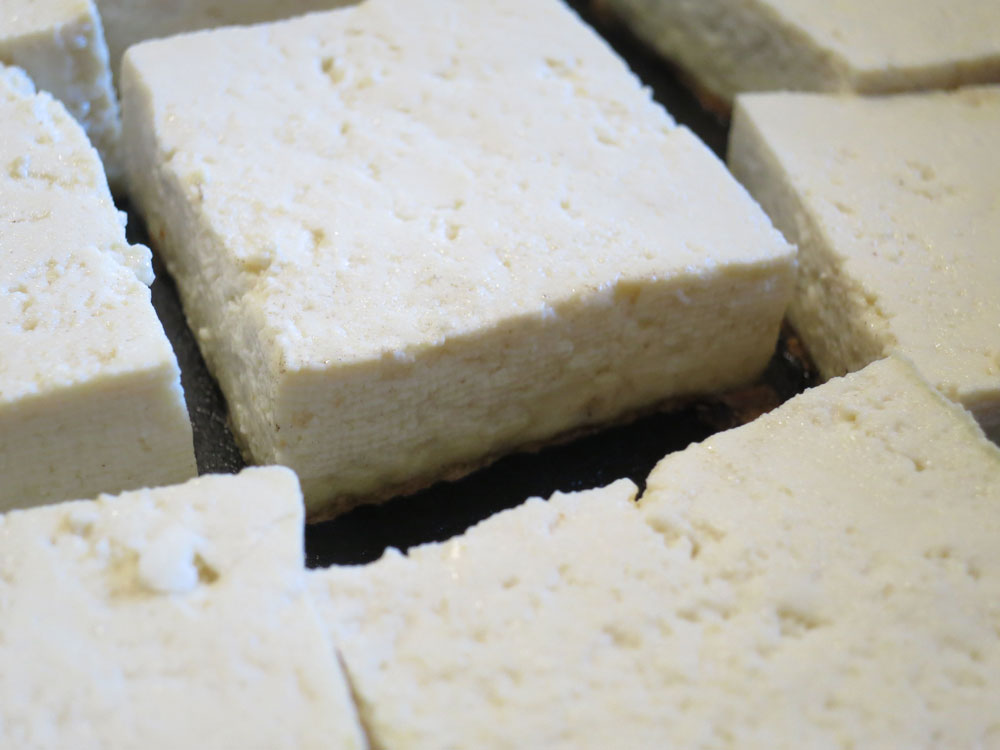
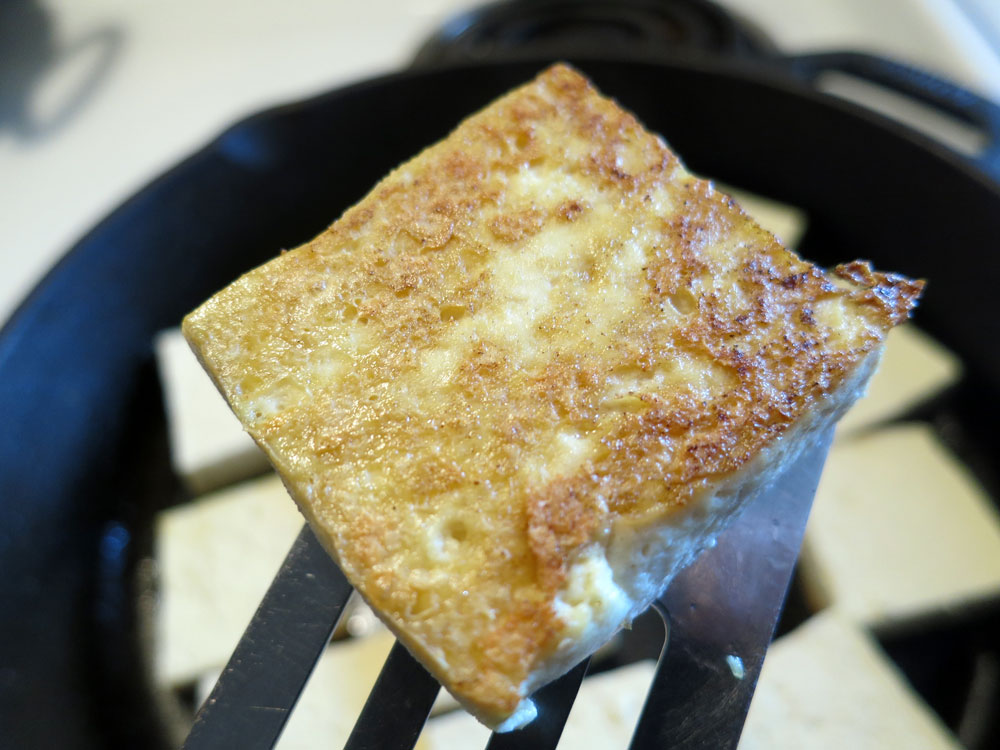
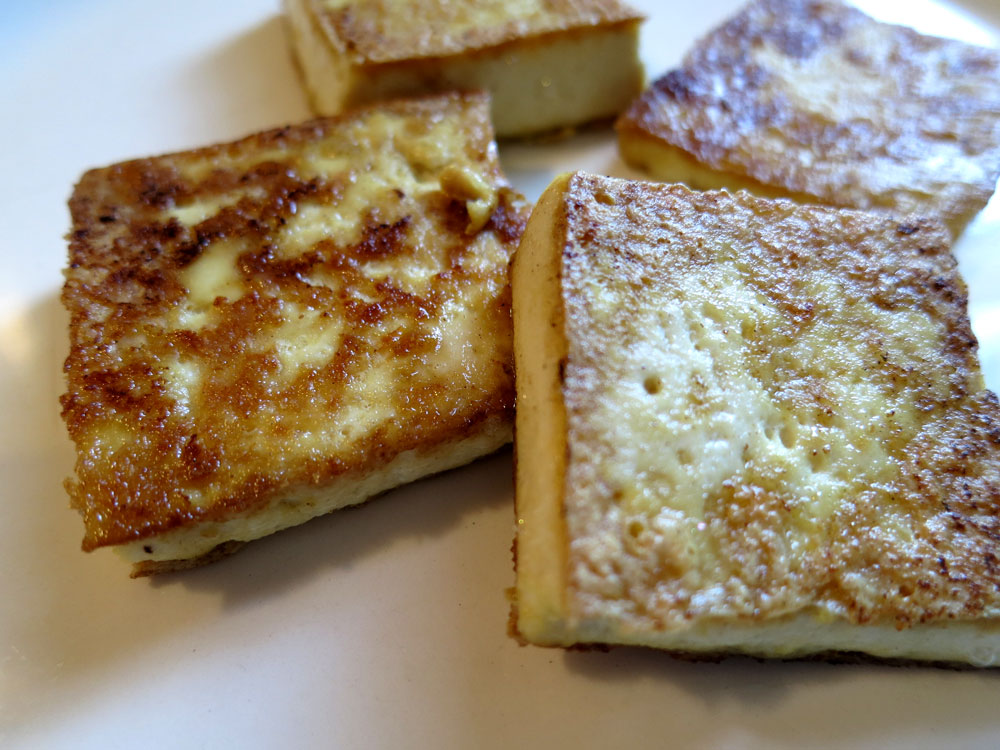
If your squares look solidly golden-brown like in the picture below, they are ready to turn over!
Cook the other sides of the squares for several more minutes, keeping a close watch on them. Usually, the second sides take a little less time than the first.
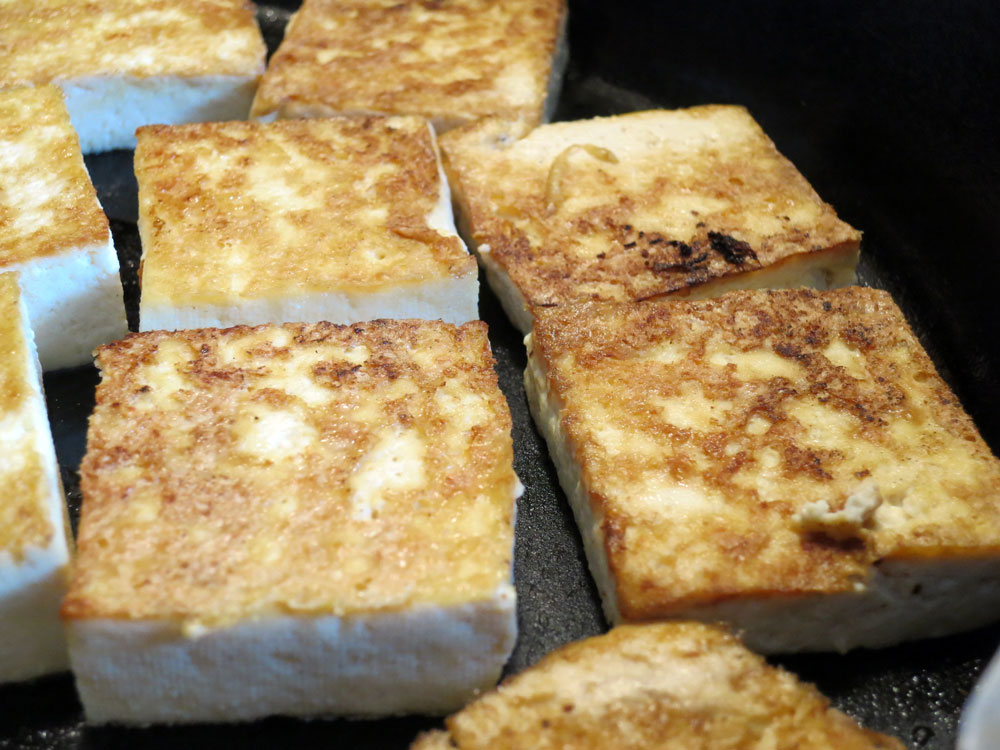
Keep watch until you see the brown bottom edges again. When both sides are done, they are ready to be removed from the pan…
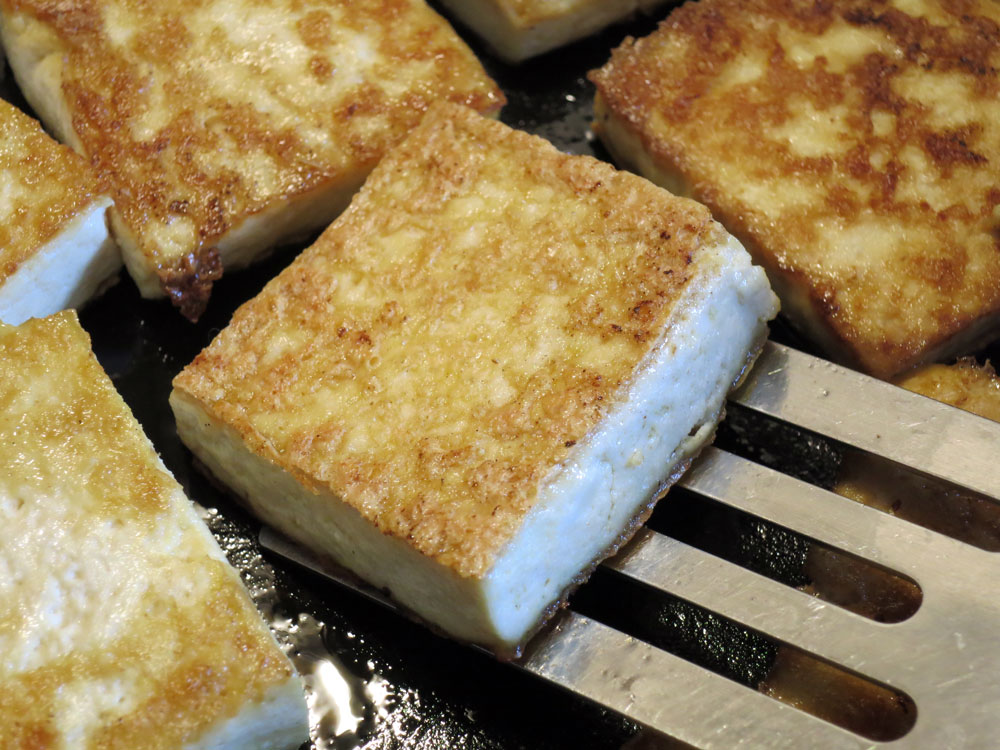
Serve them on a plate…sometimes I just eat them plain, or with a little salt and vinegar (if you find soy or tofu hard to digest, some vinegar really helps)…or even a healthy dusting of cinnamon and stevia:
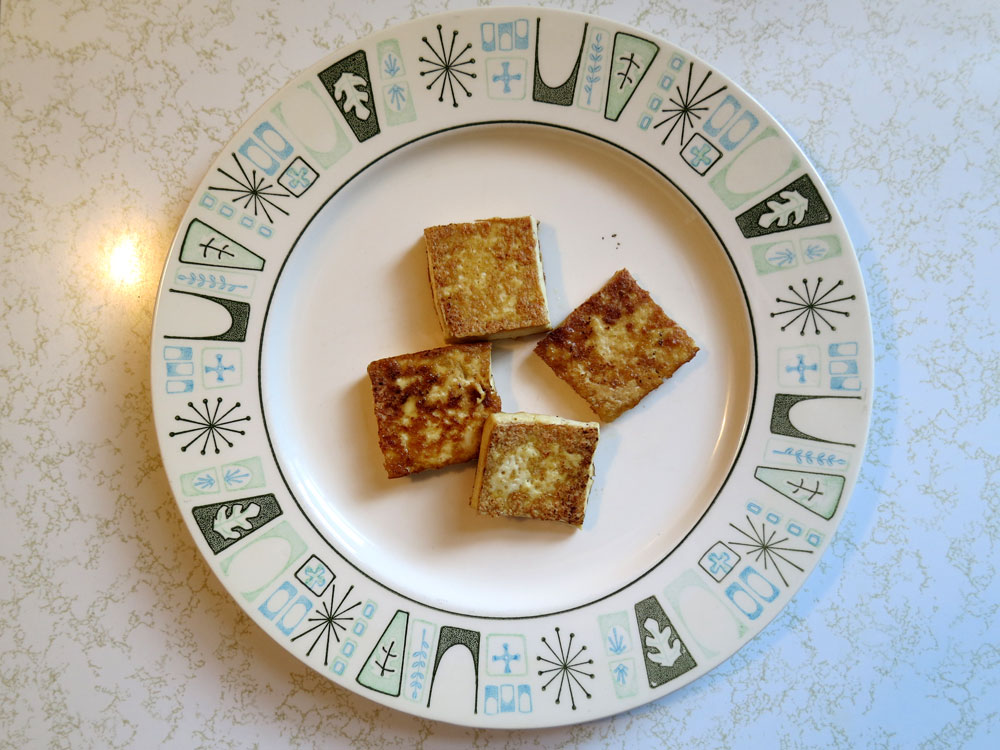
These are quite good by themselves, the crispy-soft texture contrast is just fantastic!
…and these little beauties are a hit at parties (and poker games, as I found out around two months ago during the holidays).
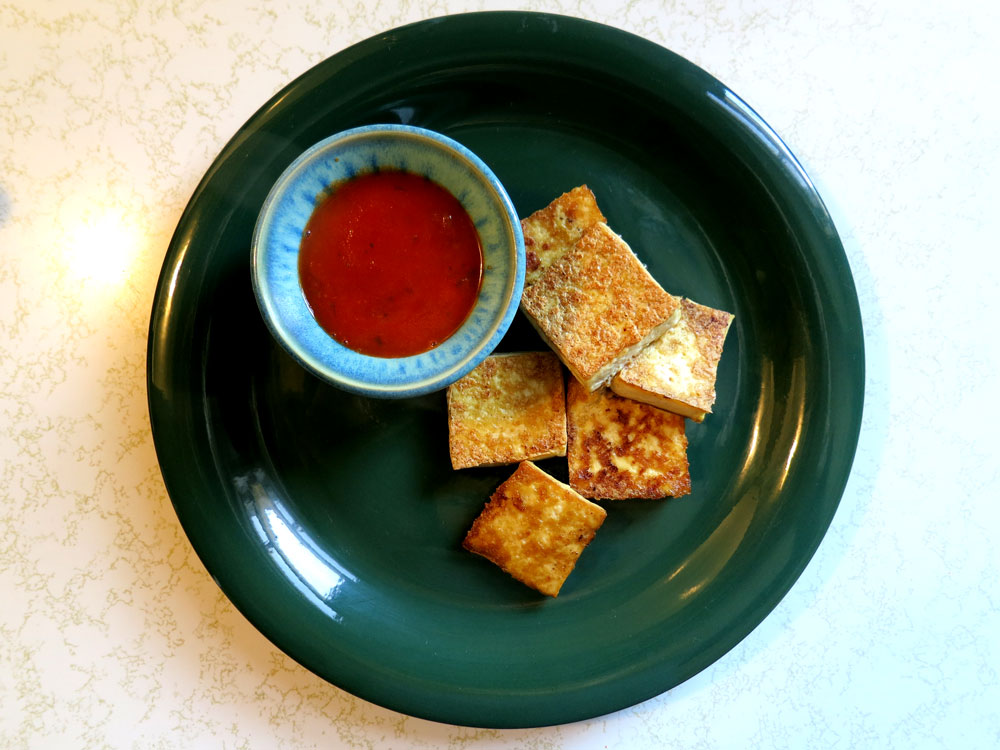
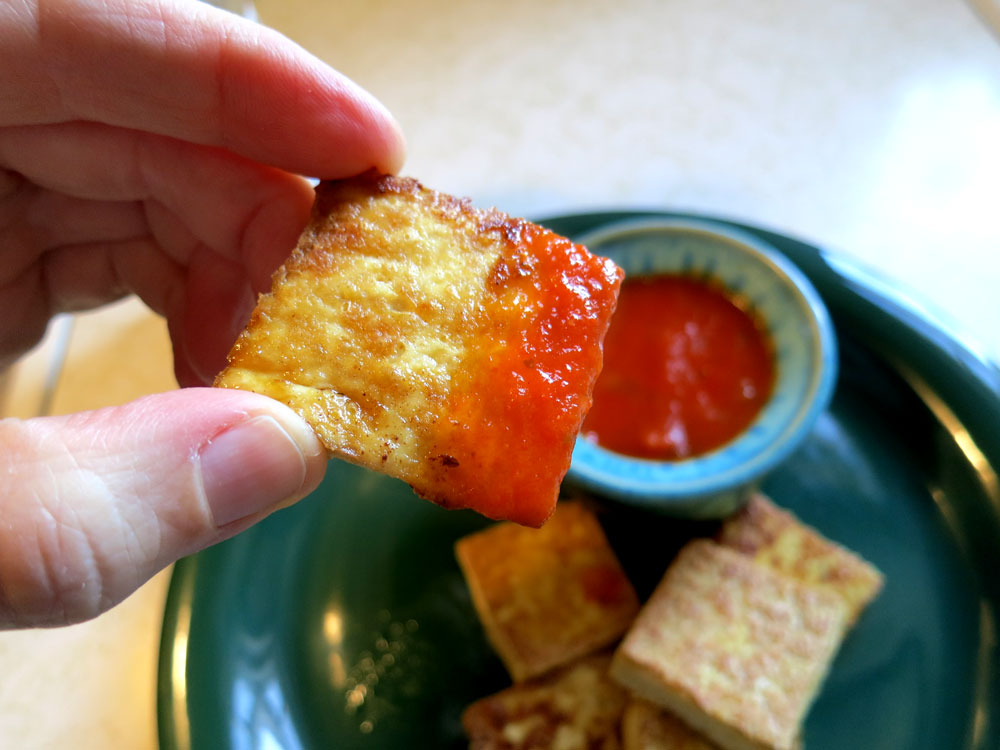
They are wonderful with tomato sauce (or even steak sauce) and served on a pine-needle green plate…
…they also pair very well with salad dressings, and are a great topping for salads…
…and with one of my other faves, Tasty Bite Indian meals!
Any way you use these, they are a very tasty time saver…keep them in your fridge for when you want some quick, delicious protein!
Enjoy!
Yours in Great Health,
Alison
Kale is the green’s green – thick, hearty, and full of nutritional value. And like any self-respecting green, it tastes like one. At least until you add a few simple things, then everything changes. Flavor happens. People start asking you to “make that kale thing you made that other time,” and all sorts of good stuff that’ll lower your karmic debt.
Hell, it’s one way to get some meaningful veggies down your throat!
I cooked this at my best friend Kelly’s house in Pennsylvania. She, like me, is always looking for better eats and health, and well, there I was. This simple dish will add flavor and pleasure to any meal, and is also a pretty good snack on its own.
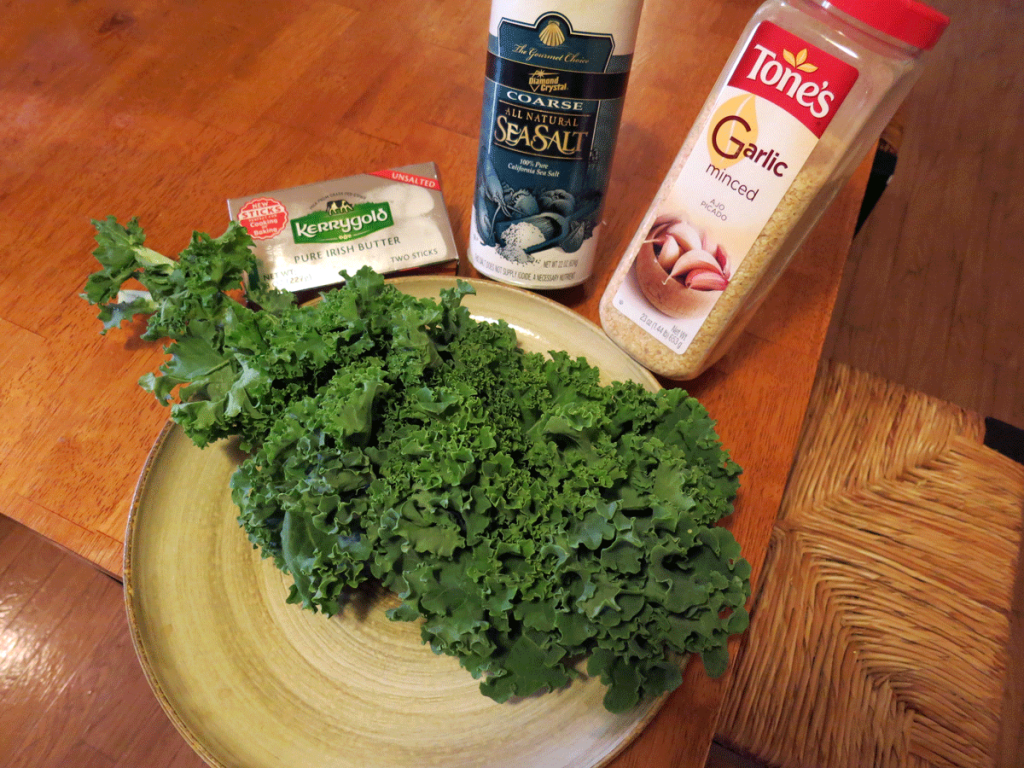
All you’ll need are:
- One Bunch Organic Kale
- 1 Tsp Dried or One Clove Fresh Garlic, Minced (Organic, if Possible)
- 1/2 Tb Butter
- Sea Salt
First, you’ll want to disassemble your bunch of kale and slice the leafy parts of the leaves off the stems, rip them into bite-size pieces and place them in a pan with just a little water, say a couple of tablespoons. The easiest and fastest way I’ve found to de-stem kale leaves: Use kitchen shears. They will save you time you will want to waste procrastinating on facebook.
But seriously, a good set of kitchen shears will keep the time spent and the lacerations to a minimum.
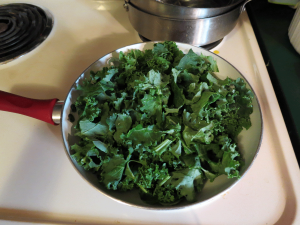

Once the kale is in the pan, cover then heat it on a high heat setting to get the kale to start boiling. Kelly’s stove had knobs like this, so I used an 8 for a gentle boil.
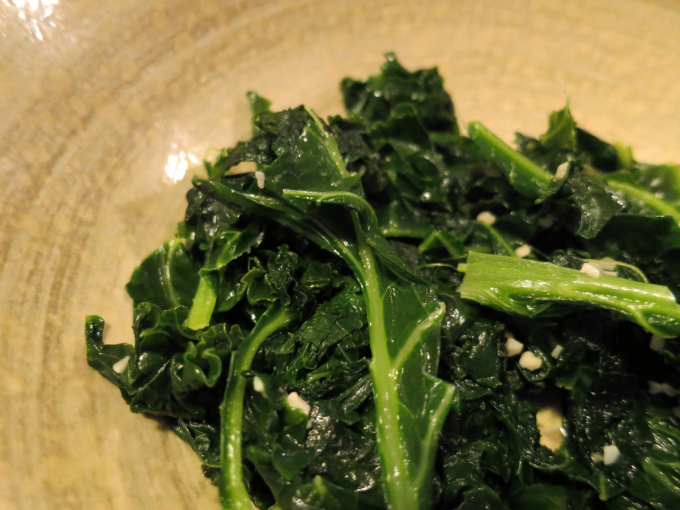
After the kale has boiled for a few minutes and started to darken, add in your garlic, butter and a couple dashes of the sea salt, turning your stove’s heat setting down to medium:
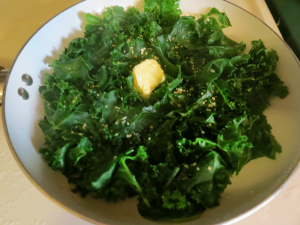

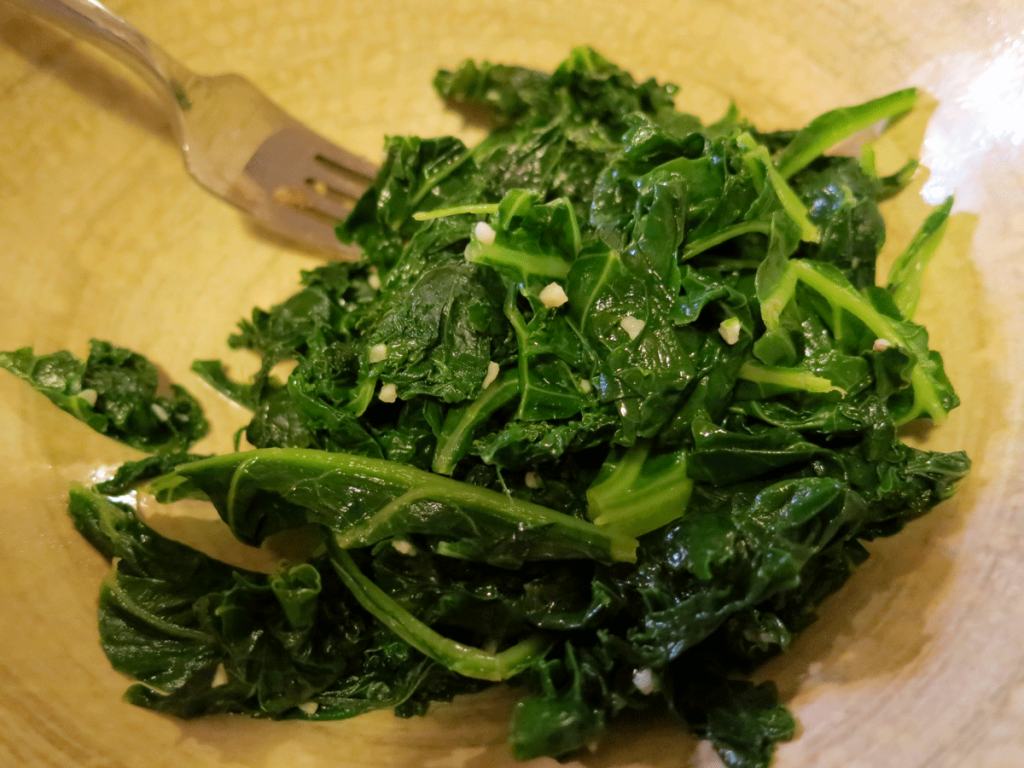
Cover the whole lot and let it simmer for several more minutes. I find that boiling and simmering for a total of 10 minutes works well – it softens the kale and mingles the garlic, butter and sea salt perfectly with it. I like soft kale, not the tough stuff, and I’ll take flavorful versus rabbit food anytime. Stir and taste test a piece when approaching 10 minutes to see if it’s the right amount of doneness for you.
Dee-lish! And a health-giving, colorful addition to any plate. Makes a great, hearty side for red meats, beans, and it’s great with potatoes and other starchy vegetables, such as squashes, or root veggies, like parsnips. Kale pairs well with things that have a sweetness about them, and that makes it one of the sweetest thangs 🙂 …so dig in!
Yours in Great Health,
Alison