
Category : Health
It was years ago when I first read about Mount Teide, a YUUUUGE volcano on the island of Tenerife in the Spanish Canary Islands. An eruption of Mount Teide, the article read, would very likely produce a tsunami that could take out the USA’s eastern seaboard — and thus Washington, DC — and our flaccid, do-nothing Congress along with it.
From that moment on, I was a fan. A rabid fan of this volcano, not only because of its diabolical beauty, but because of its potential to do what the American people have not bothered to do: Bring real — and lasting — political change to America. Along with some geographic adjustments, of course.
Fittingly, in early October of 2016, an article appeared in The Sun, which delivers the following statements and other goodies for thought regarding Mount Teide:
“On Sunday 92 microquakes in Adeje and Vilaflor (towns in Tenerife) were reported — with one measuring as high as 1.5 on the Richter scale.
“Experts sent to the area have recorded an “abnormal” amount of carbon dioxide in the atmosphere — an indicator that the volcano could blow imminently.”
Involcan said in a statement:
“We are registering an important seismic rally on the island of Tenerife.
“In principle, these earthquakes are very low magnitude, consistent with those that occur in active volcanoes.
“The number of earthquakes is provisional pending the analysis of the signals more closely, but we can qualify this activity as a seismic swarm whose pattern is an alignment with prevailing direction northeast to southwest.
“Mount Teide hasn’t erupted since 1909 but its fragile formation means that it is highly unstable.”
…and finally on to what I call the doozy:
“As an active, but dormant volcano, Mount Teide could erupt again and the lack of stability around the island has prompted some seismologists to suggest an eruption could cause a megatsunami that could hit the eastern United States.”
So there you have them, my reasons for becoming a fan of this stunning mountain. I’ve done my civic duty: I’ve voted by absentee ballot on behalf of my adopted state of Nevada from my perch here in my home state of Pennsylvania, and made my points in this anti-Trump video…but if Orange Hitler does manage to steal the White House, Tenerife — and its resident Mount Teide — will be where I hold vigil, until real change comes to America.
Care to join me? If so, please get in touch.
In parting, I leave you with the following Mount Teide haiku:
Erupt, Mt. Teide,
Bring us political change!
How I am a fan.
Erupt the vote!!!
Yours,
Alison
When people ask me what is most effective to keep the cancer cell count down to a minimum, I respond that chief among my medical therapies is the use of IV Vitamin C drip, or Intravenous Vitamin C.
To date, I’ve taken these treatments, which usually take a couple hours apiece, in both Mexico (Tijuana) and the US (Las Vegas). The cost in Mexico: $100. In Las Vegas: $160. In other words, Las Vegas is comparable enough cost-wise that the extra $60 is still a savings on the travel costs to Mexico, if you are just going for a standalone Vitamin C IV drip (which, at times between trips to Mexico for more all-inclusive health services, is the case).
The treatments themselves involve a needle-stick into a prominent inner-elbow vein, followed by the drip itself, which comes via plastic tube down from an IV bag, from which 50 grams (my dose, specifically) of Vitamin C is delivered, straight into my bloodstream.
Its actions are well-known…here are a few of the highlights:
- Chemotherapeutic action: It is a great cancer-fighter, because peroxide is created in the blood. This is due to the response of cancer cells to the Vitamin C, which is to create said peroxide. Normal cells do NOT make peroxide like cancer cells do in reaction to Vitamin C – making Vitamin C IV drip therapy a highly-effective, highly-targeted therapy. If you’ve studied Otto Von Warburg’s contributions to our collective knowledge about cancer, you know that cancer cells are anaerobic and that oxygen will kill them – and peroxide in the blood for raising oxygen levels is nothing new.
- Anti-inflammatory: Aside from the stress hormone cortisol, inflammation is enemy number one of good health. Inflammation plays a role in cancer and countless other disease processes, and Vitamin C IV can ameliorate this greatly.
- Heavy metals detoxification: Vitamin C IV is given to me by American Bio Dental in Tijuana, Mexico, for the purpose of keeping heavy metals from re-depositing in my system while undergoing mercury amalgam removal. Detoxification from these was very necessary in my case to even begin relieving my body from cancer growths, that is how toxic I was.
- Digestive & renal system bypass: Vitamin C IV drip goes straight into your veins, so there’s no going through the digestive and renal system barriers, which can limit the amount of Vitamin C that actually enters the system. This means blood levels of Vitamin C which are higher (and therapeutic) versus those which would be limited by the digestive and renal systems (and thus are lower and less effective).
I know quite a bit about that last one, having had some kidney weakness rear its ugly head from time to time. The desert environment of Las Vegas provided the treatment – namely beneficial minerals in small, steady amounts and liquids to match – but I can attest that at 50 grams per drip, I’ve never felt better.
Sensation-wise, it feels like an almost-high to me…I can literally feel my veins expanding to accommodate the IV drip’s contents. The first time I had this treatment…it was a bit disconcerting, it was like I was being “filled up,” but in a very good way 😉 Still, I wondered if I would really be okay…you know how those thoughts travel across your mind…but…I felt so much better and clearer in the head afterward, I was sold.
As for frequency of these treatments, that depends on the person and where they are in their treatment, what their treatment goals are, how many treatments they can tolerate, etc. Even though I say here that the Vitamin C IV drip bypasses the kidneys – i.e., the renal system – large amounts in your system can still affect renal function. The lesson: It is always best to start small – and I know some individuals who started with 10 grams and worked their way up to more, once it became clear the treatment was beneficial. As with every other treatment, everybody’s different, meaning every BODY is different, and thus your individual profile, including your sensitivities, must rule the day.
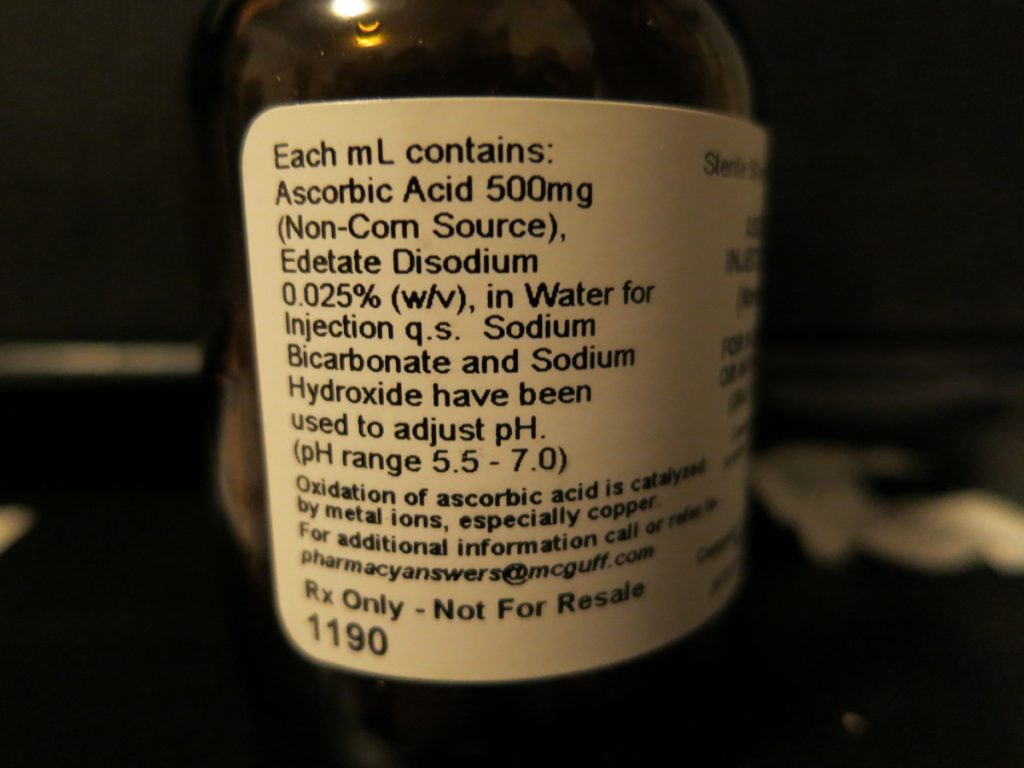
When choosing a Vitamin C source, please take very good care. I know some people for whom the treatment worked great…until they changed their provider and ran into serious problems because they received a different source for making their IV drips. All ingredients – including additives and preservatives – should be disclosed in full to anyone receiving an IV drip – this is going directly into the veins. If something is in your drip that doesn’t like you, you’ll know it – and most likely very quickly, so don’t end up on the wrong end of that equation.
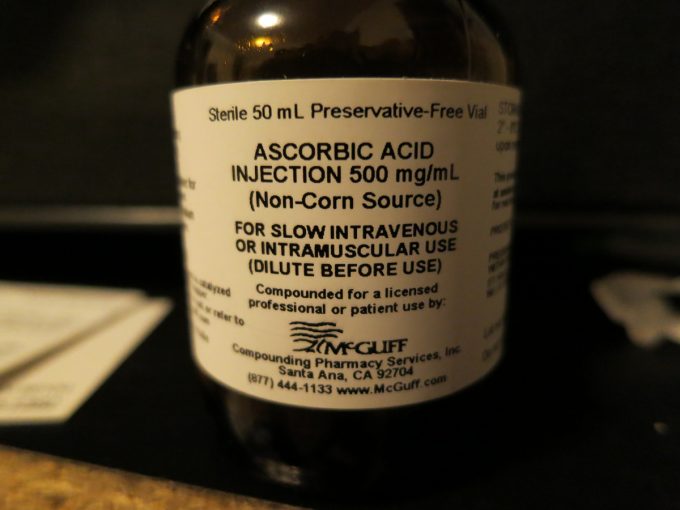
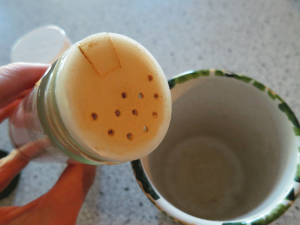
To this end, a wonderful doctor in Las Vegas gave me the bottle that he used to make my IV drip, fresh on the spot. Take a look at the following image, which shows the ingredients for a drip which made me feel great and has no preservatives:
And of course, check out the image behind this content or at the very top of this post for the “front page” of that same bottle…and note where it says “Preservative-Free.”
So it really is worth checking out Vitamin C IV drip therapy as a possible cancer treatment. Cancer is one of those things where I don’t want to leave any possible stones unturned. Vitamin C IV therapy has worked many wonders for me, and it is possible it will for you as well.
As always, do the research. Know thyself! And find great doctors – as guides, not gods – to help you.
Yours in Great Health,
Alison
I’m always looking for quick, simple and inexpensive ways to make the good stuff on the go, so here’s one fer ye! It’s a very cool, fast and easy guacamole recipe using readily available & easily found ingredients, straight from your – or your Airbnb host’s – fridge and spice rack. Great when craving something real on the road, or when you need a quick and healthy snack without much fuss.
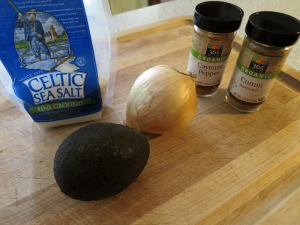
Gather ye thy holy ingredients:
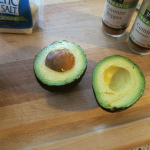
- One Ripe Avocado (Small to Medium)
- 1/4 Fresh Onion (or 1 TB Dried Onion Flakes)
- 1/2 Heaping Teaspoon Cumin Powder
- 1 – 2 Dashes Cayenne Powder
- Scant 1/2 Teaspoon Sea Salt
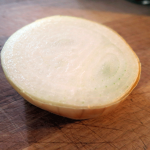
I try to use all or mostly organic stuff in my cooking and always encourage others to do the same. In a cereal bowl (or similar), cut, skin and mash up the avocado. Save the seed! You’ll need it if you want to refrigerate any leftover guac…according to livescience.com, science does seem to support that keeping the seed with the guac will prevent some browning, and as well, thou shalt hear a voice behind thee, spewing facts regarding the uber-nutritious avocado:
Few people know that the avocado is an ecological anachronism, that it most likely evolved specifically to entice the tastes and the large gullet of the now-extinct giant ground sloth.
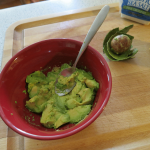
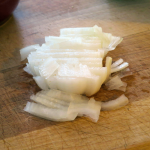
Now that that deadly sin is out of my system, next you’ll want to dice 1/4 of a fresh onion, which equates to approximately 1/4 – 1/3 cup. FYI, if you’re using dried onion flakes, the 4:1 rule applies – in other words, you only need about a quarter the amount of dried onion to get the same taste result. Given that 1/4 cup equates to 4 tablespoons, using 1 tablespoon dried onion flakes will do it. As always, trust your taste buds and adjust accordingly.
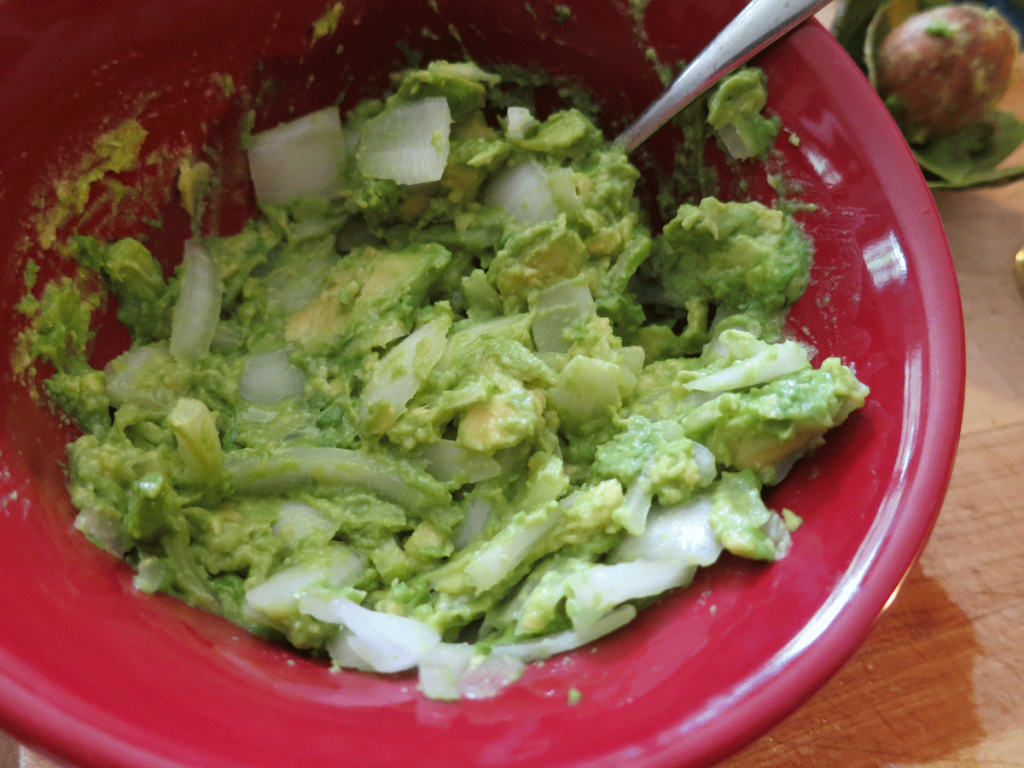
Briefly mix the onion into the mashed avocado:
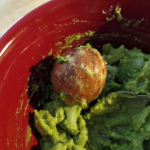
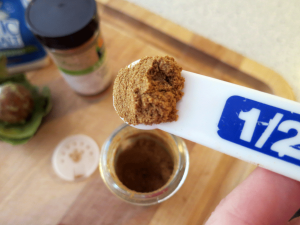
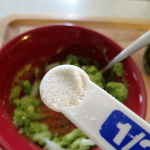
Next, add in your heaping 1/2 teaspoon of cumin powder…
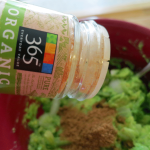
…followed by 1 – 2 dashes of cayenne pepper and a scant 1/2 teaspoon sea salt…

…and you are ready to do the final mix!

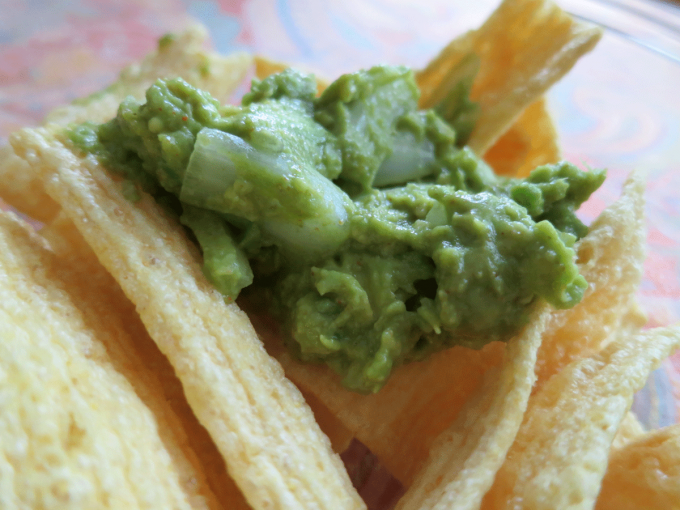
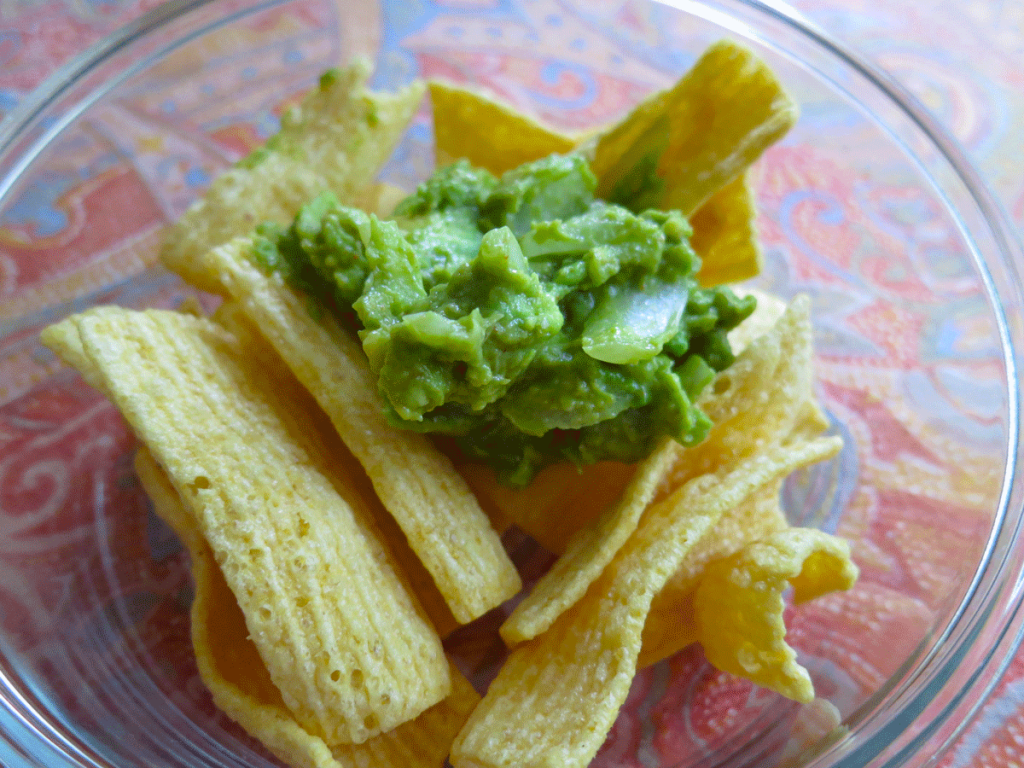
Next, get ready to serve thyself this Simple as Hell Holy Guacamole. Sometimes I eat it straight up, but here, to show some degree of civility, I’ve used lentil chips, which provided a really nice, light contrast to the guac…enjoy!
Serves: 2 normals, or one Alison Lorraine. Can be stored in the fridge for a day with the seed, but it’s best to use this up asap.
Yours in Great Health,
Alison
This ginger tea recipe is as simple as a crystal-clear blue sky…just two ingredients. As always, organic is preferable.
You’ll need these two items:
- 1 – 2 Dashes Ginger Powder
- 1 Small Spoon Stevia Powder
…and you’ll also want to have on hand some hot water and a tea mug 🙂
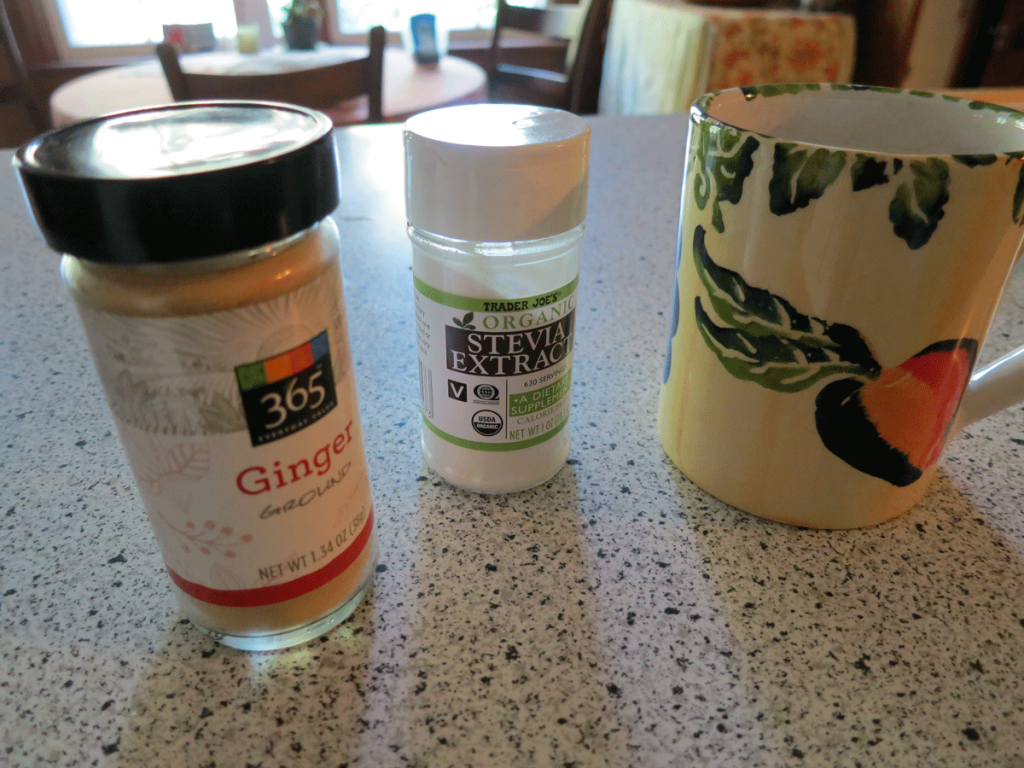
Add 1 – 2 dashes ginger powder to your tea mug:
Next, add in the stevia…
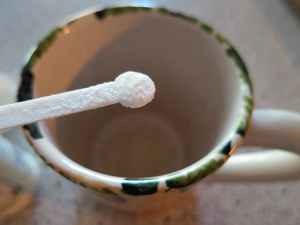
…and note how I’m using the little white spoon that usually comes with a container of stevia. Also note that I let the stevia heap and crawl up the handle, because my sweet tooth will have me asking for sweet things long after I’ve left this mortal coil.
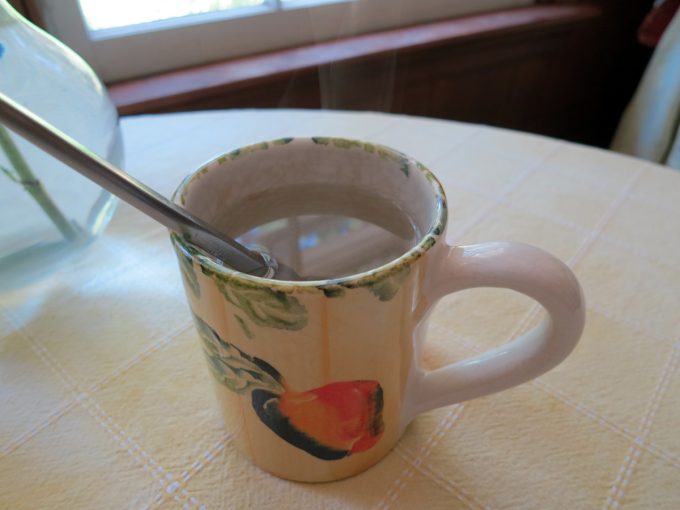
Lastly, pour in some hot water, stir and you’re good to go! Very helpful to sip this with a meal…ginger is a well-known digestive, and is among my favorites aside from chewing fennel seeds or having a glass of red wine.

Drink up and enjoy!
Yours in Great Health,
Alison
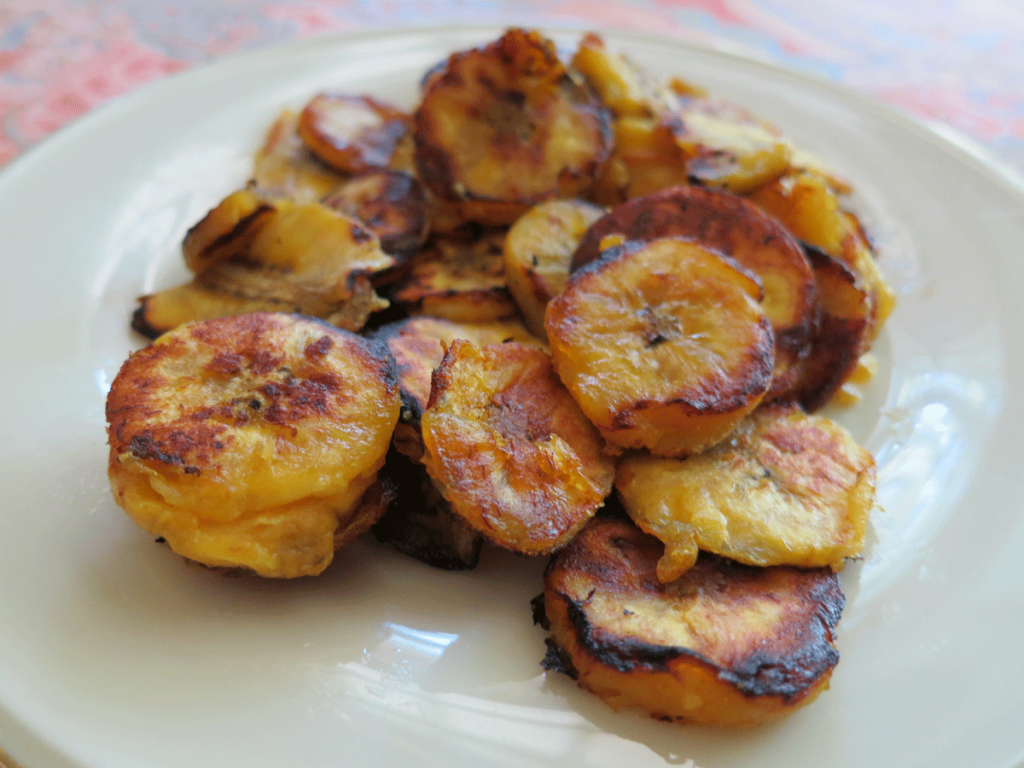
One of my favorite desserts is nothing more than slicing up a ripe plantain, spooning some coconut oil into a medium-heated pan, and then fry-sauteeing the plantain slices until they are browned and crispy on the outside and sweet and soft toward the middle.
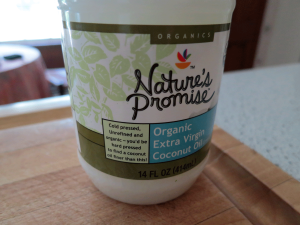
This is an excellent dessert without the need for added sugars or anything else. I’m not sure of the “organicness” of plantains in general, but I always use organic extra virgin unrefined coconut oil for this one.
You’ll need:
- One Very Ripe Plantain
- Tablespoon (or So) Organic Coconut Oil
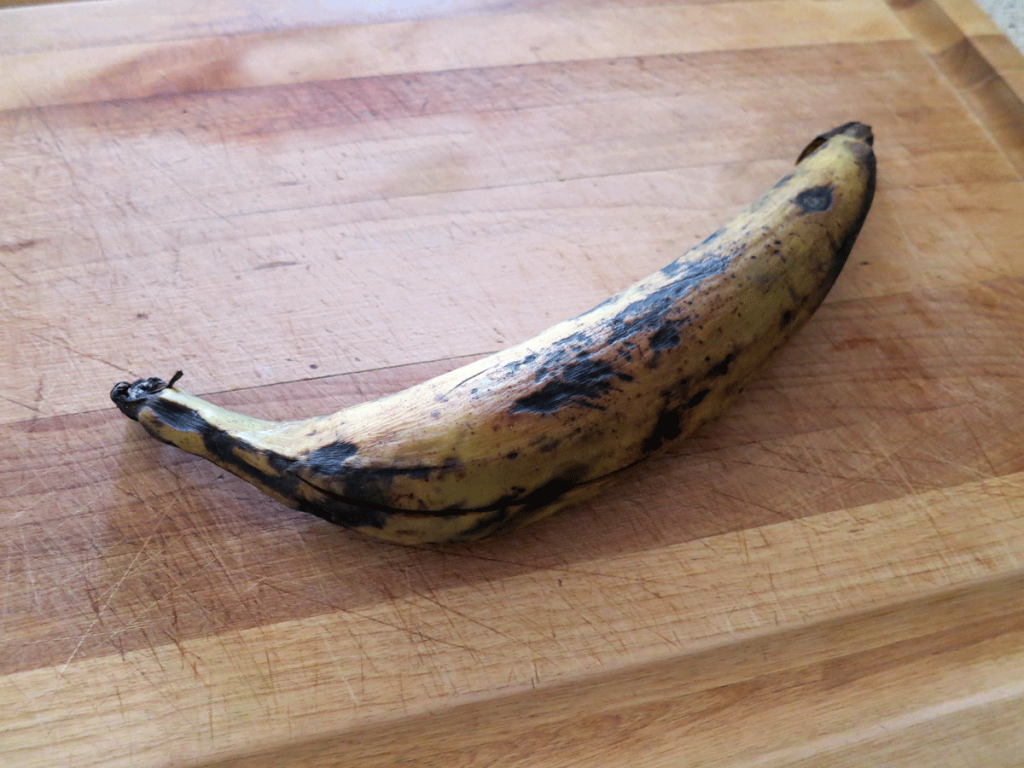
I’ve put a large image of a plantain above showing the types of colors you’ll want to see on yours (and this one turned out delicious!). Pale yellow with plenty of black indicates a sweeter plantain. Green or plain, uninterrupted yellow, it’s not going to be as sweet, but can be used in a more potato-like manner. What I’m going for here: the more hellish and rotten (to a point) the plantain looks, the sweeter and more dessert-y it will be.
Note my plantain has a big-ass slash through it and a portion of the tip was also partially cut off. No matter! As long as the skin’s not totally breached, you’re as golden as your sweet plantain dessert will be.
Here’s the coconut oil I used for this recipe:
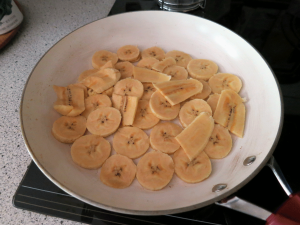
First, place a tablespoon (can be heaping!) of the coconut oil in a frying pan large enough to cook 4 – 6 hamburgers comfortably. Fire it up to medium heat and let the oil get hot enough so that once you add a test slice of plantain, it starts to sizzle immediately.
Peel and thinly slice your plantain into the pan and let the slices cook for several minutes, checking them periodically for level of brownness. Turn the slices periodically once you notice them browning.
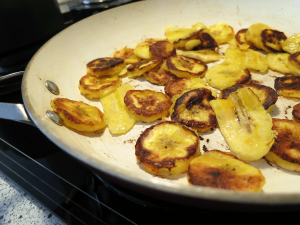
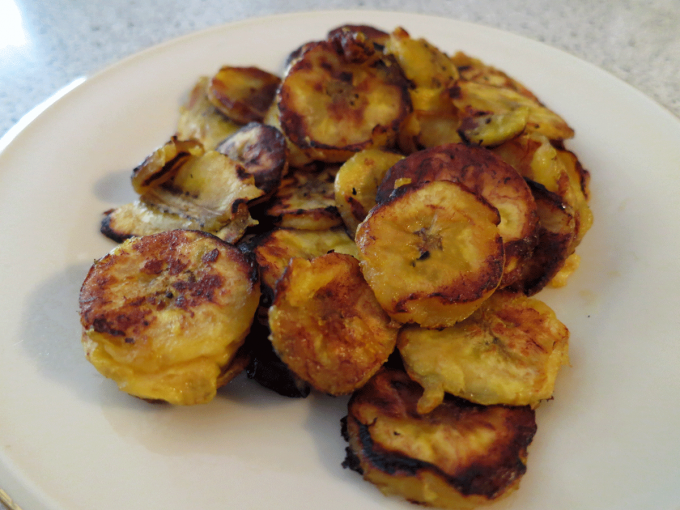
The picture to the right shows some browning on the plantain slices. Ideally, both sides of each slice should be browned, but don’t hold out for sheer perfection – that’s the surest way to burn your plantain. The key is constant attention and turning for the several minutes you’ll need to make sure the slices are cooked to softness while having those lovely and slightly crisp brown edges.
Through the smoke in the above photo, you see the plantains nearing completion – they have a browned, and at the same time, a gently wet look to them. The browning brings out the sweet, and the wetness indicates a nice, moist interior with the crispy-sweet edges.
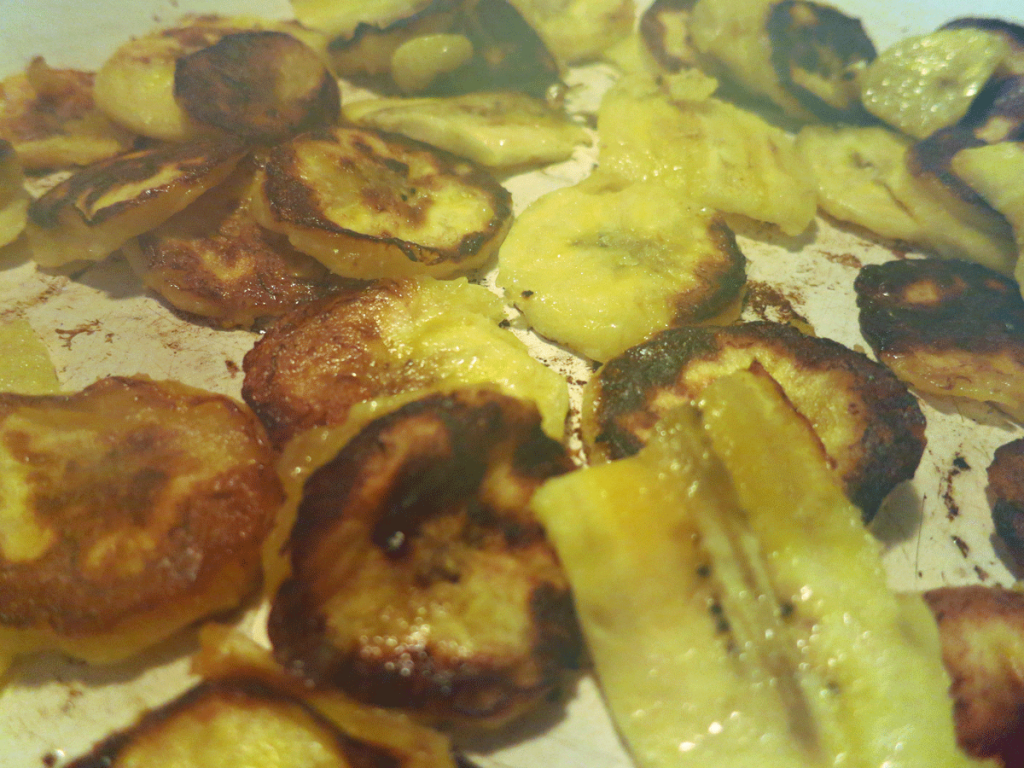
At this point, you’ll want to remove them from heat and spatula them onto a plate. Optional: a light dusting of cinnamon is quite tasty, but wholly unnecessary. Just the coconut oil and plantain slices are enough to satisfy my sweet tooth anytime! (Note that if you are travelling, you can sub in butter if you don’t have coconut oil handy.)
There are many pleasures to experience with this lusciously unadulterated dessert! It is healthy, has no added sugars and is a highly nutritious sweet. The coconut oil only adds to its healthy profile 🙂 and plantains are also known for their being mucilaginous – that is, containing mucilage, a natural prebiotic fiber found in various foods and herbs like chia, okra and flax that can help sooth an upset stomach. Mucilage isn’t for everyone, however, as it has been said to also feed detrimental organisms as well as trigger immune responses in susceptible individuals.
But if you like plantains and they like you, indulge!
Yours in Great Health,
Alison
There’s something about a juicy, grass-fed beef burger that never, ever disappoints. And it’s even better when there’s salty, full-flavored and digestive-aiding miso involved. The flavors here mix very well, and this recipe is so damn quick and easy, you just might find yourself making these quite often.
As someone dealing with the Big C, I’ve often been lectured (mostly by lay people) about beef being a no-no, when actually it is part of my doctor’s orders. “No-no-NO vegetarianism for you!” she always admonishes. It seems my need for nutritious, carefully-sourced red meat just is. My body’s demands for minerals, fats, and other necessary substances are rather high. I have a very fast metabolism and the need for a lot of nutritious food.
Grass-fed beef in particular has health benefits that go beyond the label, and I think a lot of the criticisms I’ve heard about beef are truthful – if it is factory-farmed beef, that is. But organic and/or grass-fed beef is a different animal entirely. Literally. And, most importantly, chemically. It contains a great balance of Omega-3 and -6, CLA (or Conjugated Linoleic Acid, an important fatty acid), is nutrient-dense and is the way nature intended. According to Mercola, CLA bennies are many – including anti-tumor benefits in the case of cancer.
So to those who pan beef (pun certainly intended!), I say this: Try being more aware of where your beef is sourced – and what its actual chemical profile really is – instead of using the too-wide brush to declare all beef as bad. It is not.
Do read Fastfood Nation by Eric Schlosser to get rid of any factory-farmed meat-eating habits that you still practice. It’ll turn your stomach in ways you’ll need to stay aware and healthy, and it’s right up there with Upton Sinclair’s The Jungle.
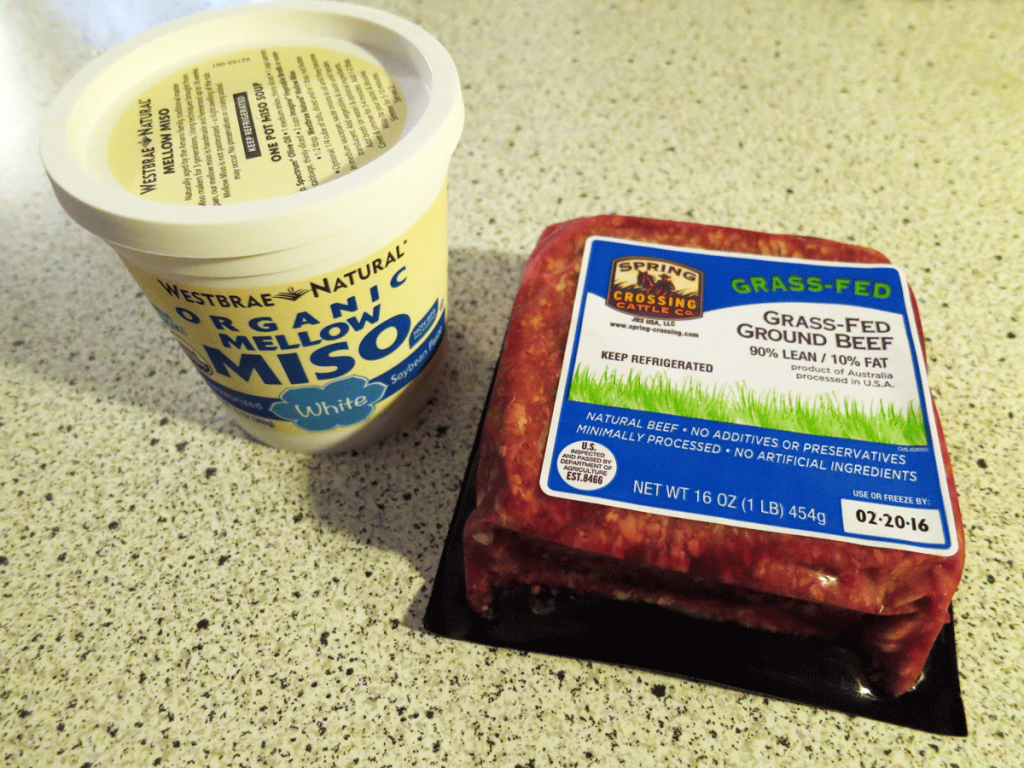
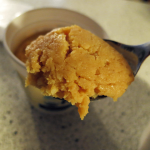
That said, all you need for these delicious and highly satisfying and nutritious miso beef burgers is beef (get organic and/or grass-fed) and miso (I used Westbrae Natural’s for this recipe because it is organic and has very few ingredients – rice, soy, sea salt, water and koji starter):
- 1 lb ground beef (grass-fed and/or organic is healthiest)
- 1 heaping spoonful of miso
I consider this as a Simple as Hell two-ingredient recipe, yes, but the miso is technically a cheat. I have completely rationalized my cheating as fair – since I didn’t make the miso, I count it as a single item in this two-item recipe 🙂
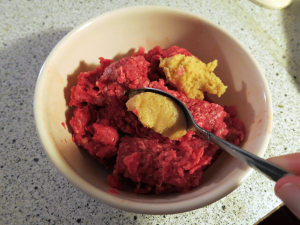
Start with a small mixing bowl, or even a large cereal bowl will suffice. Place the beef into the bowl, and add a heaping spoonful of miso (and note the spoon I’m using is just a regular flatware spoon):
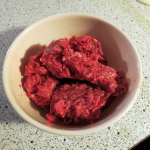
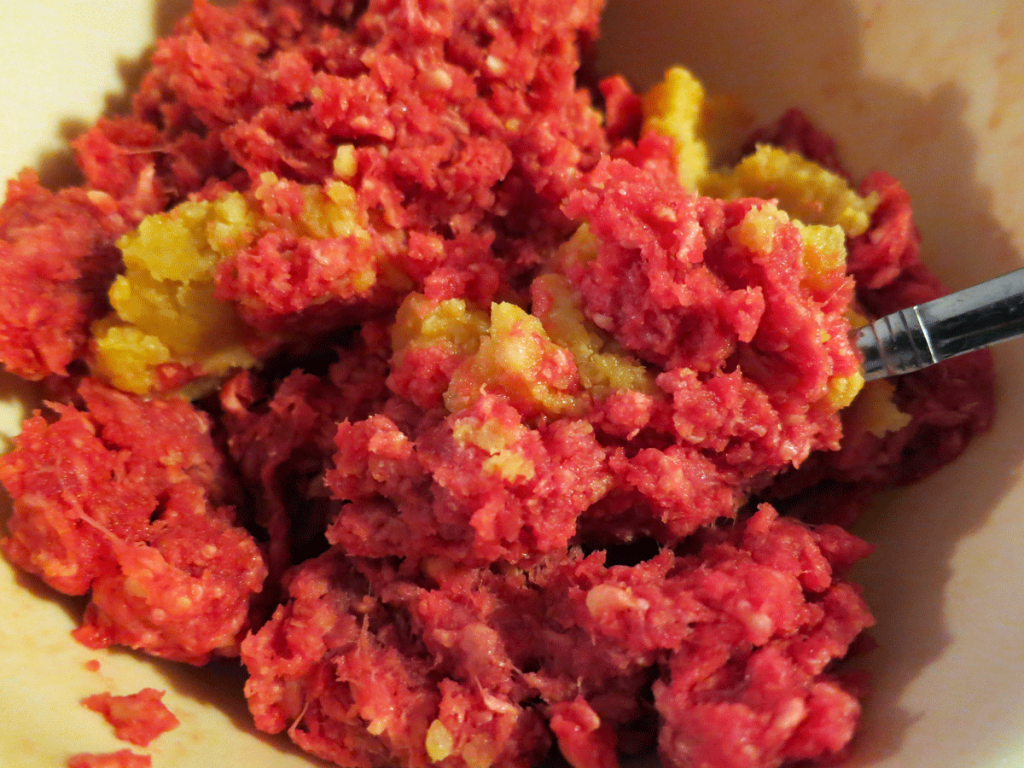
Next, briefly mix the miso into the beef, but don’t overdo it. I tend to like biting into a burger where there are little pockets of just plain miso. It adds variety, surprise and makes for a much more delicious burger than if you stir the hell out of the miso and beef such that they “become one” – and too much stirring is a surefire way to toughen the beef such that it doesn’t taste as good texture-wise:
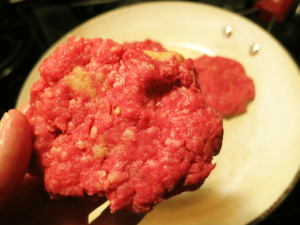
After that, quickly and lightly form the miso-beef mix into burgers, your preference as to the size – quarter-pounders, six burgers to a pound of beef…or mini-burgers, whatever you like…
Place your burgers in a hot frying pan on medium to medium-high heat. Important note: I don’t use any cooking spray or third-party grease when cooking burgers or any other cut of beef, with the occasional exception of cow’s milk butter. Burger meat is fatty enough to cook in its own fat – why corrupt it?
When I want browned-on-the-outside, but rare-on-the-inside burgers, I find a medium-high setting to be best. When I want more thoroughly-cooked, but not-so-brown burgers, the lower setting works better. However you like your burgers, find the adjustment that suits you!

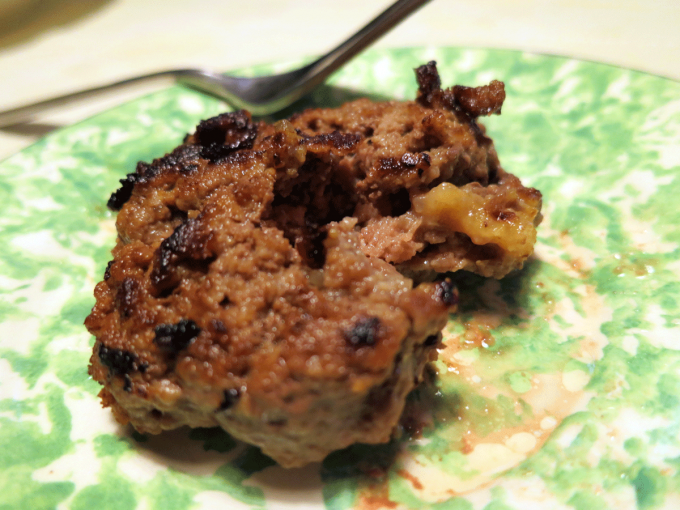
Turn the burgers over when you see the outside edges getting brown, usually several minutes, depending upon how high your heat setting and the quirks of your range are. When the burgers are done to your preference, it’s really nice to serve them up on a nice plate for all to admire before digging in!
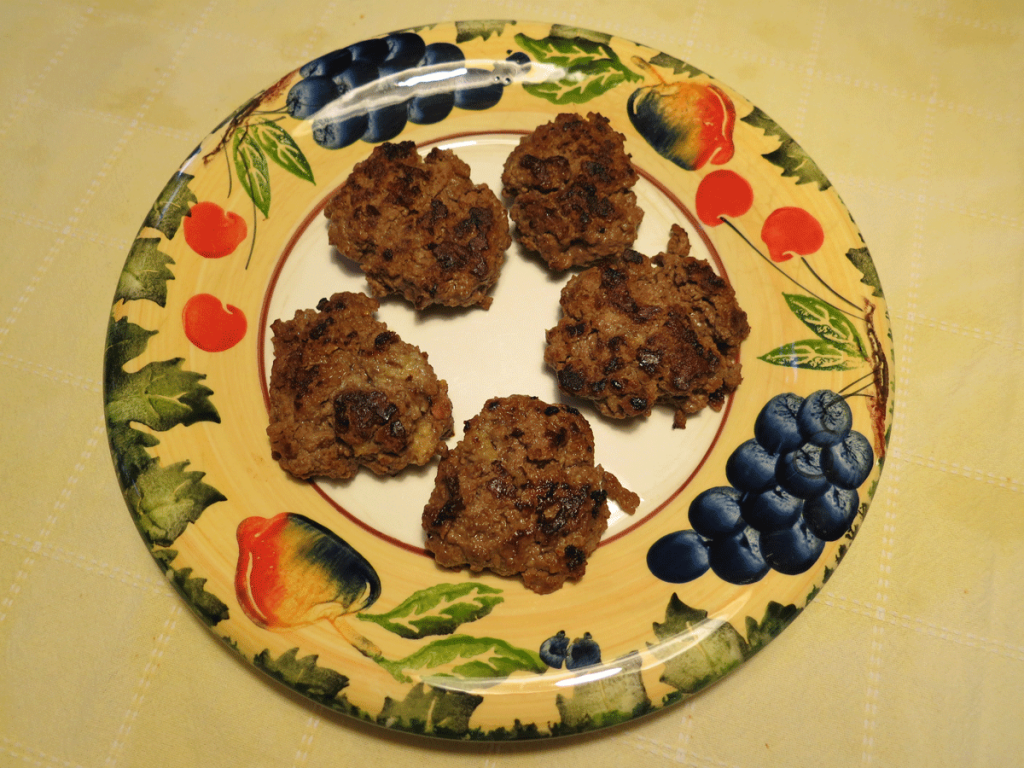
And damn, these are good! They melt in my mouth, and you can see why below…

Enjoy!
Yours in Great Health,
Alison
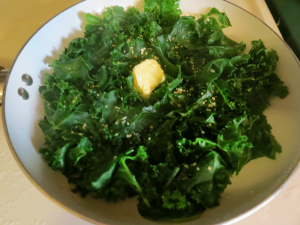
Kale is the green’s green – thick, hearty, and full of nutritional value. And like any self-respecting green, it tastes like one. At least until you add a few simple things, then everything changes. Flavor happens. People start asking you to “make that kale thing you made that other time,” and all sorts of good stuff that’ll lower your karmic debt.
Hell, it’s one way to get some meaningful veggies down your throat!
I cooked this at my best friend Kelly’s house in Pennsylvania. She, like me, is always looking for better eats and health, and well, there I was. This simple dish will add flavor and pleasure to any meal, and is also a pretty good snack on its own.
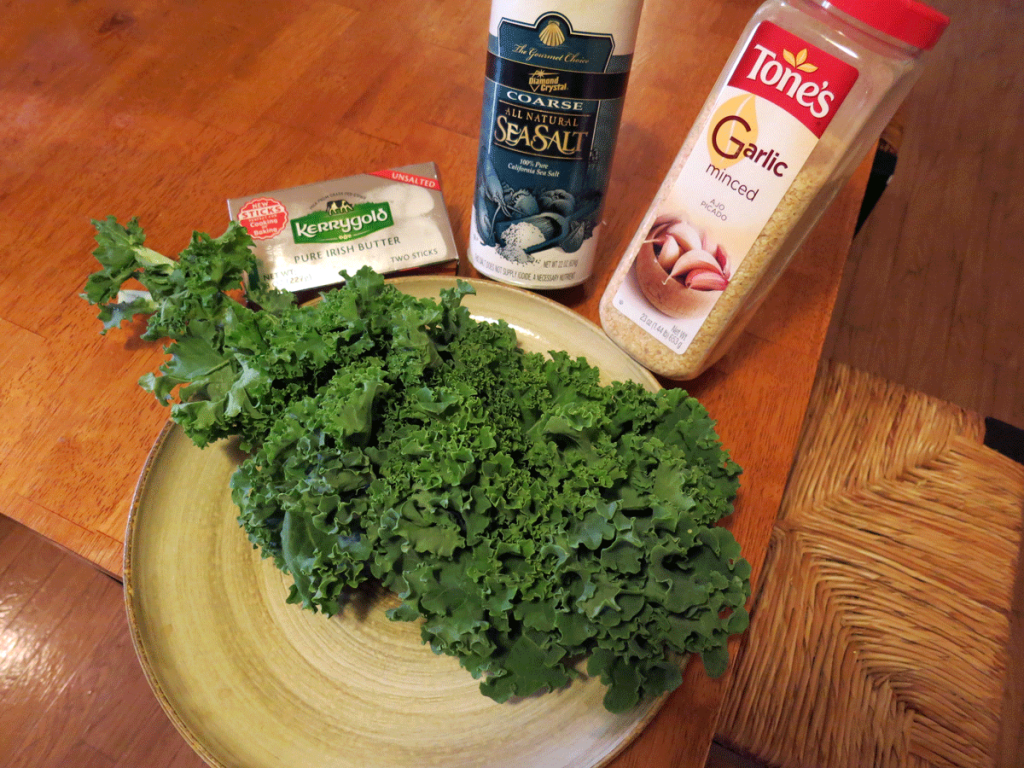
All you’ll need are:
- One Bunch Organic Kale
- 1 Tsp Dried or One Clove Fresh Garlic, Minced (Organic, if Possible)
- 1/2 Tb Butter
- Sea Salt
First, you’ll want to disassemble your bunch of kale and slice the leafy parts of the leaves off the stems, rip them into bite-size pieces and place them in a pan with just a little water, say a couple of tablespoons. The easiest and fastest way I’ve found to de-stem kale leaves: Use kitchen shears. They will save you time you will want to waste procrastinating on facebook.
But seriously, a good set of kitchen shears will keep the time spent and the lacerations to a minimum.
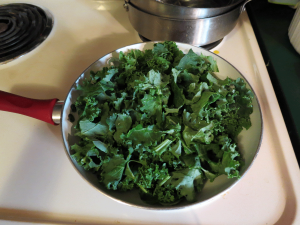

Once the kale is in the pan, cover then heat it on a high heat setting to get the kale to start boiling. Kelly’s stove had knobs like this, so I used an 8 for a gentle boil.
After the kale has boiled for a few minutes and started to darken, add in your garlic, butter and a couple dashes of the sea salt, turning your stove’s heat setting down to medium:

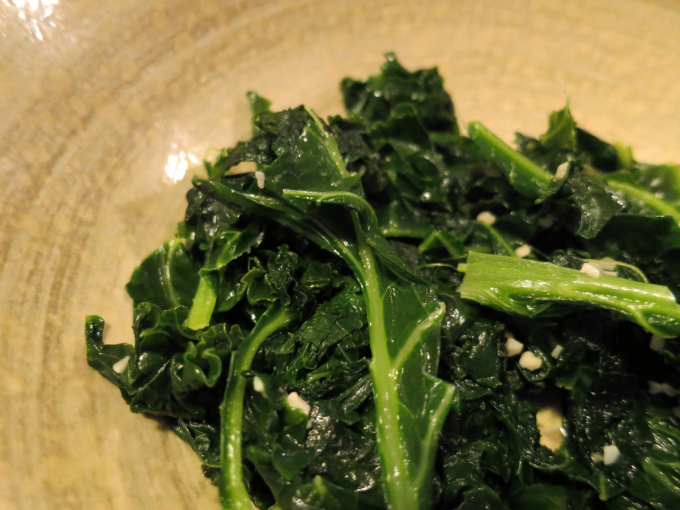
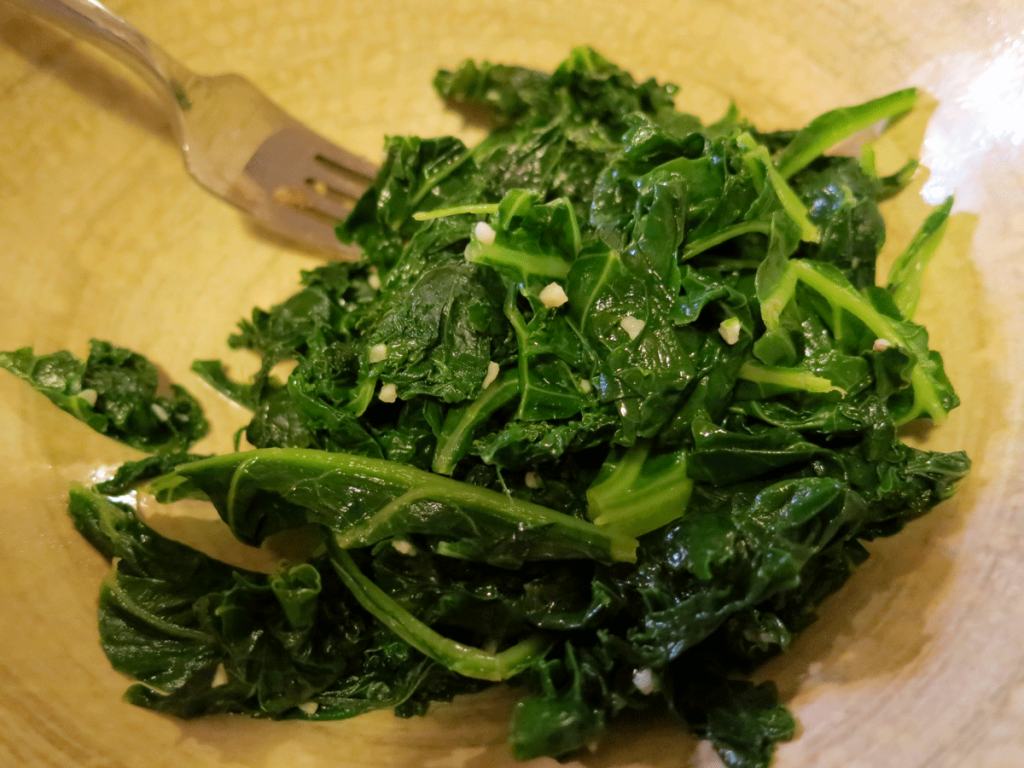
Cover the whole lot and let it simmer for several more minutes. I find that boiling and simmering for a total of 10 minutes works well – it softens the kale and mingles the garlic, butter and sea salt perfectly with it. I like soft kale, not the tough stuff, and I’ll take flavorful versus rabbit food anytime. Stir and taste test a piece when approaching 10 minutes to see if it’s the right amount of doneness for you.
Dee-lish! And a health-giving, colorful addition to any plate. Makes a great, hearty side for red meats, beans, and it’s great with potatoes and other starchy vegetables, such as squashes, or root veggies, like parsnips. Kale pairs well with things that have a sweetness about them, and that makes it one of the sweetest thangs 🙂 …so dig in!
Yours in Great Health,
Alison
Okay…so I admit it. Brushing one’s teeth with candy does sound a little off. But when you qualify the candy by what’s in it, it is not too big of a flying leap.
Case in point, xylitol candy, which is now up front and center in just about every grocery store I venture into. Xylitol is very well known to have beneficial effects on teeth, and after my Mexican dental clinic in Tijuana prescribed me a mouthwash with xylitol as its main ingredient, I decided to try brushing with a few candies I liked that had it, too.
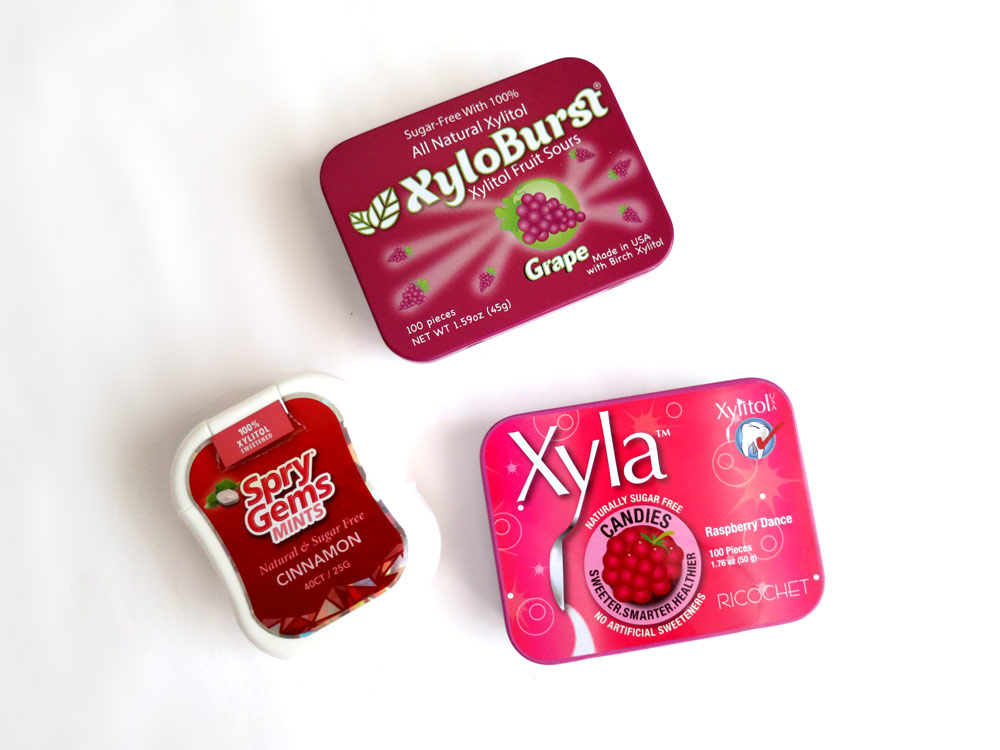 Enter Xyla, XyloBurst and Spry Gems, all of which feature xylitol as the main sweetener, and it’s a sweetener with many benefits. Lots of cancer survivors I’ve talked to use it as one of their mainstays in addition to stevia. So why not use it for scrubbing the pearly-whites?
Considering some of the ingredients I’ve seen in “conventional” toothpastes (as well as those considered “natural” or “healthy”) – and given my knack for quick demineralization and the resulting teeth issues – I decided to give it a go. And now, four months later, I can honestly say my teeth don’t hurt as much as they used to, they are clean, not too much in the way of that scummy buildup on the surface and I don’t miss toothpaste too much at all.
My favorite candy to brush with (and this does involve chewing the candy a bit and letting it mix with saliva, then brushing) turns out to be Spry Gems, which have the added ingredient of calcium glycerophosphate, which has been studied for its anti-cavity effects.
Research on calcium glycerophosphate suggests a strong benefit in its ability to inhibit plaque formation and tooth decay (“caries”) in the mouth. An article entitled Calcium Glycerophosphate and Caries: A Review of the Literature, states:
“There is credible evidence that calcium glycerophosphate has the potential to reduce the progression of caries via all of these mechanisms if it is applied frequently and at a sufficiently high concentration.”
There is one caveat I will mention – calcium glycerophosphate, when ingested, can have the effect of lowering one’s stomach acid, and as one who has had serious problems due to low stomach acidity, I have to really watch this. Using the Gems as “mints” and ingesting them has proven not to be the best thing for me. This is why when I chew the Gems and brush with them, as with any regular toothpaste, I don’t swallow – I spit.
Still, the combination of the calcium glycerophosphate and xylitol is a good one, as long as I use it in a way that benefits me personally and not necessarily “as directed.” Even so, the Cinnamon flavored Spry Gems have become a favorite, and if I can’t find those, I sometimes make do with XyloBurst Grape or berry-flavored Xyla candies.
Variety is good, and if I find I want to skip the calcium glycerophosphate for a while, they are a fine substitute…and with these, I can swallow to my heart’s content…or not. If I’m feelin’ like I’m into that sorta thing.
The important thing is, my teeth love ’em all! And they are healthier these days than ever.
Enjoy,
Alison
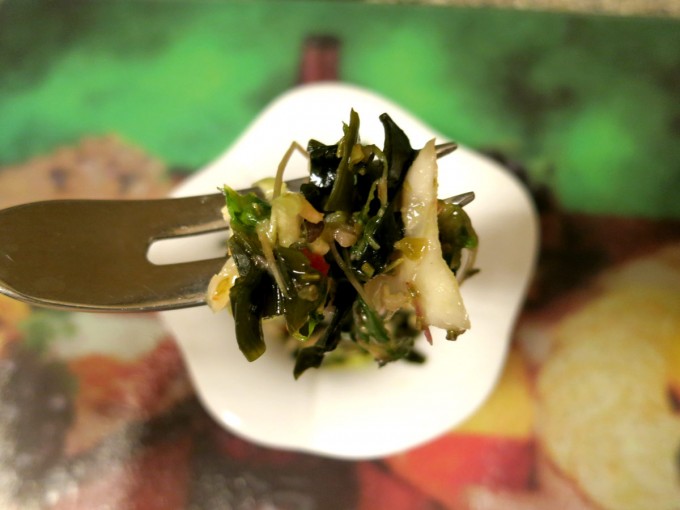
Given all the advice I’ve gotten to rid my system of heavy metals (and radioactive elements – and keep them out), I’ve taken to eating seaweed salads on a pretty regular basis.
Seems seaweeds have a real knack for drawing heavy metals, et. al., out of sewer systems – and human bodies. They hide no secrets, and carry with them the histories of the systems they’ve travelled through. Just such a confession does a body good.
Not to mention my Chinese Doctor here in Vegas keeps reminding me they’re jus’ plain ol’ good for my type as well as my biochemical makeup, and there’s nothing like a really healthy seaweed salad to remineralize the works while wicking out the baddies.
This recipe is one which I categorize as On-The-Fly – that is, you add ingredients, not in exact amounts, but in relation to each other, depending on what you have on hand. It is entirely flexible, but here’s where I start (and by all means, use organic wherever possible):
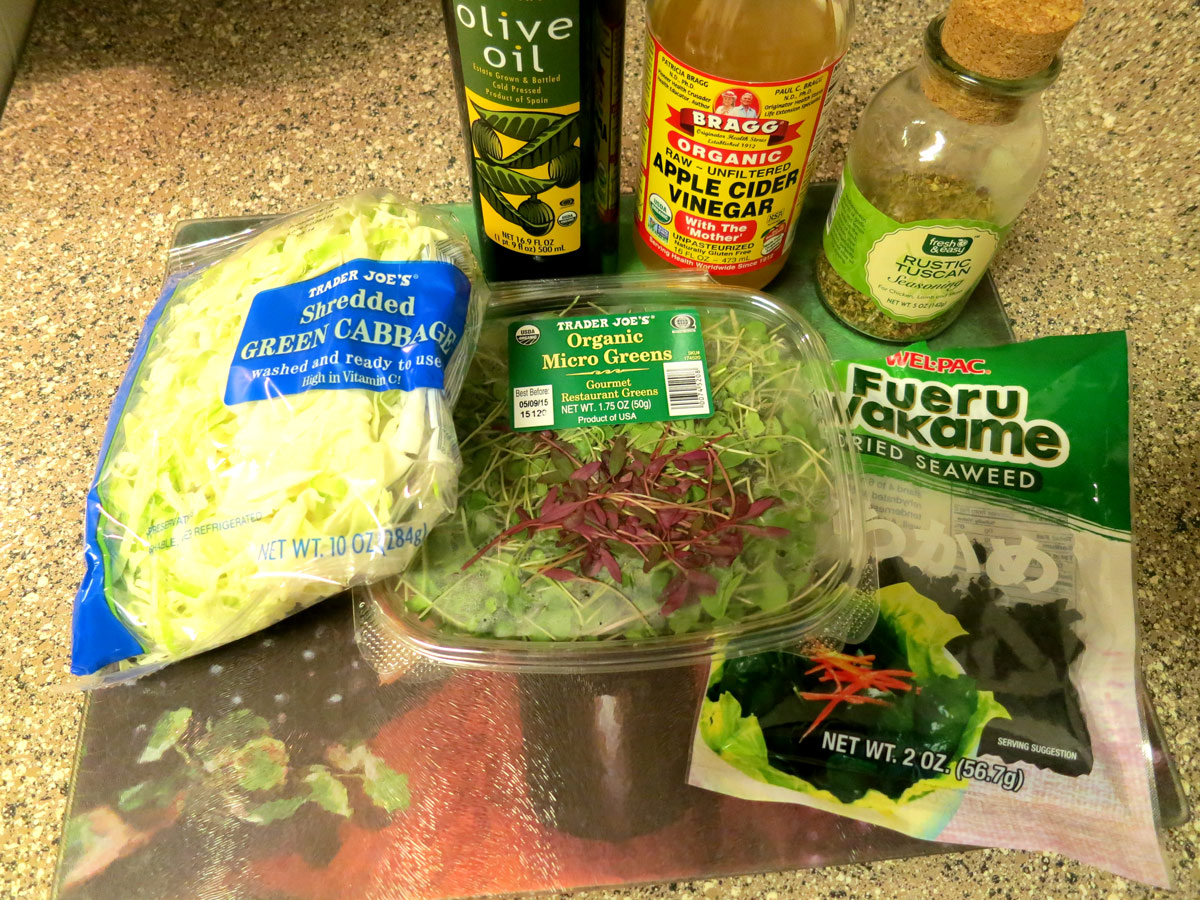
- Greens and/or Veggies of Your Favorite Kind (Shredded Cabbage, Shredded Kale, Trader Joe’s Broccoli Slaw, Mixed Salad Greens, MicroGreens…the choices are endless)
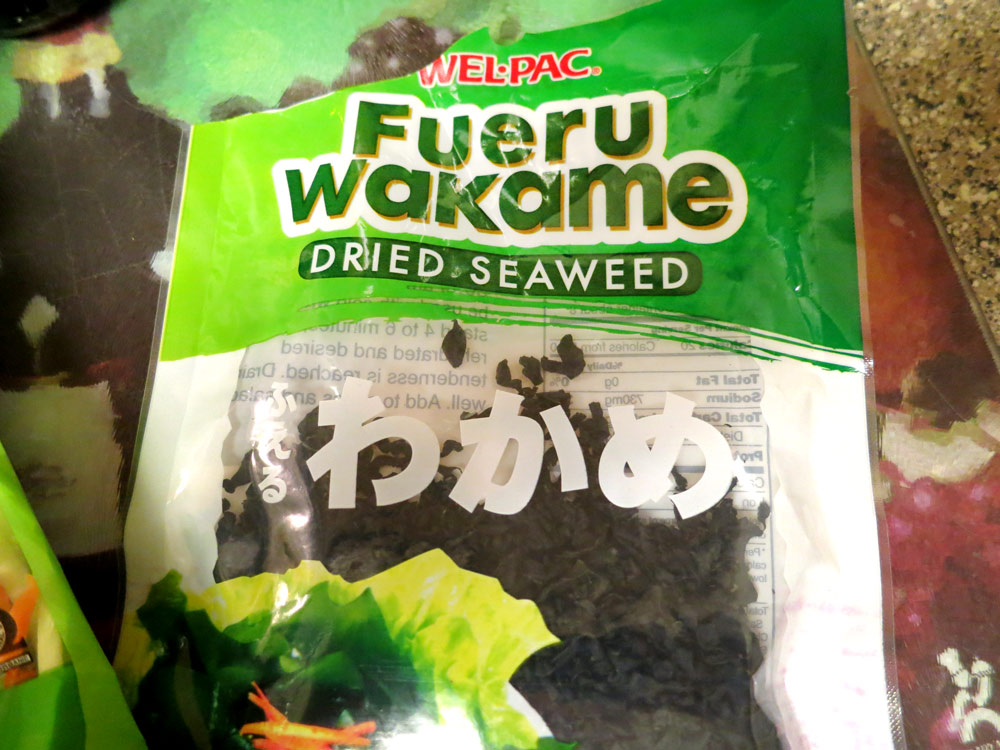
- Dried Seaweed (Your Choice – I’ve used Wakame and Mixed)
- Olive Oil
- Vinegar (I use Apple Cider Vinegar)
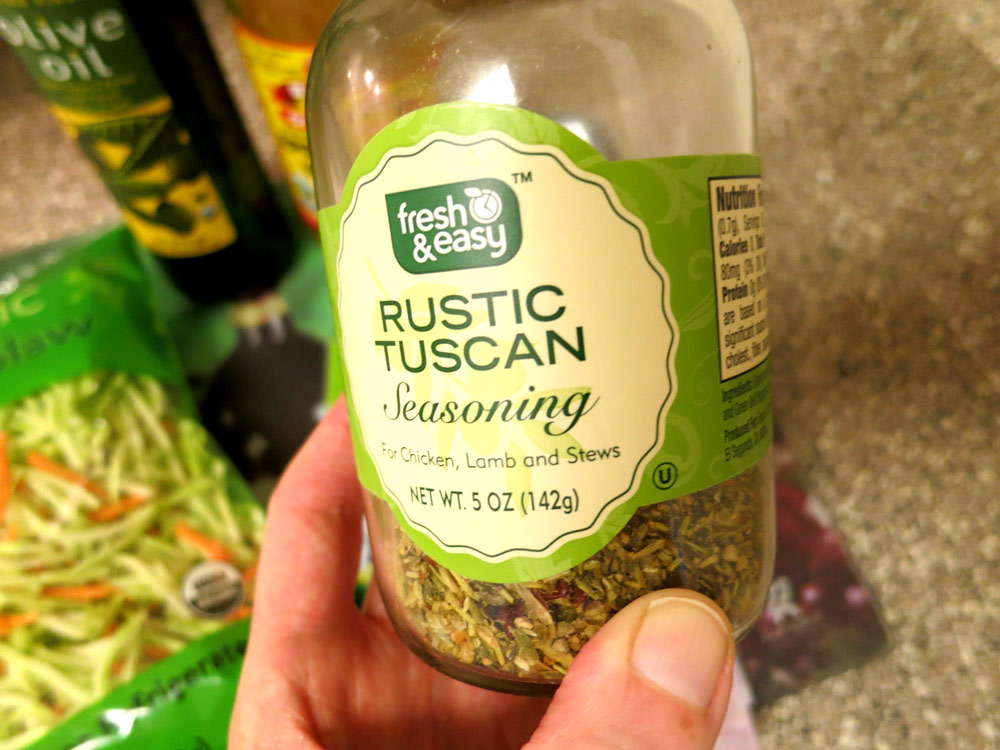
- Dried Spice Mix (Again, Your Choice – Right now, I’m using Fresh & Easy’s Rustic Tuscan, but why not Herbs de Provence or the like?)
You’ll also want to have on hand:
- 3-Cup (or 715 ml) glass storage container with snug-fitting plastic lid
- Water (Spring is best – enough to rinse veggies as necessary)
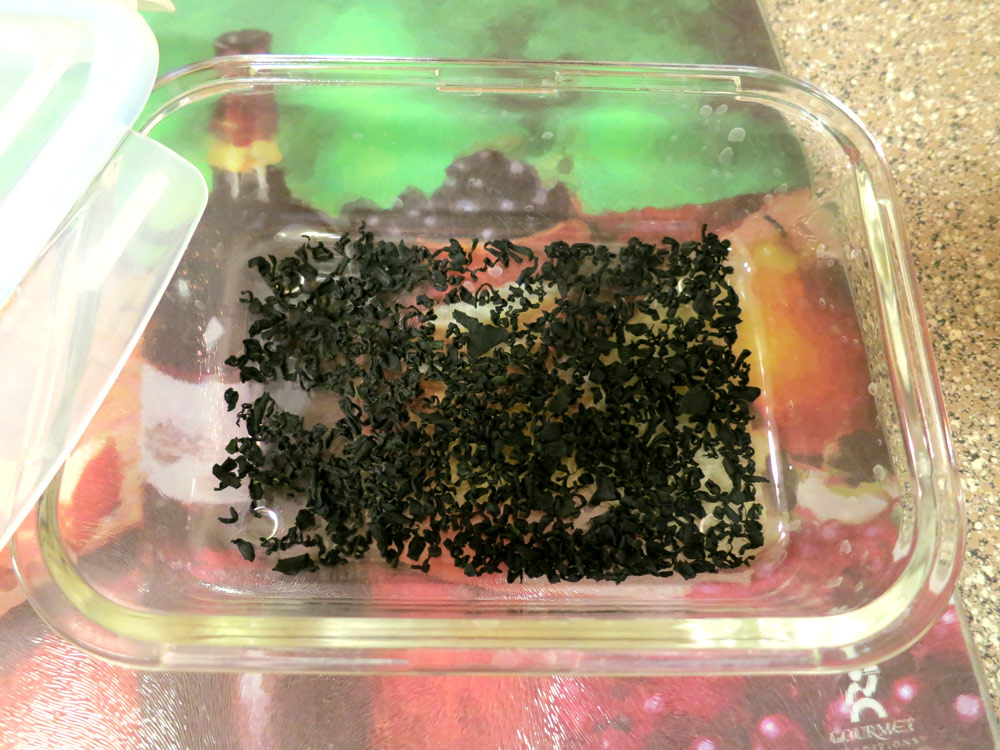
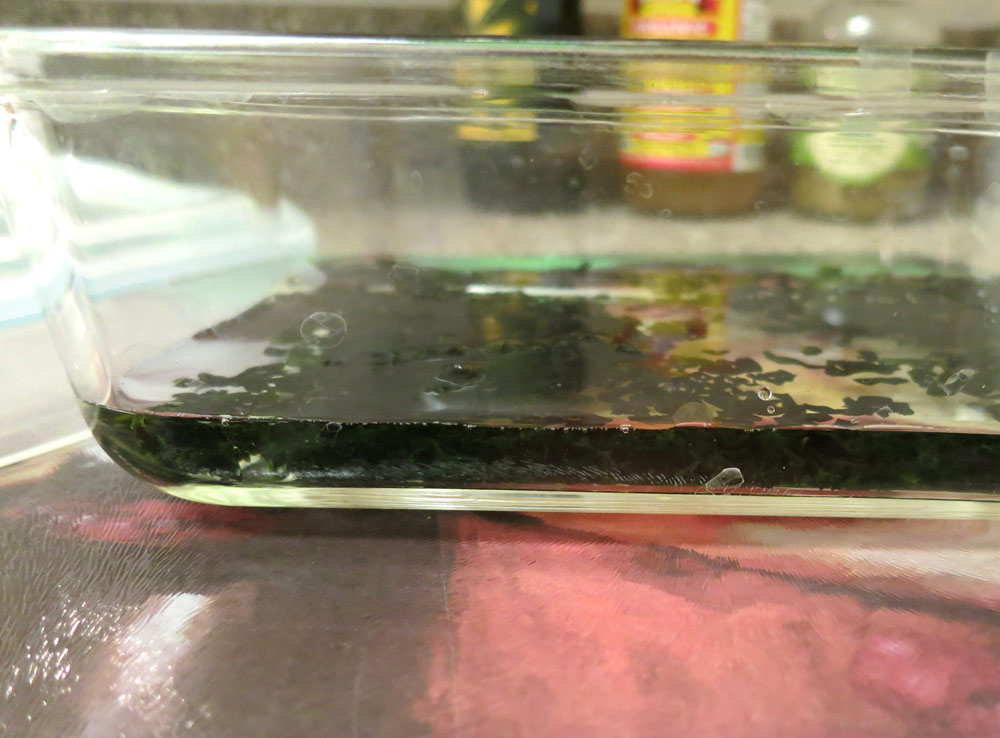
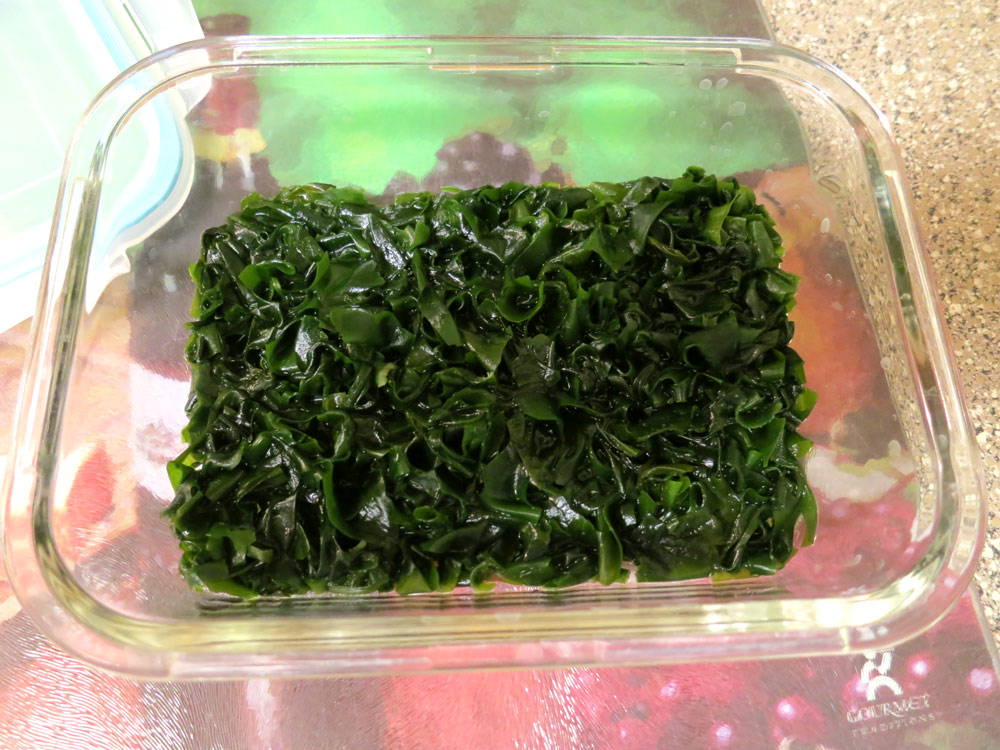
Pour your dried seaweed of whatever type into your glass storage container, just enough to cover the bottom, as in the middle thumbnail shot, above. Next, add about 1/2 – 3/4 inch of spring water. You’ll see the seaweed start to rehydrate, which is cool to watch. Cover loosely with the container’s lid and give it 20-30 minutes to totally rehydrate, stirring it around midway just a bit to distribute the water evenly and make sure there are no dried holdouts. It should look like this:
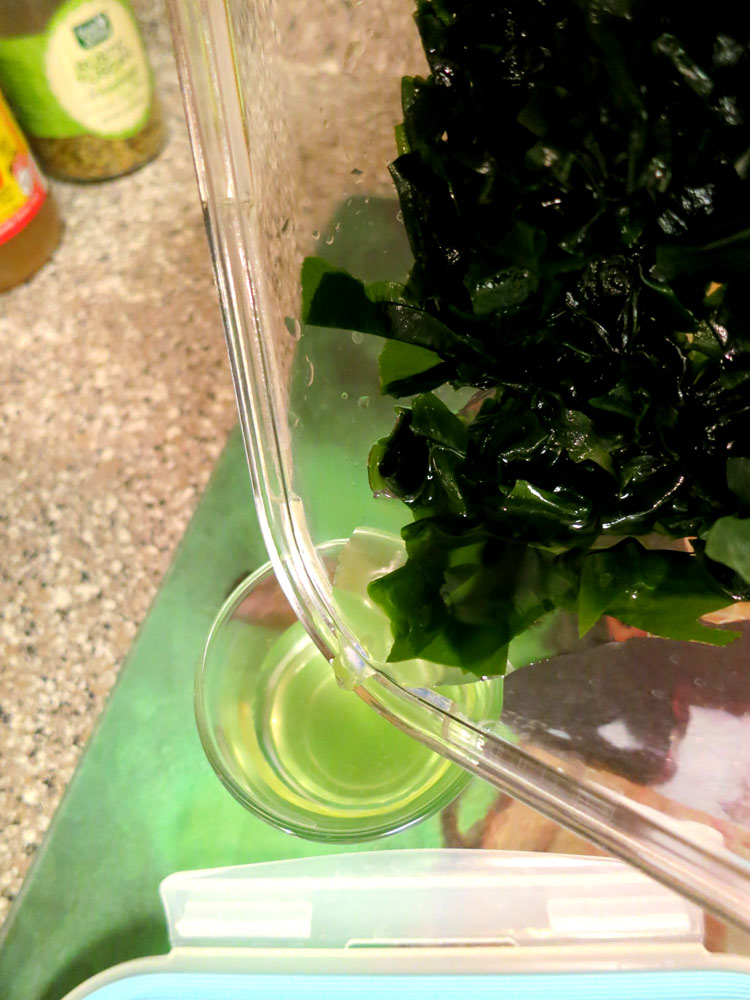
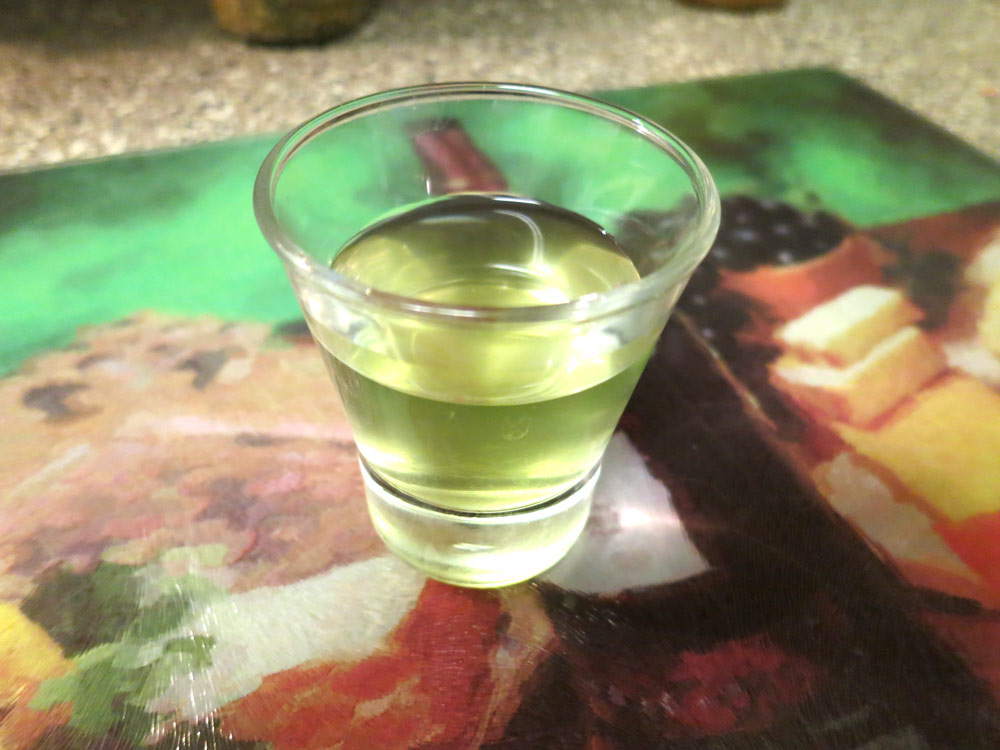
If there’s any excess water, drain it off into a shot glass and drink up – it’s got plenty of minerals, so don’t let ’em go to waste:
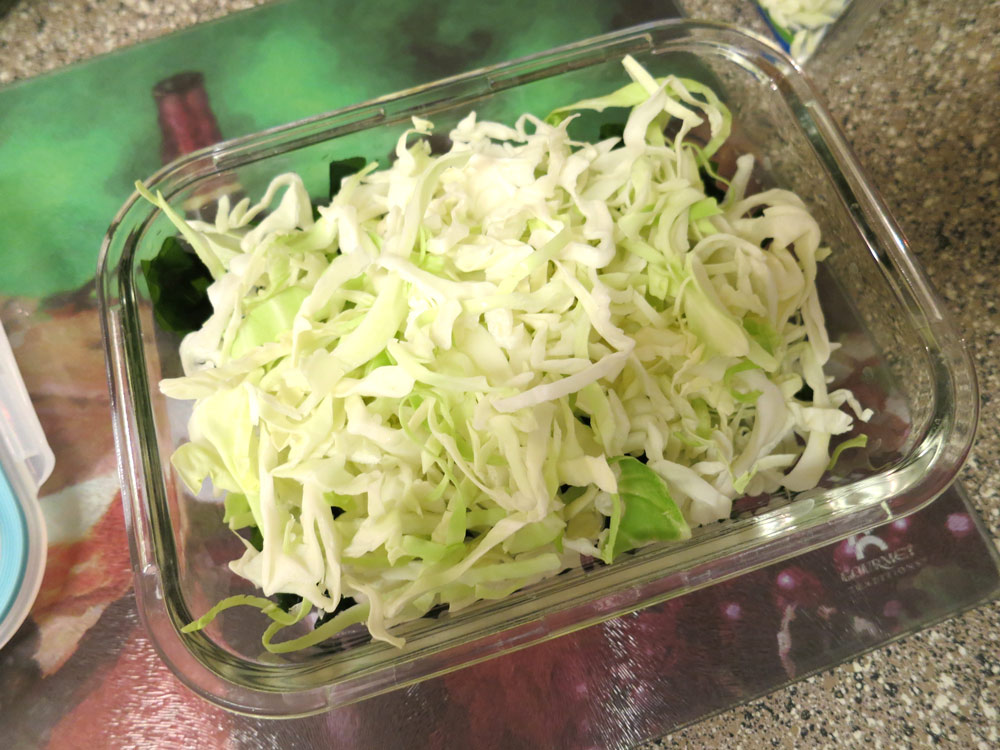
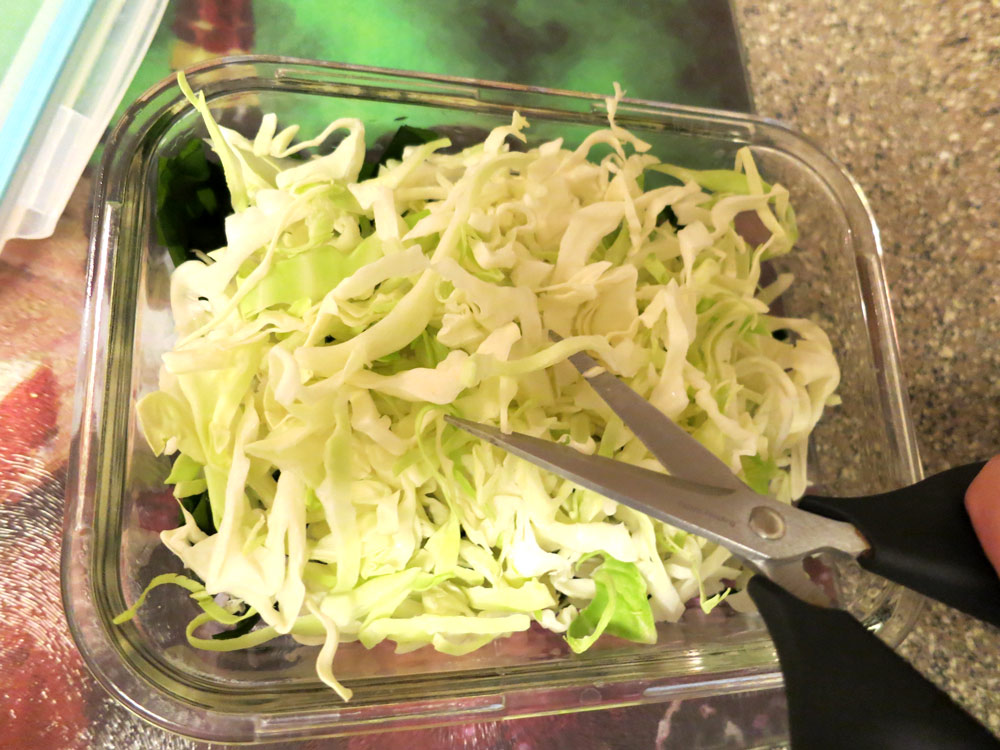
Now you’ll add your greens and/or veggies – if you buy them pre-packaged, it’ll save you loads of time, if you chop ’em yourself, just eyeball the amount you’ll need. I add enough cabbage to fill the container so it’s slightly heaping:
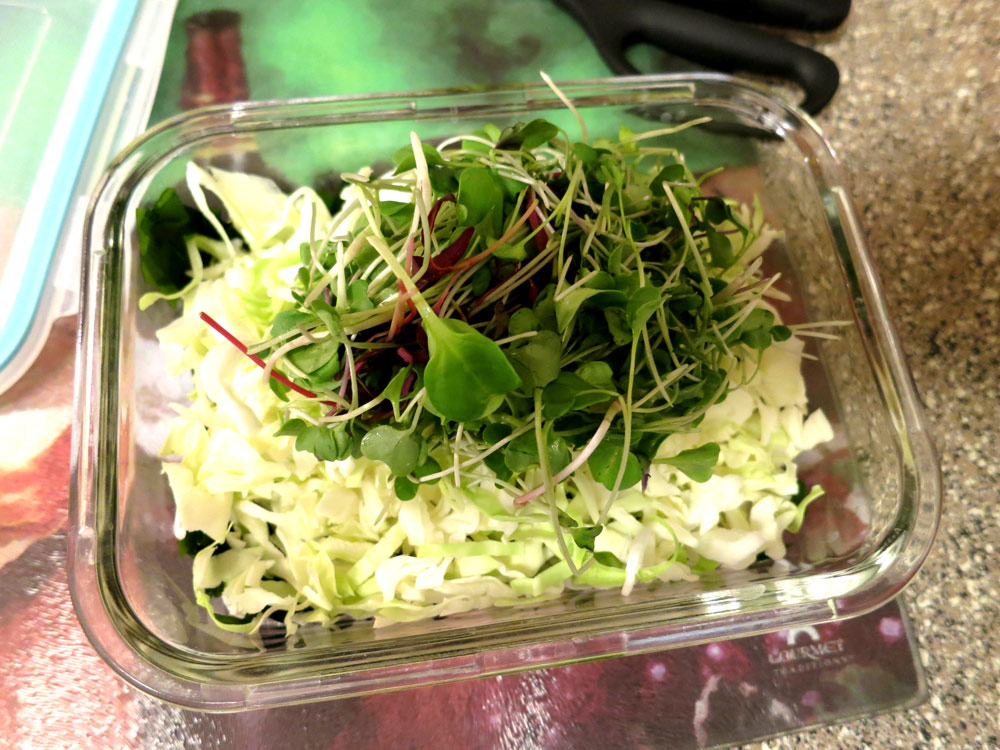
Don’t worry about everything fitting – the next step, you’ll use a pair of kitchen shears (or a very clean pair of office scissors) to “scissor” the cabbage so it starts to reduce in volume – and look more like confetti. I also rinse and add a healthy fistful of mixed salad or microgreens and scissor them a bit as well to de-vol:
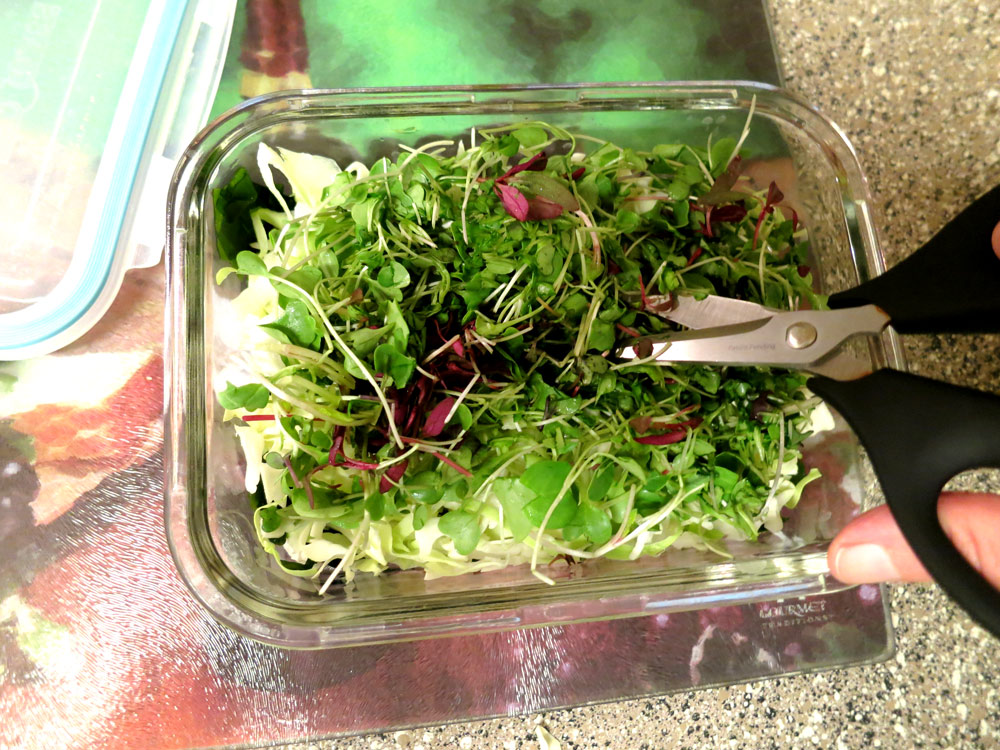
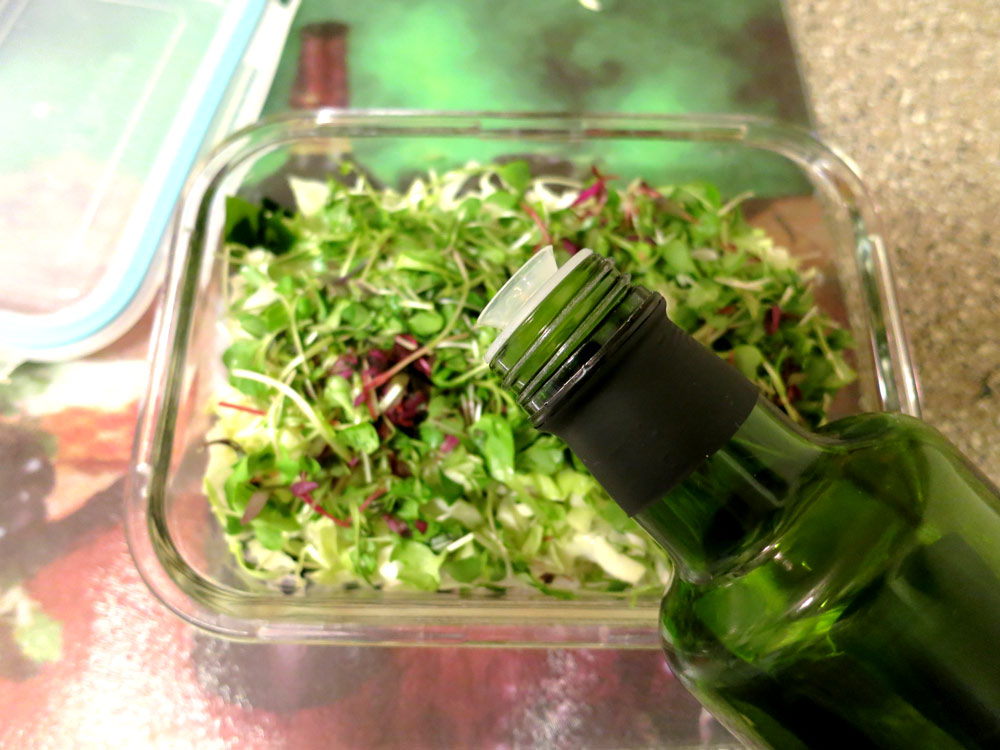
You’ll start noticing how the salad is becoming more dense after adding and scissoring. This creates the best conditions for spicing and marinading. To start, drizzle some olive oil over your scissored veggie-rehydrated seaweed mix:
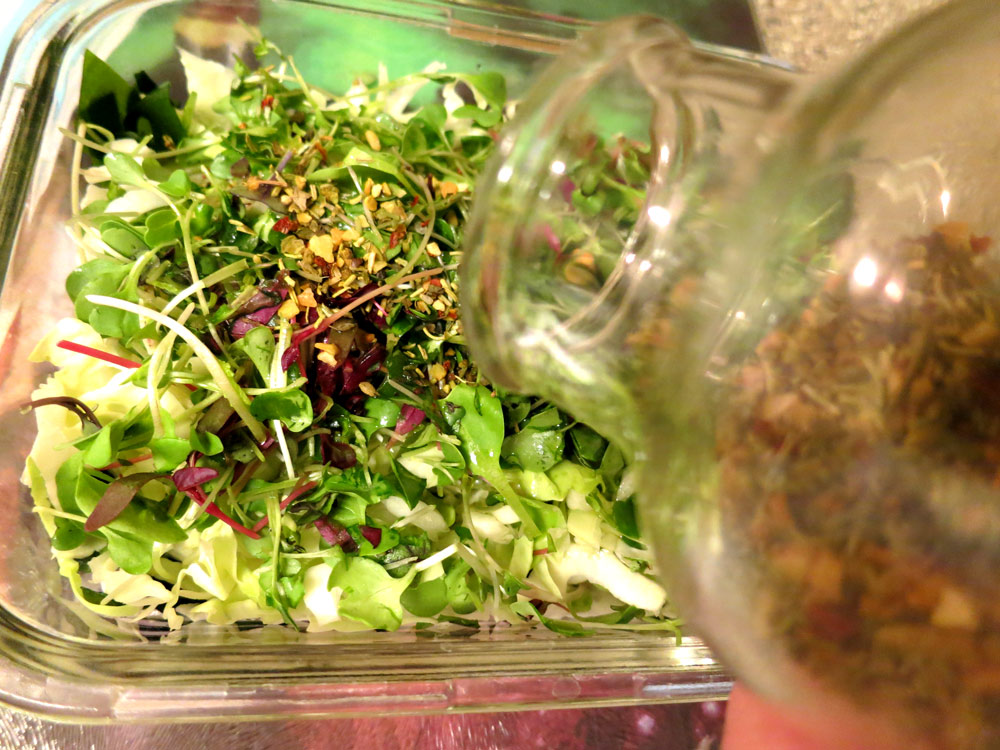
At this point, I’ll show you the spices I like to use at the moment – Fresh & Easy’s Rustic Tuscan, which has a selection of dried Italian herbs, vegetables and sea salt that makes this salad a winner. Pour enough on to give the top a nice coating, for flavor’s sake:
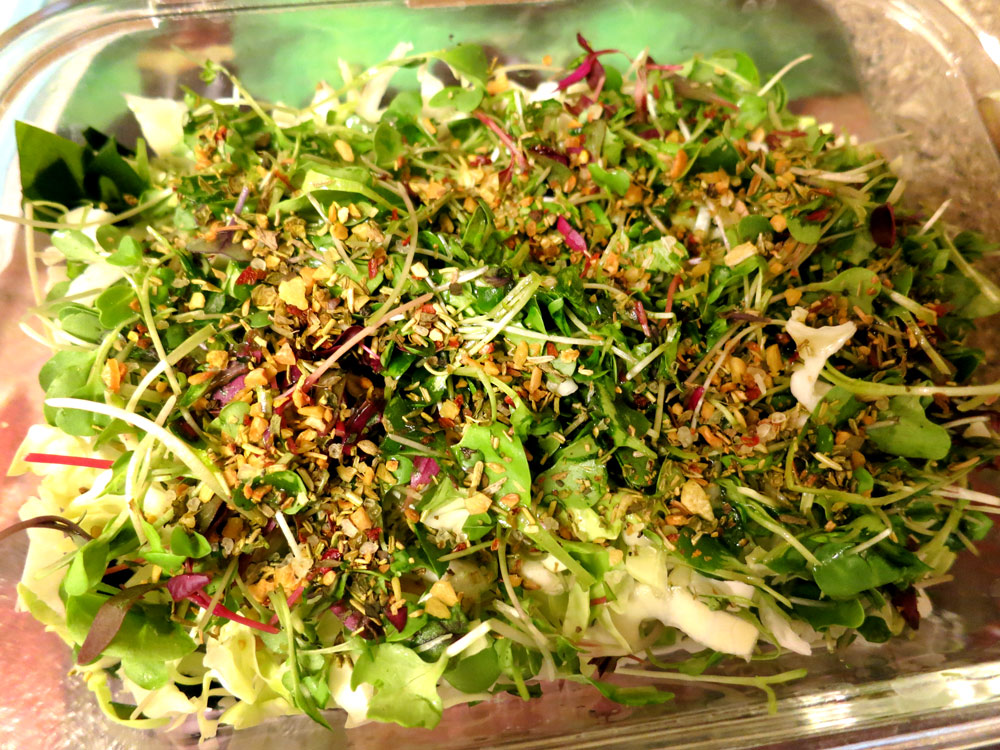
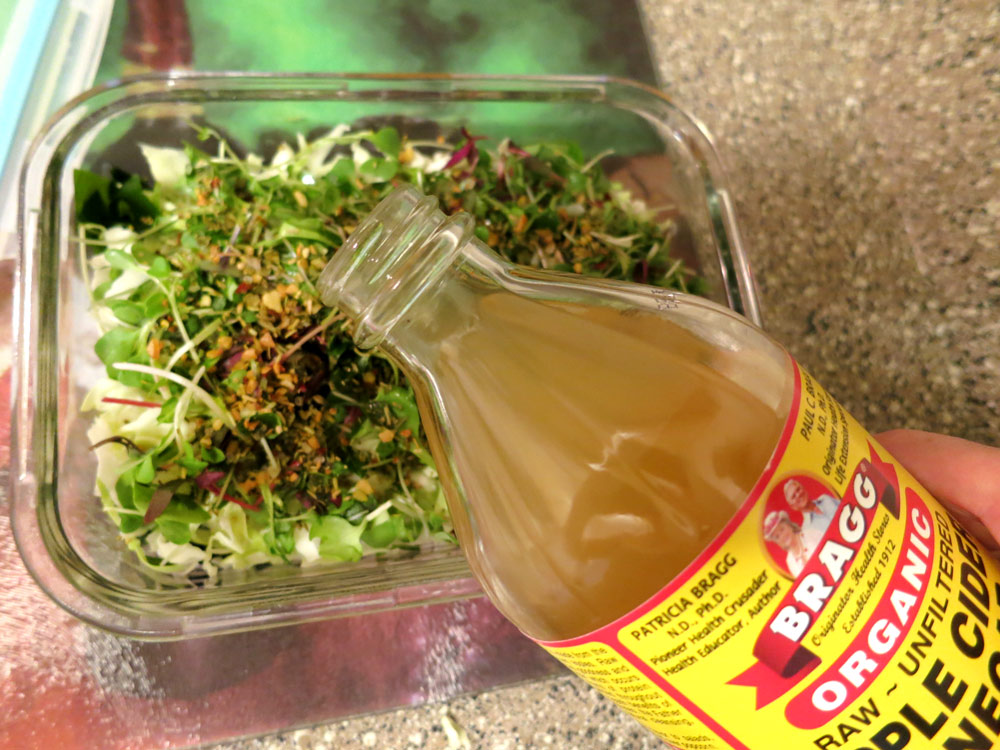
To finish out the marinade, drizzle vinegar over the whole thing. How much olive oil, spices and vinegar do I use? Approximately just under one tablespoon of olive oil, around the same for spices and slightly more for vinegar. It’s pretty scant, but these ingredients are the ones I’d categorize as “add to taste” – so start small, and if you don’t think there’s enough flavor, add a little more vinegar and/or spices later on.
Finally, gently and ever so slightly stir around your salad, just enough that the dried herbs and spices get mixed up in the oil and vinegar – they’ll need time to reconstitute, longer than the seaweed.
Once your mix is slightly stirred, secure the lid onto the container and place the whole container into the fridge for a few hours. At that time, take it out, stir it around so that everything is uniformly mixed together, then place it back into the fridge for another hour or two.
In just a few hours, the marinade will work its wonders and you’ll have a healthy salad to eat for days. And it can be extended or stretched to save you time and money – if you have extra chopped veggies or greens – or any old veggies that need using – you can add them and just a little more vinegar, oil and spices, stir them around, and you have salad for another couple of days.
Enjoy!
Yours in Great Health,
Alison
This past weekend, I came across a blog post that I’ll say is easily one of the best articles I’ve ever read on the abortion issue.
The author, one Libby Anne, completely takes apart the sham that is misappropriately misnamed the “pro-life” movement, and does so with the deft that only one who came from that very movement can.
My take has always been based on the US Constitution – not to mention the environmental impact of unchecked human population growth – where Amendments 13 and 14 provide the strongest arguments (for me, it is not privacy, as there is no such thing as privacy anymore in the United States, witness Snowden’s expose).
Amendment 13 outlaws involuntary servitude, otherwise known as slavery. Placing all pregnant women in a state of involuntary servitude is not only in violation of said Amendment, it also creates an undue burden of carrying and birthing a child unwillingly in a country adverted strongly as “free.” It is either free for everyone, including pregnant women, or it is not at all.
Amendment 14 defines US citizenship as bestowed on those “born or naturalized” in the US; note that it does NOT state “conceived.”
I challenge any legislature to mandate a documentation of the date of conception for every living being in their jurisdiction. Perhaps the mess of expense and regulation in doing that will finally see a tax code that includes taxing churches for the privilege of all the politicking they engage in, including instructing their flocks who to vote for.
As well, I’d love to see a checkbox on every tax form asking if the filer considers himself or herself to be “pro-life.” They could check the box and in doing so, agree to be taxed at a higher rate so that services can be provided such that no woman ever has to choose abortion…at least for economic reasons. In a perfect world, this would already be the case, but if a supposedly all-powerful “god” really wanted to stop abortion, I kinda think he/she/it would have done so already.
And that is the best proof that we should stick to running the country in a fiscally responsible manner, not policing people’s bedrooms. I, for one, would love to see a full accounting of how much money has been spent on anti-abortion legislation and related activities since Roe v. Wade. I’m sure that money would be better spent on preventing abortion through things like free access to birth control and comprehensive sex education, instead of restriction and denial, which only results in more unplanned pregnancies, and thus more abortions.
That’s precisely the point Libby Anne makes, and she does so with blunt, unabashed thoughtfulness, taking a fearless, fact-based inventory in an almost confessional manner that someone seeking the path toward reason would do.
I’ve noted that no matter the health issue, whether it is abortion or cancer or even experimental back surgery, it seems there is always an anti-choice agenda behind it. With cancer, I see alternative and natural cures suppressed in the name of an industrialized medical complex hellbent on collecting money from pharma drugs, and same goes for the abortion option, where those blocking access to it are creating conditions where more and more expensive, unnecessarily taxpayer-burdening social services and infrastructure will be needed to handle unplanned pregnancies that could have easily been prevented. In an era where taxpayers are (ridiculously) funding Catholic hospital chains, this should come as no surprise. In the end it all boils down to two things: control and the flow of money.
Seeing as pregnancy can be as deadly and debilitating as cancer, it is with much pleasure that I share this article. As someone who has battled for my health and to make my own choices about how I treat cancer over the long term – even to the point of crossing international borders to exercise said freedom of choice. Until there is real freedom of choice in the US of A, so heavily adverted as “free,” I will continue my treks elsewhere and spend my money where my individual liberties as regards healthcare options are truly honored.
I hope Libby Anne’s excellent article gives you as much food for thought as it did me.
Yours in Great Health,
Alison