
Tag : simple as hell
This is a quick, homemade hummus recipe that is easy and tastes out of this world, not to mention cheap as hell and nutritious to boot – all of which are why it is so sexy. I’ve made it for unsuspecting guests, for parties…and sometimes I just make up a whole batch and eat it in one or two sittings over a good read.
It has just four ingredients: canned garbanzos, a little olive oil, one clove garlic and half a large lemon (or a whole small one):
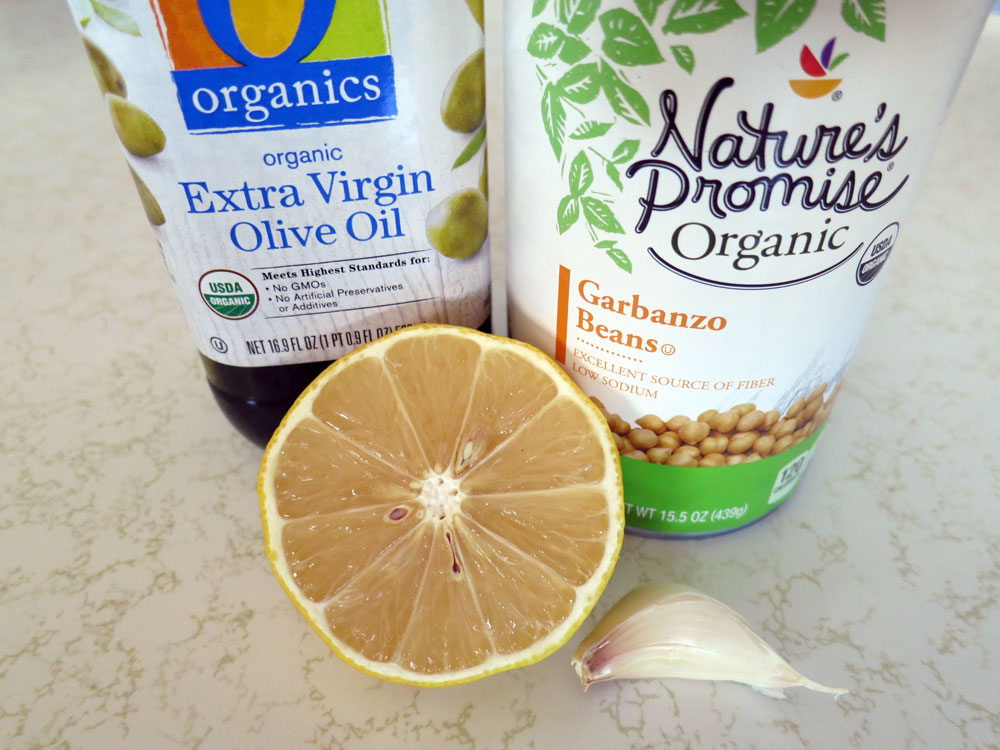
- 1 can organic garbanzos (15 oz or 425 ml)
- 1 tb or 15 ml olive oil
- 1/2 large or 1 whole small lemon
- 1-2 sections of garlic (to taste)
*Note that I’ve not included tahini – neither you nor your wallet will miss it.
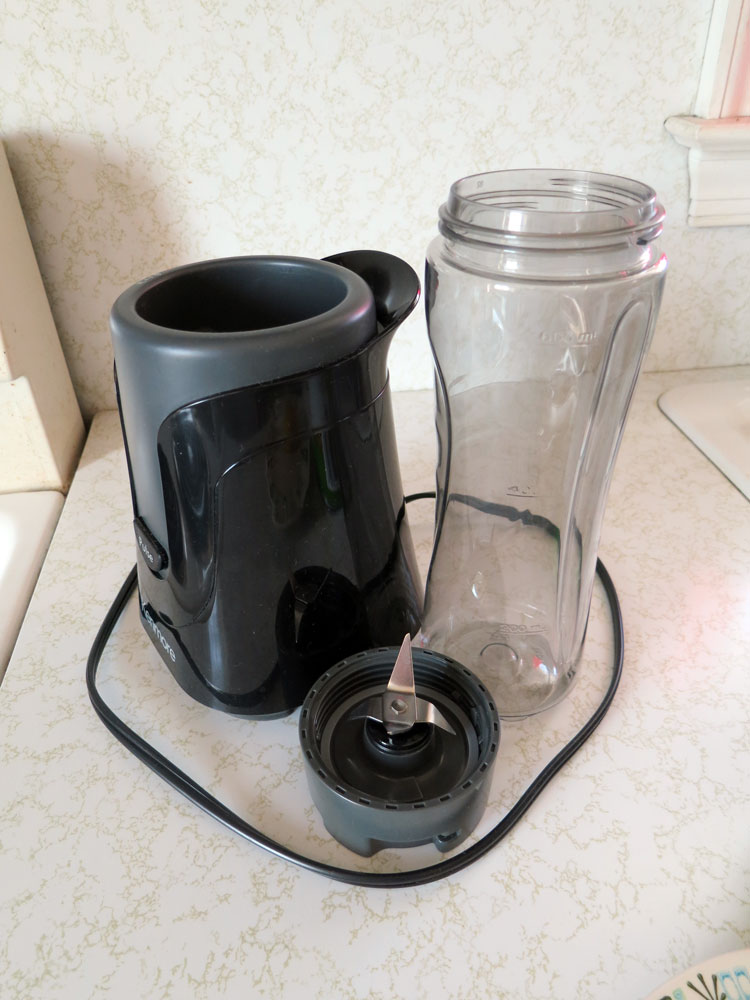
You’ll also need a blender or personal blender, such as the one I have…
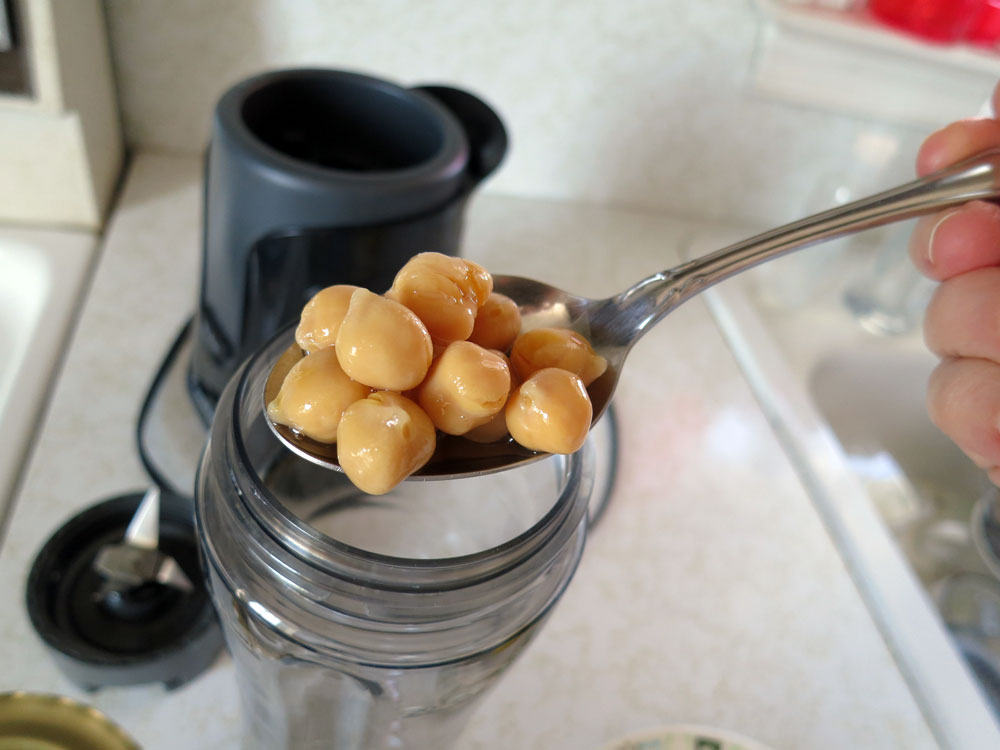
First, I spoon out the garbanzos into the blender and pour about 1/3 the liquid in with it. I also reserve 5 or 6 whole garbanzos as optional garnish for the finished hummus:
Next, squeeze the lemon into the blender:
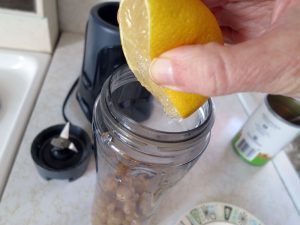 Once again, use about half of a large lemon (and note that mine had thin skin and lots of flesh to juice from) or a whole small one.
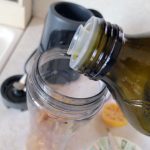
Then, slice up the garlic and add the olive oil (here, I’m eyeballing the olive oil, but if you’re looking for specifics, use a tablespoon, or 15 ml):
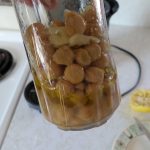
Now, swish or swirl the ingredients just a bit before blending. Place your blender’s cover on and blend using pulses until you get a uniform consistency…
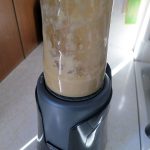
Pour and/or spoon out the hummus into a nice bowl or ceramic cup, as I’m using here, and refrigerate what’s left over:

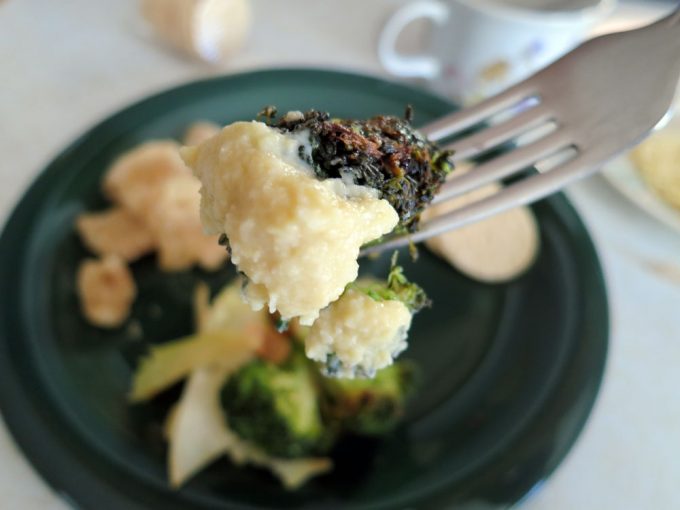
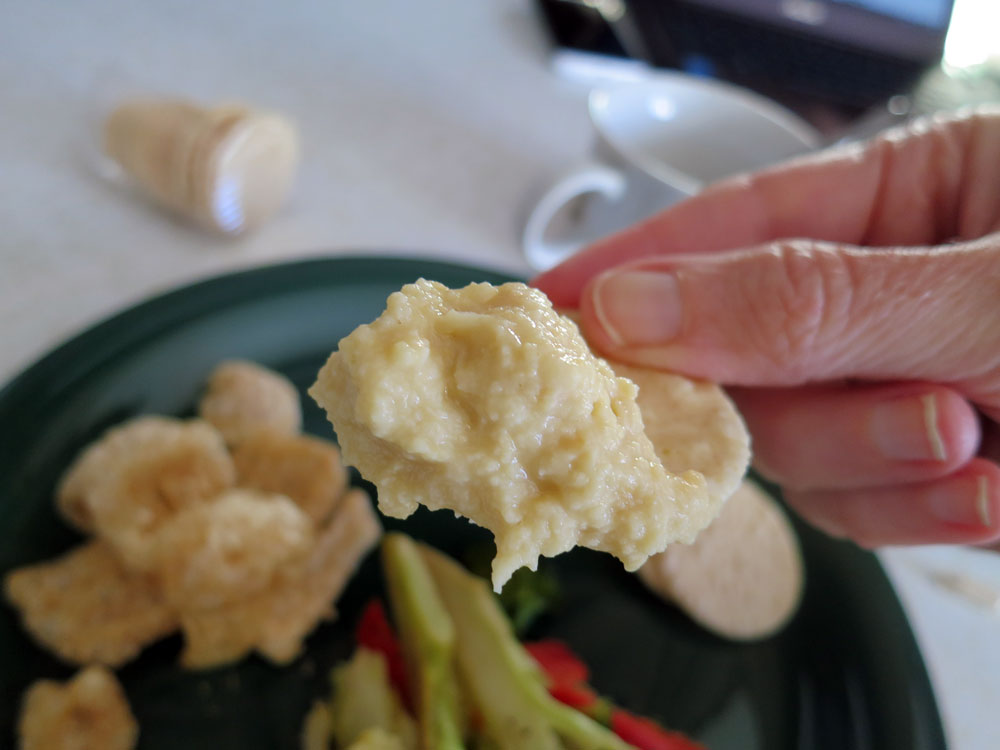
This makes for a great party or dinner snack dip, or even a small meal when you eat the entire following plate yourself:
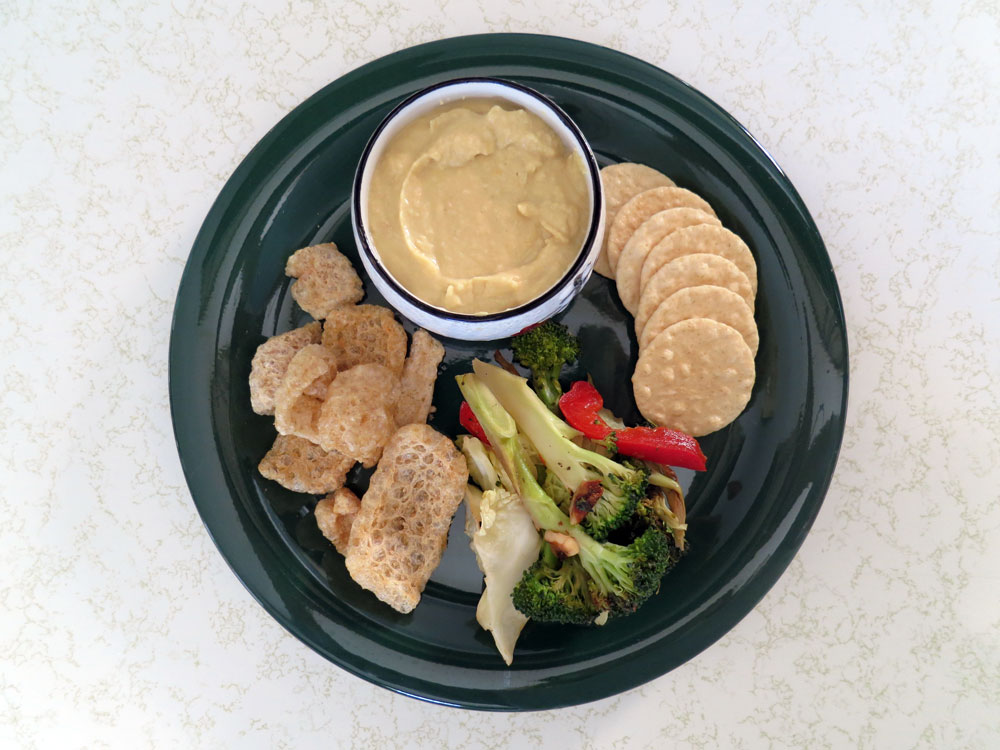
So, what on earth are pork rinds doing in this mix? Try them with the hummus – you just may really like them, especially if you’ve gone keto or follow another lower-carb/higher-protein set of eating habits.
This hummus goes with just about everything – I’ve even used it on salads, chicken, and on homemade pizzas to cut the cheese (pun intended – garbanzos may have you going a bit gassy!) amount in half so it lasts me a bit longer.
Given that the olive oil was $4.99 for 16.9 oz, the garbanzos were $.99 for a 15-ounce can, the section of garlic came from a 50-cent bulb, within which there were a dozen or so cloves, and the lemon was $.75. So…here’s the price breakdown:
- 1/2 lemon…. $.38
- 1 tb olive oil..$.16
- 1 section garlic…$.04
- 15 oz can garbanzos…$.99
All told: $1.57 for about 15 ounces of homemade hummus … now, compare that to what you’re paying at the supermarket! They charge TONS for hummus you can make in about five minutes…and if you double the recipe, it’s $3.14 for about 30 ounces.
Have fun!
Bon appetit, stay safe…and eat healthy!
Alison

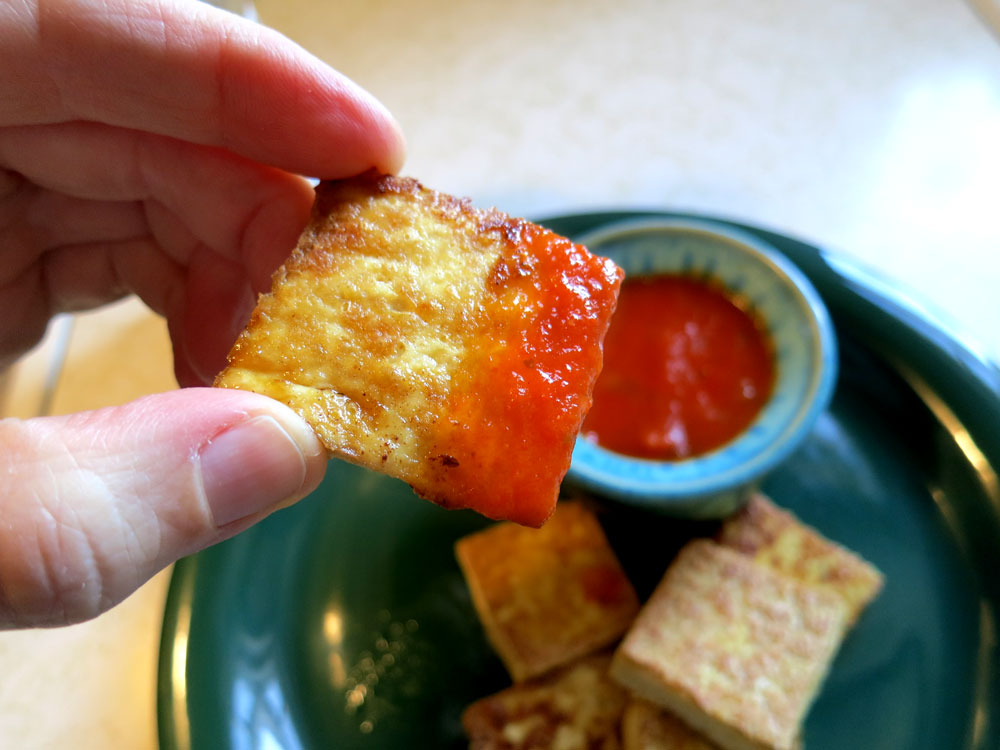
The first time I had braised tofu, it was at a local Chinese restaurant in Doylestown, Pennsylvania called Golden Chopsticks. It was served with a delicious veggie sauce on top. So heavenly – and so damn simple and inexpensive to make at home!
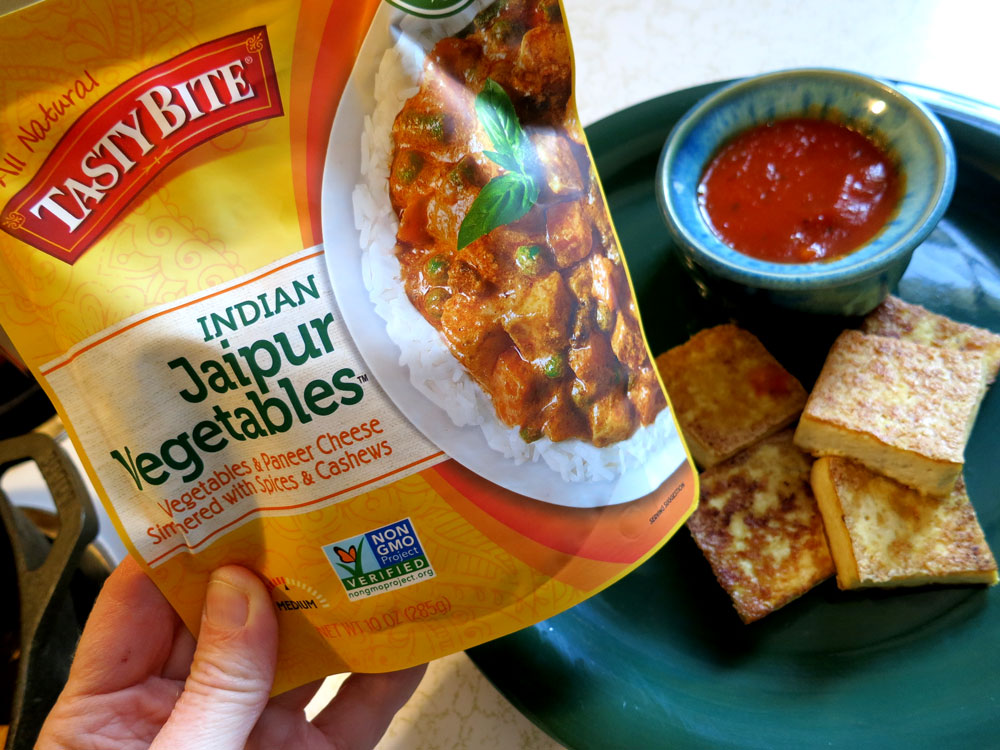
My favorite toppers for this quick and easy dish include tomato sauce and parmesan cheese, salad dressing, salt and vinegar – and ultimate fave Tasty Bite Indian Jaipur Vegetables. But really, any Indian or other sauce-based dish goes well with these delish golden-brown tofu squares, which resemble paneer, but with a snappy, crispy-soft texture that will have you making more batches of these on a regular basis.
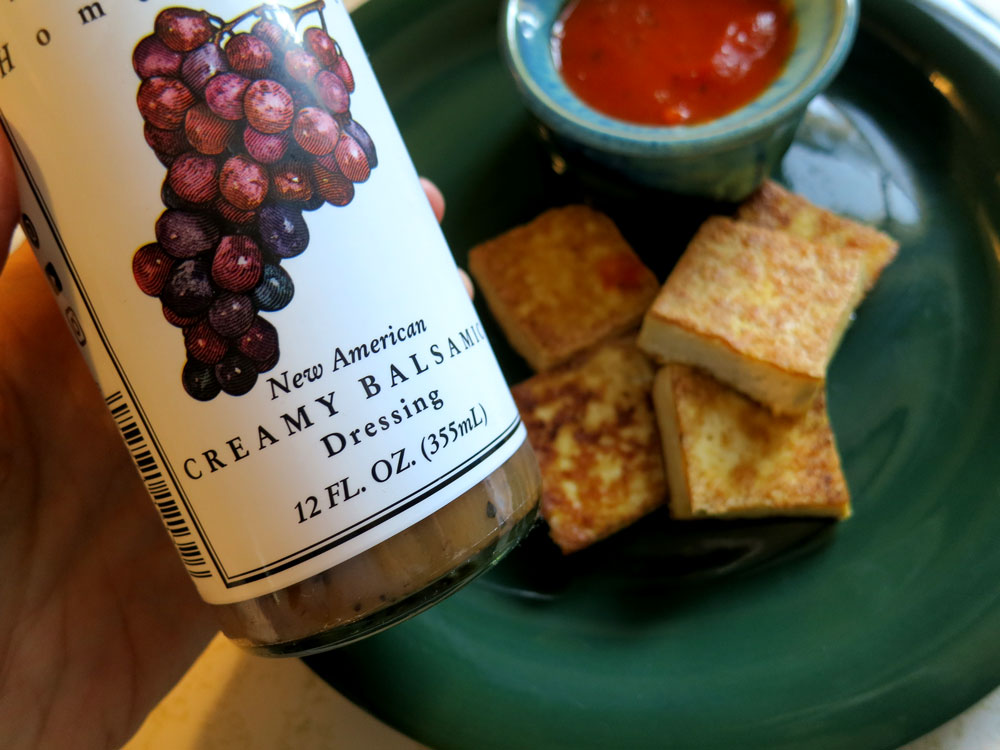
They store quickly and easily into the fridge, where they’ll stay fresh for a few days – if they last that long. For meals and snacks, I take a few out, and pair them with whatever moves me – sometimes I julienne them onto an arugula salad and drizzle on some of Brianna’s awesome Creamy Balsamic dressing…or just place a few on a plate with some steak sauce, cut fresh carrots and perhaps a little cilantro on the side.
Not only are they easy and versatile, they only really have two ingredients – tofu and oil – in addition to whatever condiments you like:
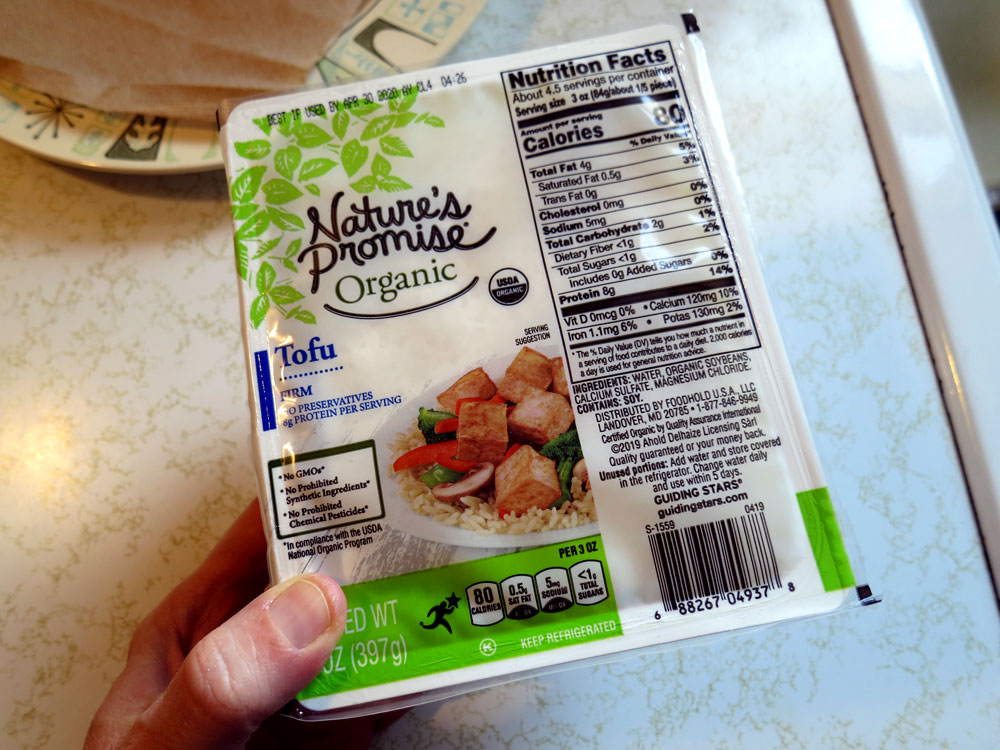
- 1 package firm or extra firm organic tofu (usually just under a pound, or 400 grams)
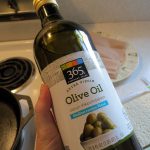
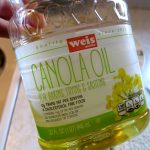
- Cooking oil of your choice (I mostly use canola* and/or olive oil…and use just enough to thinly coat the bottom of a skillet)
- Condiments of your choice
*Canola oil was chosen for its low saturated fat profile (and as a money saver). Choose any oil that is right for your purposes, but be wary of the saturated fat content.
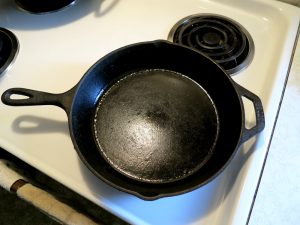
You’ll also need a skillet, a sharp knife, a stove or fire…
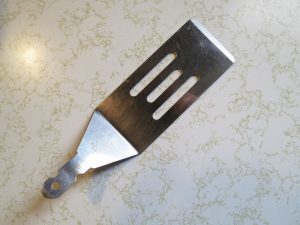
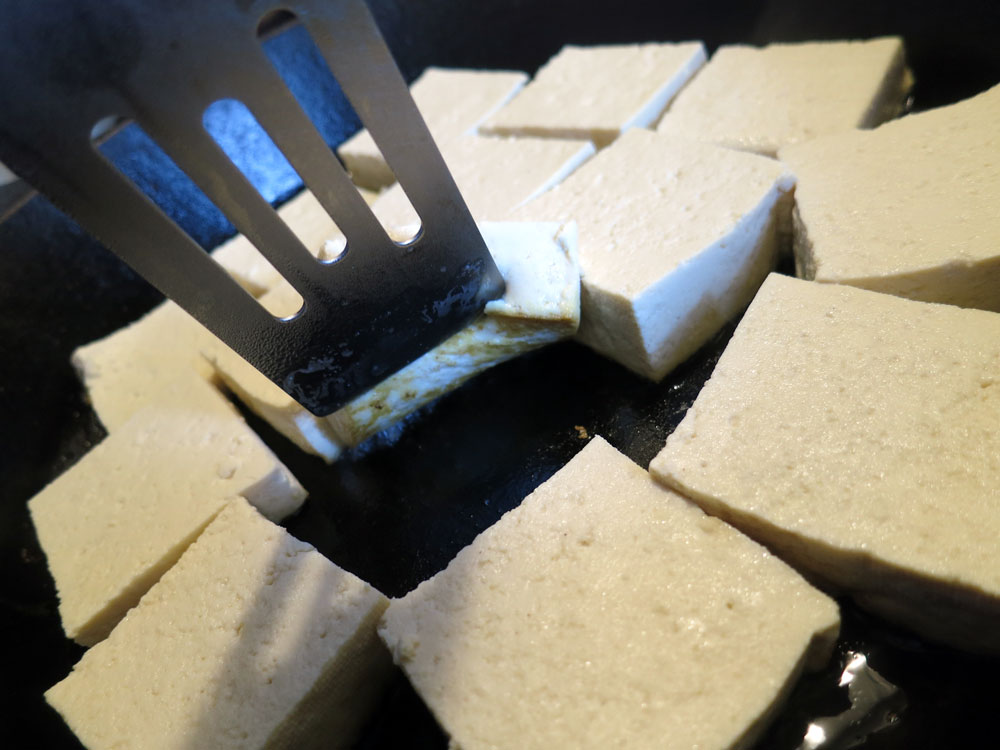
…and a small, broken, much-loved and handle-less spatula of your choice. I kid you not, it makes turning these little squares over in a hot oily pan a piece of cake:
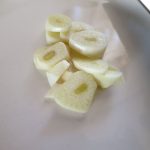
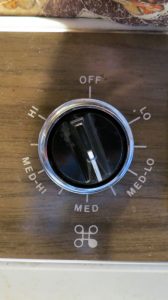
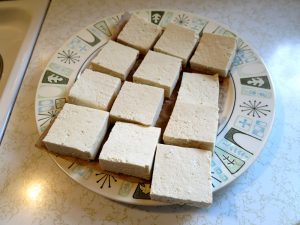
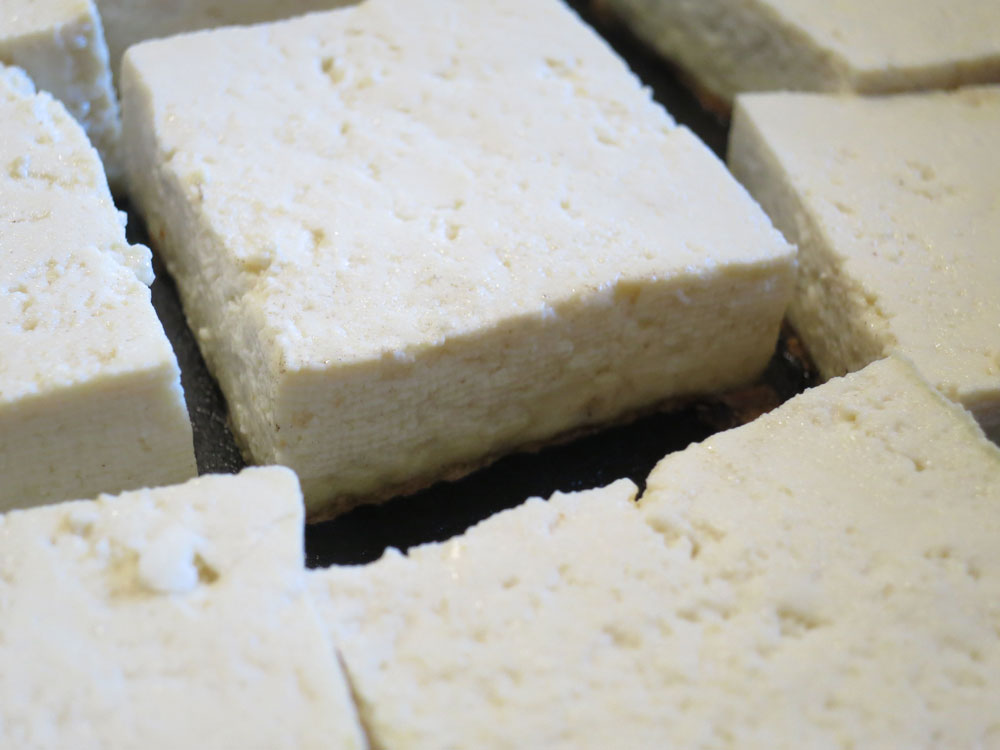
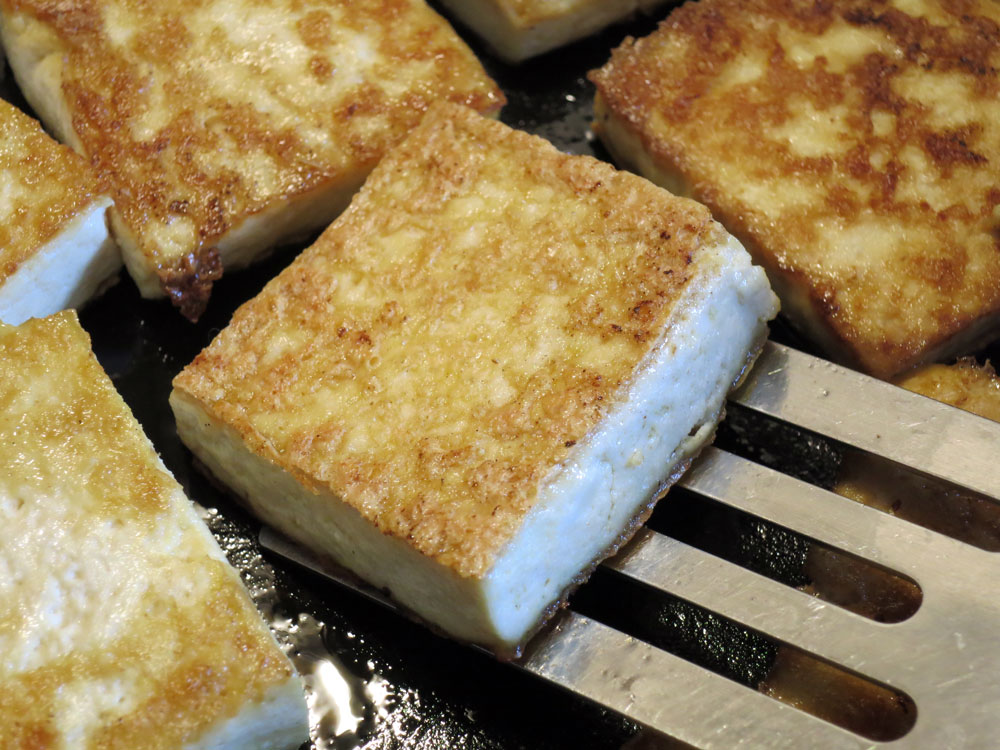
First, set your stove burner to just about medium, then open up your package of tofu and slice it…I usually slice it long-ways in half first, then into sevenths width-wise, then blot the squares on a napkin to shorten the cooking time…

After blotting the tofu squares for a few minutes, carefully place them into your heated and oiled skillet:
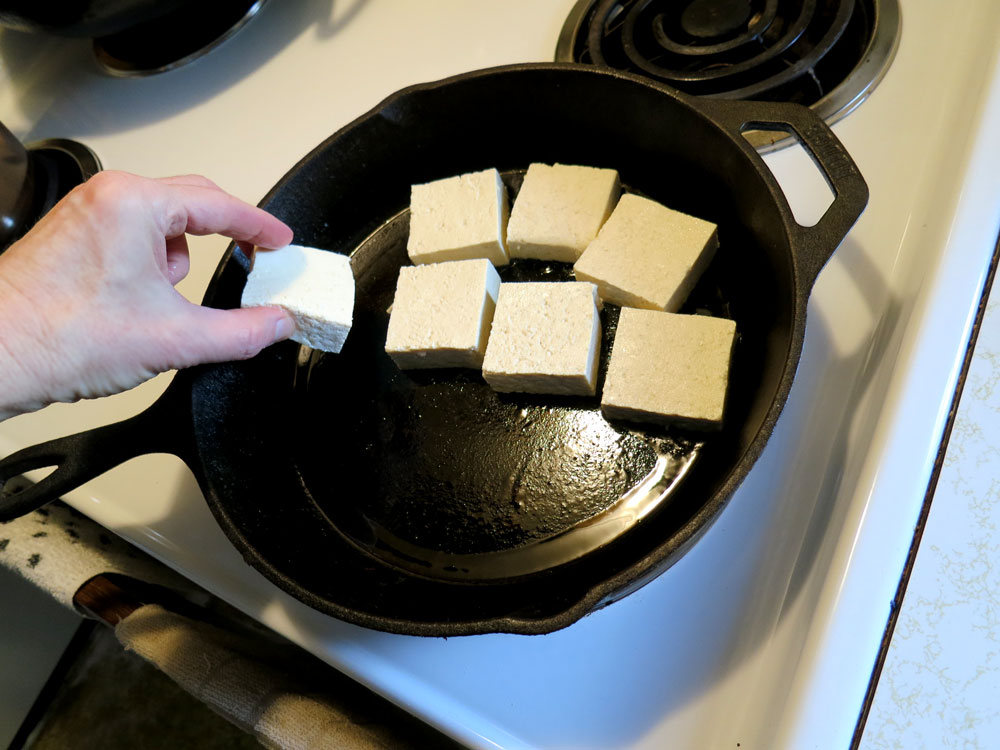
I find that 14 squares fit perfectly into my 10-inch / 25.4 cm iron skillet…
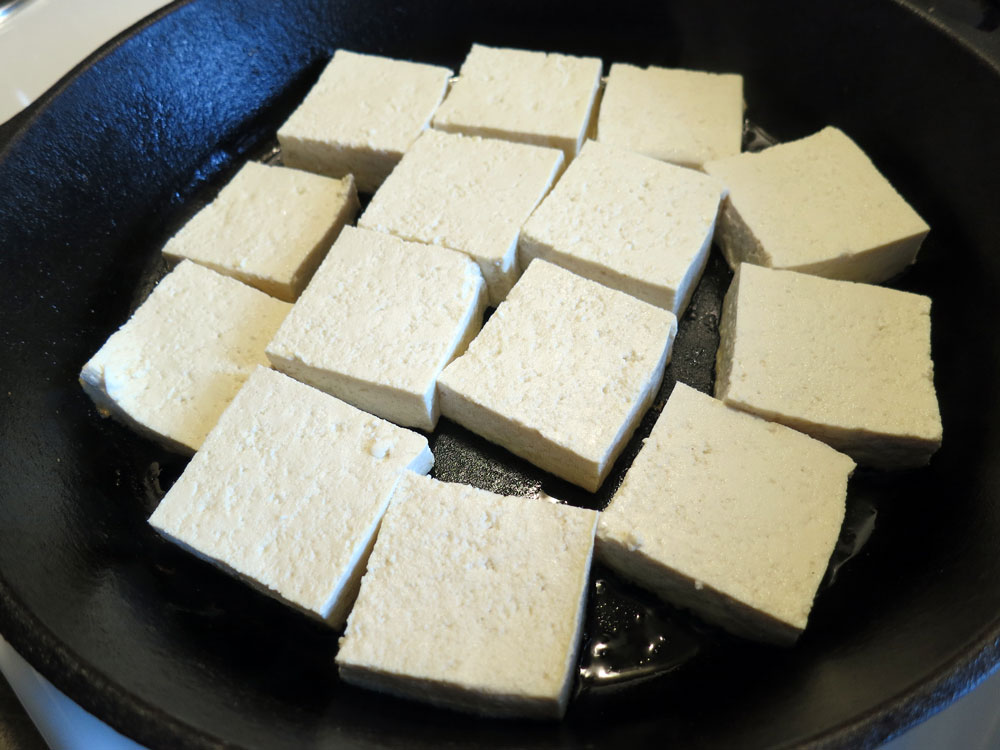
Let the squares cook on medium heat for at least 5 minutes, if not 10. The first side can take some time to cook to the desired texture because tofu has a high moisture content.
When you start to see the browning of the squares at the bottom edge, that’s when it’s safe to lift these little babies up without tearing them apart to check for doneness:
If you don’t wait until you see the browned edges, you risk breaking up the squares quite a bit. A little patience goes a long way!
Take your broken small spatula and gingerly lift up the browned-on-the-bottom square like so…
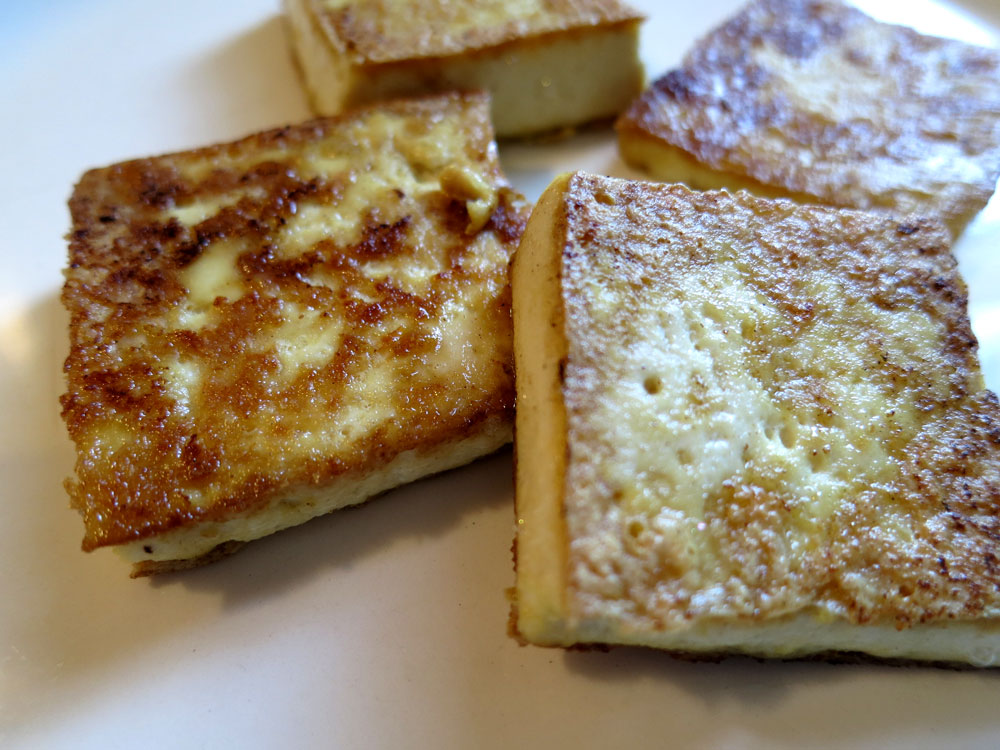
If your squares look solidly golden-brown like in the picture below, they are ready to turn over!
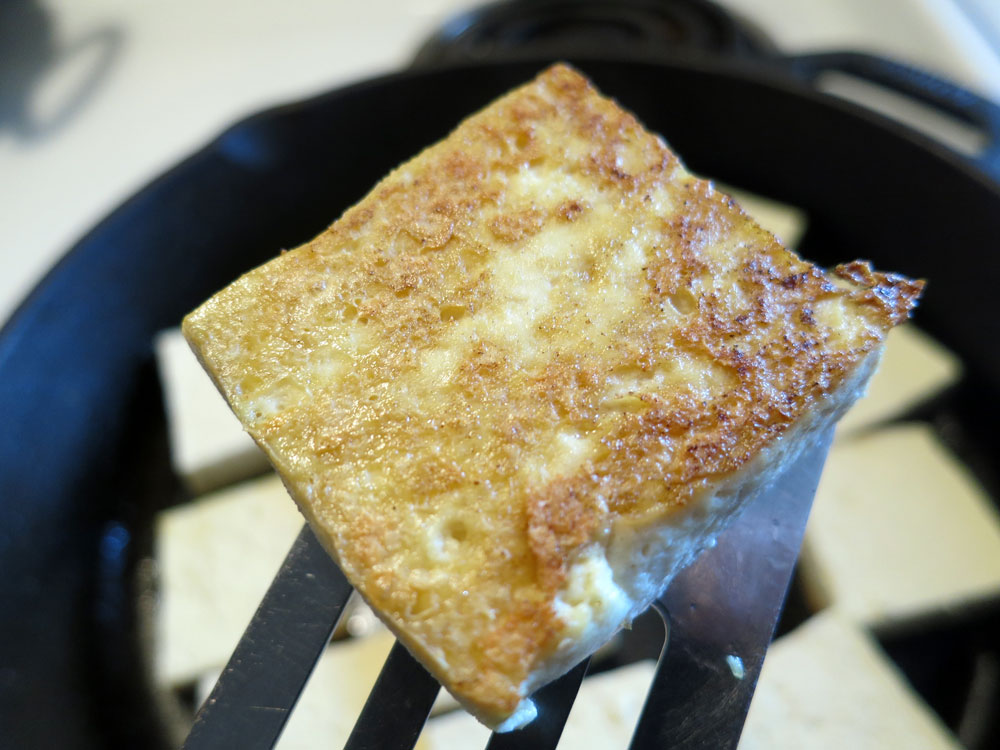
Cook the other sides of the squares for several more minutes, keeping a close watch on them. Usually, the second sides take a little less time than the first.
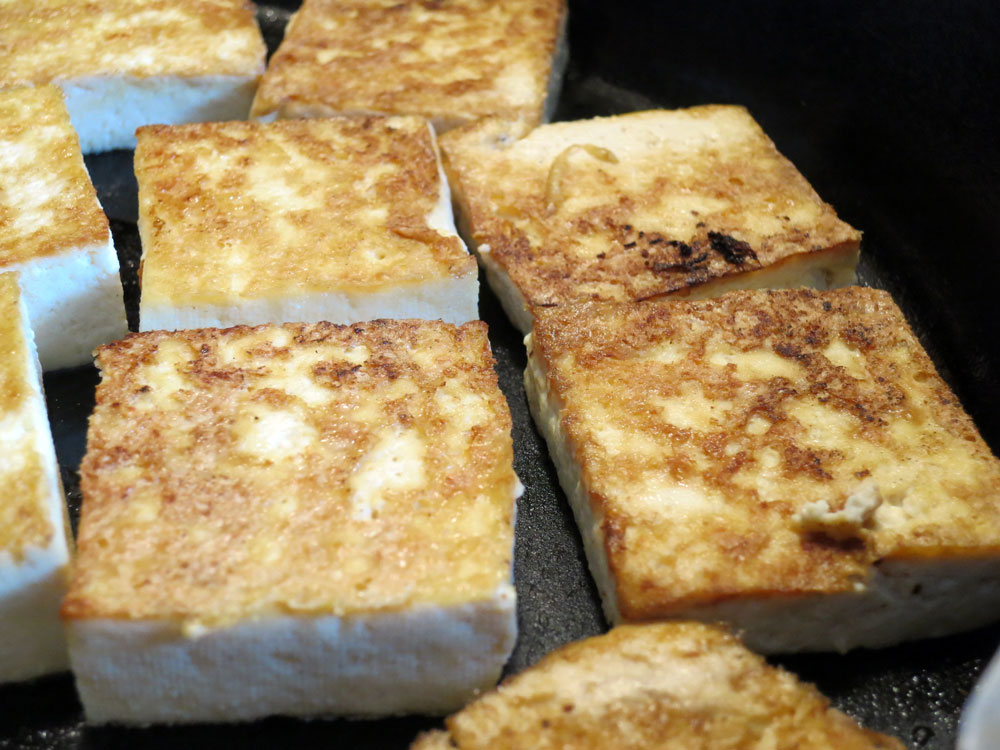
Keep watch until you see the brown bottom edges again. When both sides are done, they are ready to be removed from the pan…
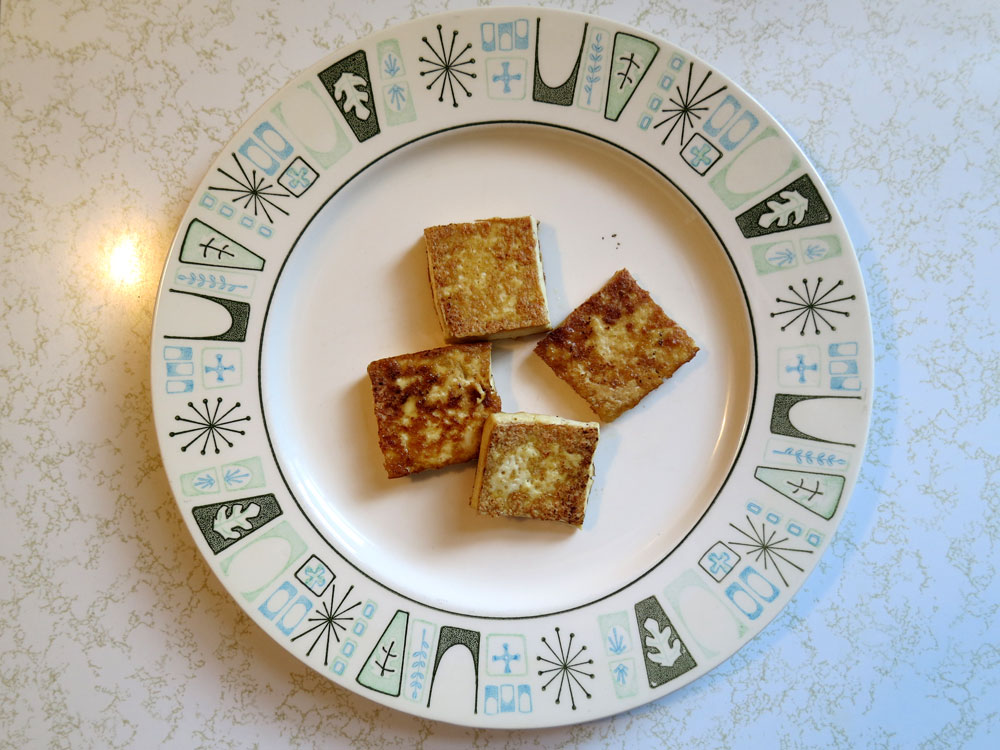
Serve them on a plate…sometimes I just eat them plain, or with a little salt and vinegar (if you find soy or tofu hard to digest, some vinegar really helps)…or even a healthy dusting of cinnamon and stevia:
These are quite good by themselves, the crispy-soft texture contrast is just fantastic!
…and these little beauties are a hit at parties (and poker games, as I found out around two months ago during the holidays).
They are wonderful with tomato sauce (or even steak sauce) and served on a pine-needle green plate…
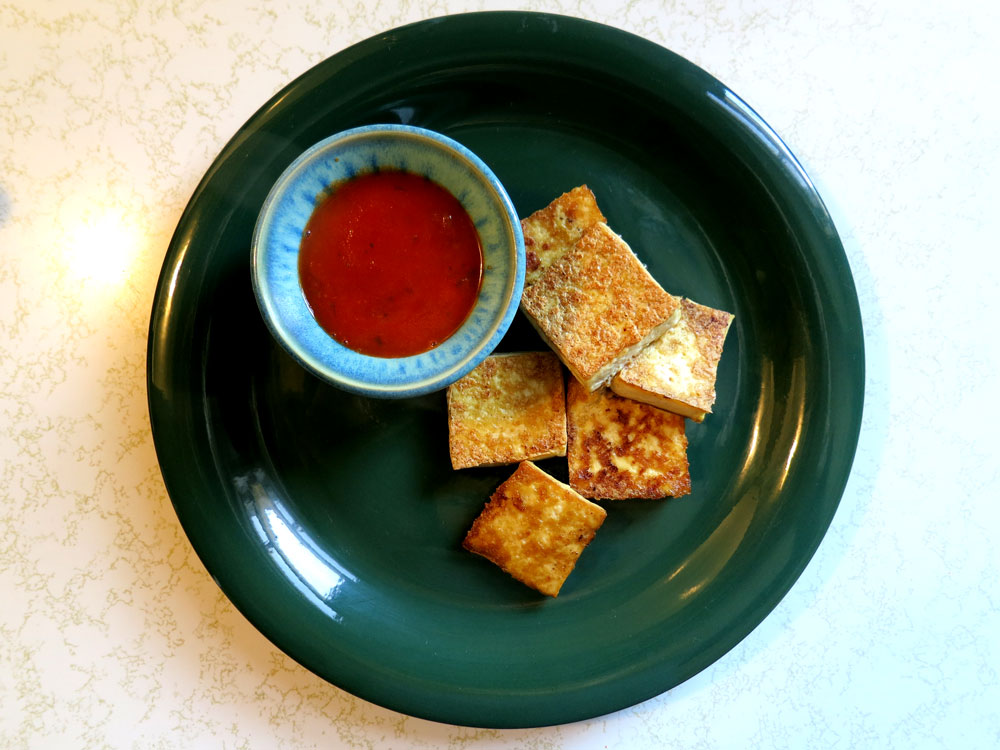
…they also pair very well with salad dressings, and are a great topping for salads…
…and with one of my other faves, Tasty Bite Indian meals!
Any way you use these, they are a very tasty time saver…keep them in your fridge for when you want some quick, delicious protein!
Enjoy!
Yours in Great Health,
Alison
I’m always looking for quick, simple and inexpensive ways to make the good stuff on the go, so here’s one fer ye! It’s a very cool, fast and easy guacamole recipe using readily available & easily found ingredients, straight from your – or your Airbnb host’s – fridge and spice rack. Great when craving something real on the road, or when you need a quick and healthy snack without much fuss.
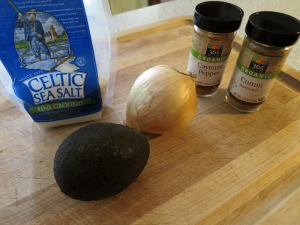
Gather ye thy holy ingredients:
- One Ripe Avocado (Small to Medium)
- 1/4 Fresh Onion (or 1 TB Dried Onion Flakes)
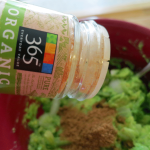
- 1/2 Heaping Teaspoon Cumin Powder
- 1 – 2 Dashes Cayenne Powder
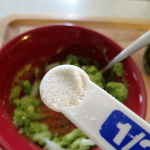
- Scant 1/2 Teaspoon Sea Salt
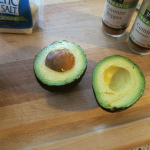
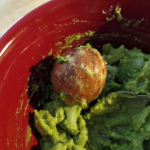
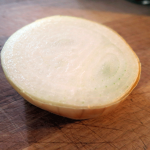
I try to use all or mostly organic stuff in my cooking and always encourage others to do the same. In a cereal bowl (or similar), cut, skin and mash up the avocado. Save the seed! You’ll need it if you want to refrigerate any leftover guac…according to livescience.com, science does seem to support that keeping the seed with the guac will prevent some browning, and as well, thou shalt hear a voice behind thee, spewing facts regarding the uber-nutritious avocado:
Few people know that the avocado is an ecological anachronism, that it most likely evolved specifically to entice the tastes and the large gullet of the now-extinct giant ground sloth.
Now that that deadly sin is out of my system, next you’ll want to dice 1/4 of a fresh onion, which equates to approximately 1/4 – 1/3 cup. FYI, if you’re using dried onion flakes, the 4:1 rule applies – in other words, you only need about a quarter the amount of dried onion to get the same taste result. Given that 1/4 cup equates to 4 tablespoons, using 1 tablespoon dried onion flakes will do it. As always, trust your taste buds and adjust accordingly.
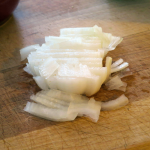
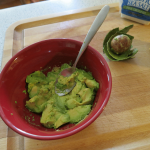
Briefly mix the onion into the mashed avocado:
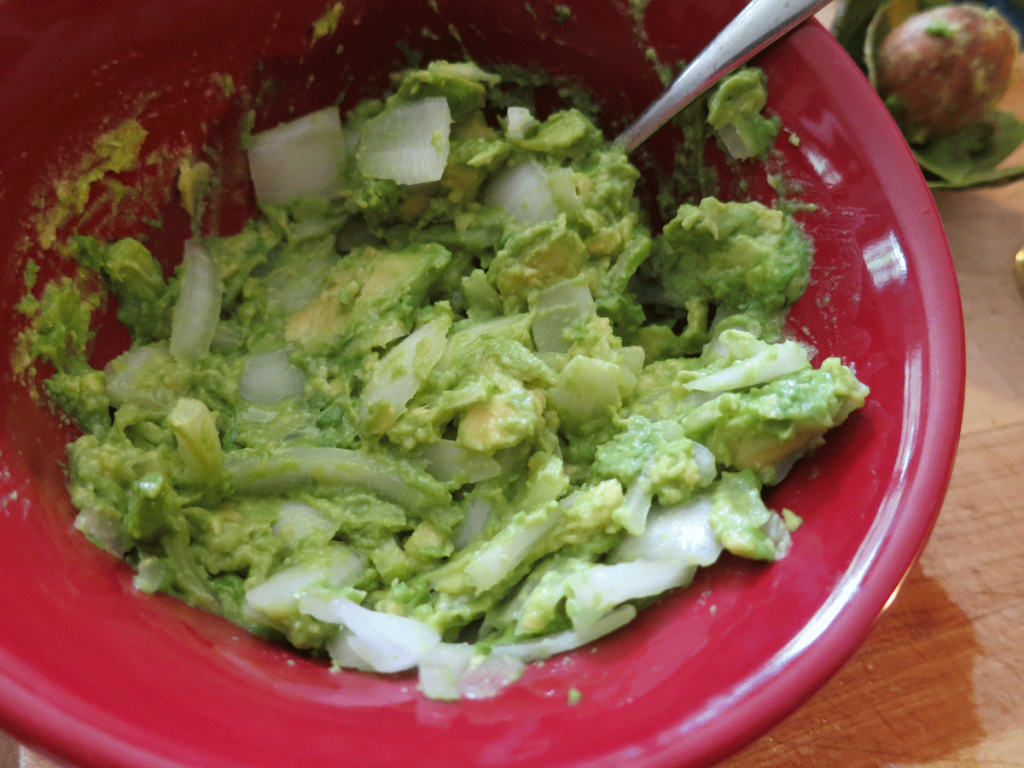
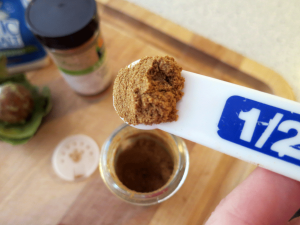
Next, add in your heaping 1/2 teaspoon of cumin powder…
…followed by 1 – 2 dashes of cayenne pepper and a scant 1/2 teaspoon sea salt…

…and you are ready to do the final mix!

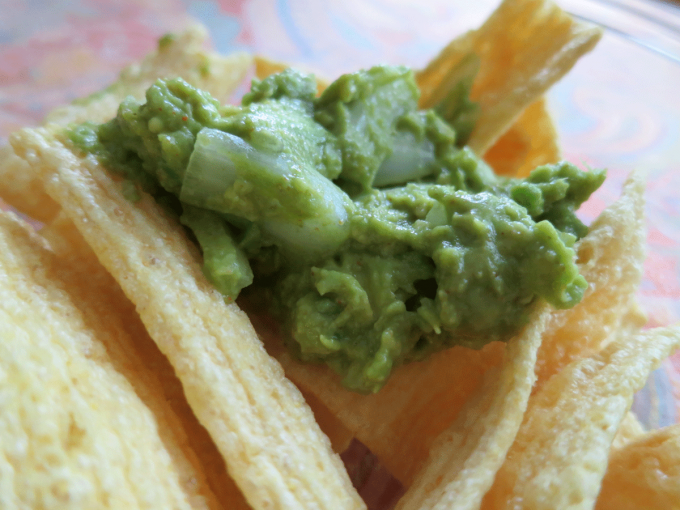
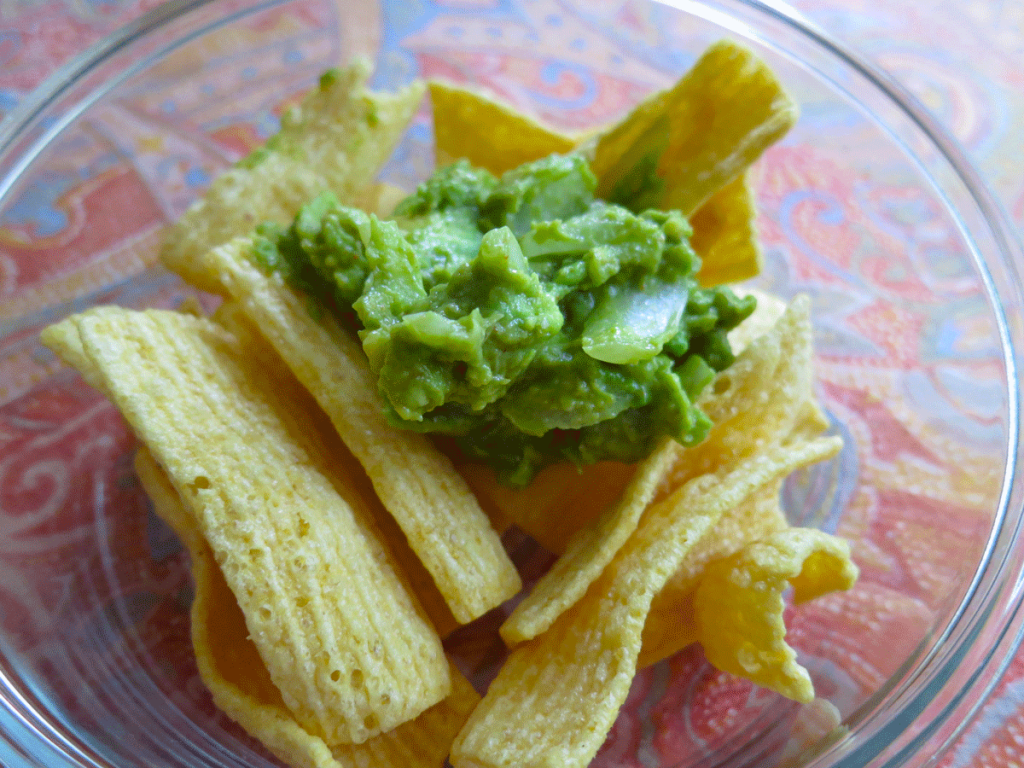
Next, get ready to serve thyself this Simple as Hell Holy Guacamole. Sometimes I eat it straight up, but here, to show some degree of civility, I’ve used lentil chips, which provided a really nice, light contrast to the guac…enjoy!
Serves: 2 normals, or one Alison Lorraine. Can be stored in the fridge for a day with the seed, but it’s best to use this up asap.
Yours in Great Health,
Alison
Given all the advice I’ve gotten to rid my system of heavy metals (and radioactive elements – and keep them out), I’ve taken to eating seaweed salads on a pretty regular basis.
Seems seaweeds have a real knack for drawing heavy metals, et. al., out of sewer systems – and human bodies. They hide no secrets, and carry with them the histories of the systems they’ve travelled through. Just such a confession does a body good.
Not to mention my Chinese Doctor here in Vegas keeps reminding me they’re jus’ plain ol’ good for my type as well as my biochemical makeup, and there’s nothing like a really healthy seaweed salad to remineralize the works while wicking out the baddies.
This recipe is one which I categorize as On-The-Fly – that is, you add ingredients, not in exact amounts, but in relation to each other, depending on what you have on hand. It is entirely flexible, but here’s where I start (and by all means, use organic wherever possible):
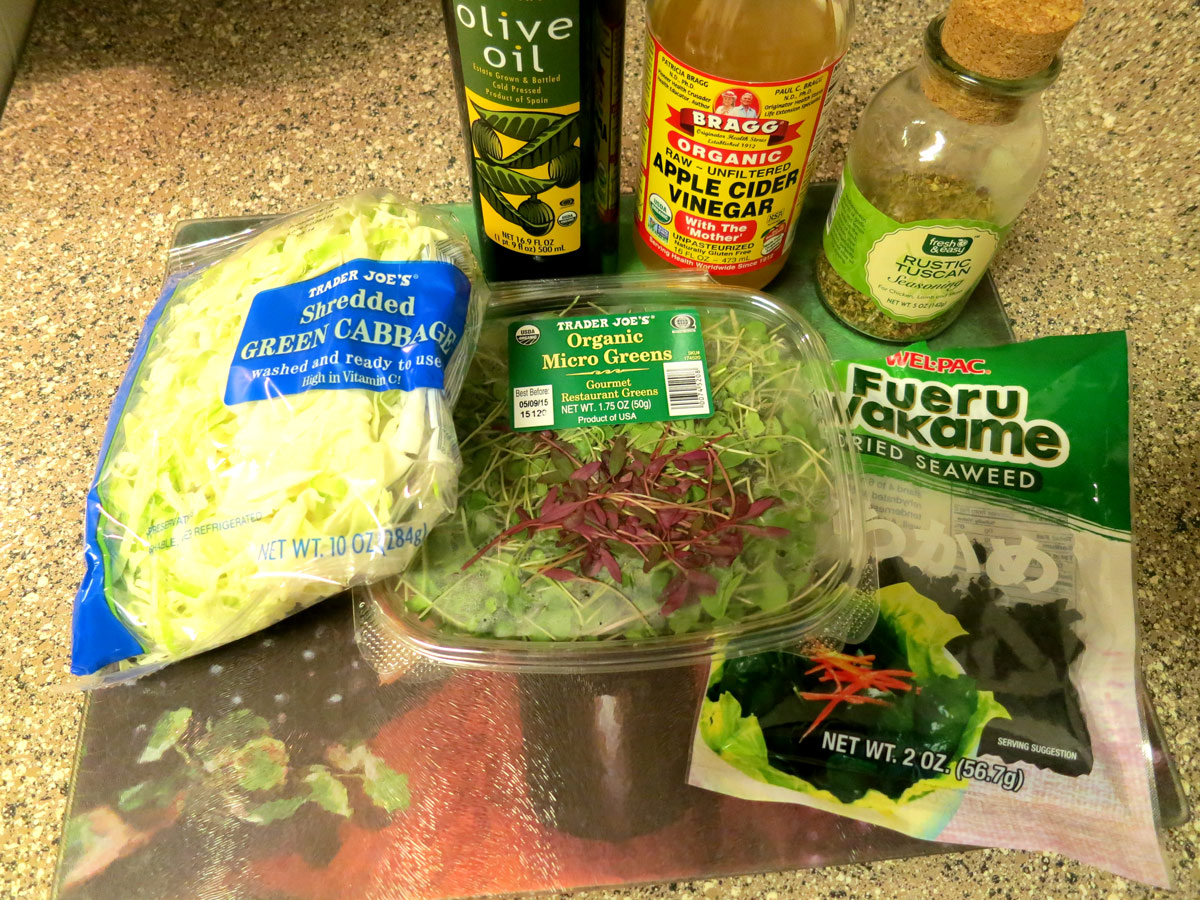
- Greens and/or Veggies of Your Favorite Kind (Shredded Cabbage, Shredded Kale, Trader Joe’s Broccoli Slaw, Mixed Salad Greens, MicroGreens…the choices are endless)
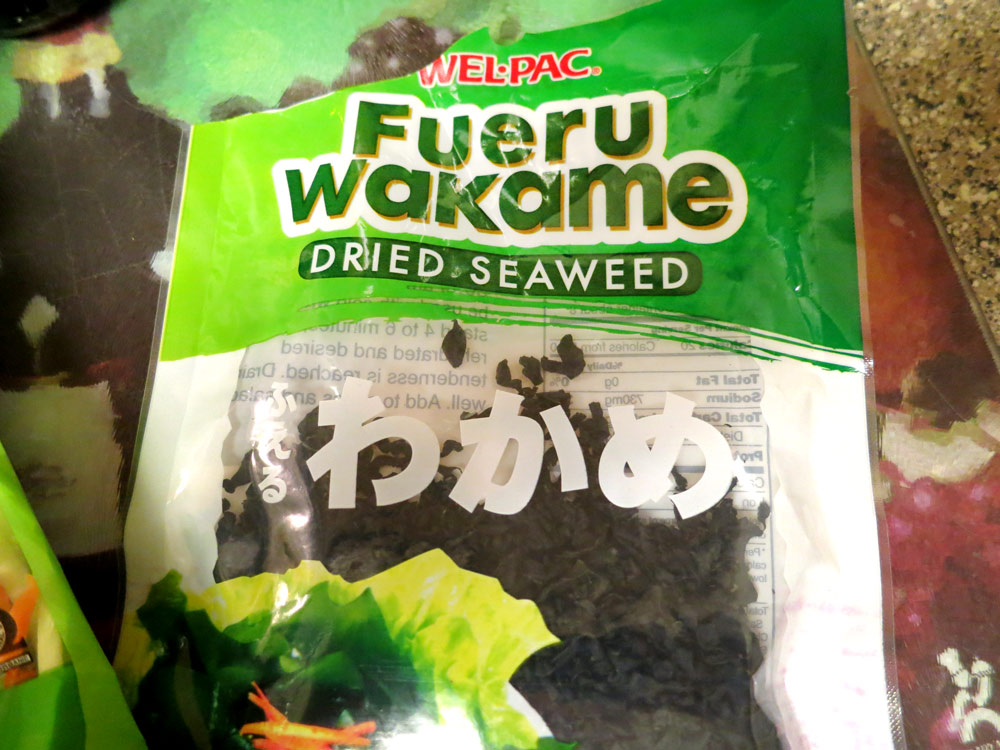
- Dried Seaweed (Your Choice – I’ve used Wakame and Mixed)
- Olive Oil
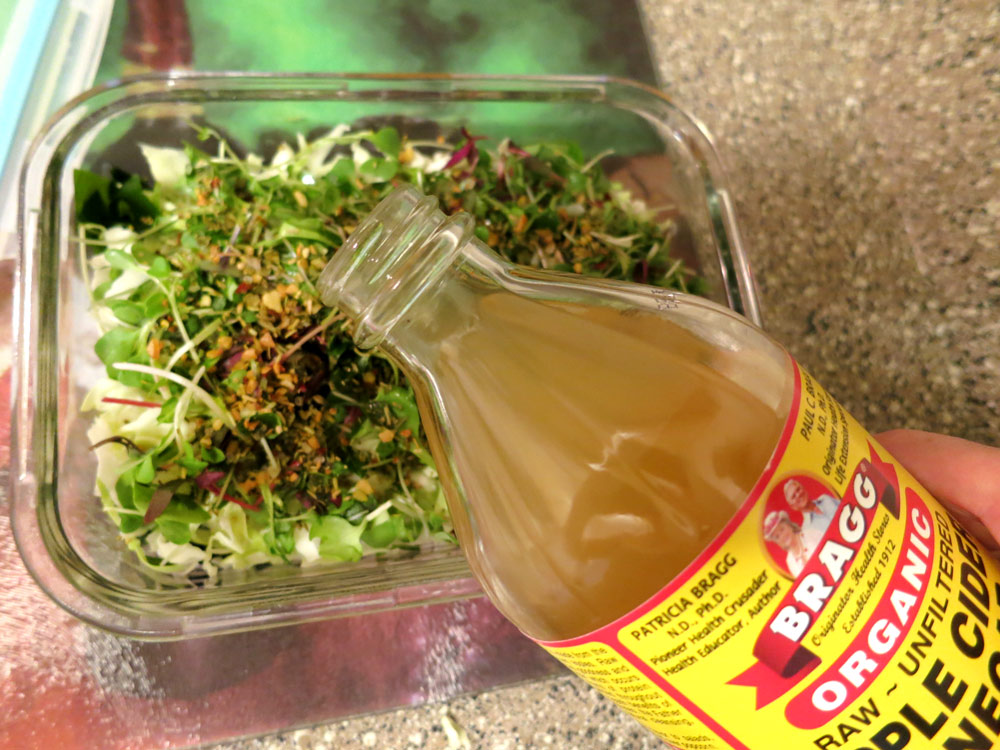
- Vinegar (I use Apple Cider Vinegar)
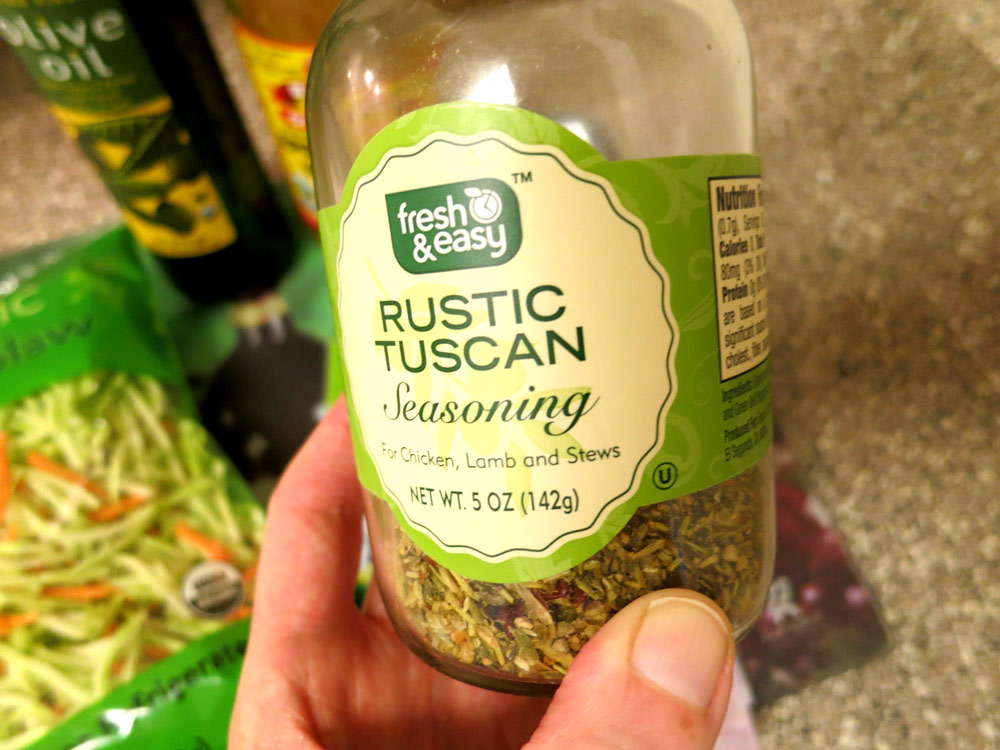
- Dried Spice Mix (Again, Your Choice – Right now, I’m using Fresh & Easy’s Rustic Tuscan, but why not Herbs de Provence or the like?)
You’ll also want to have on hand:
- 3-Cup (or 715 ml) glass storage container with snug-fitting plastic lid
- Water (Spring is best – enough to rinse veggies as necessary)
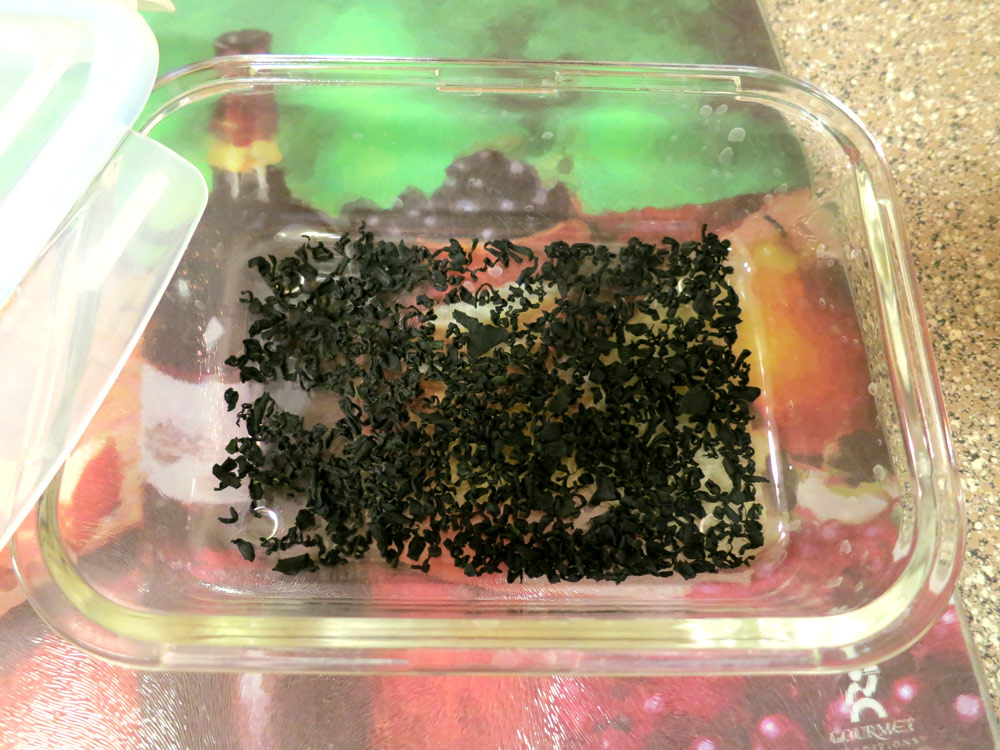
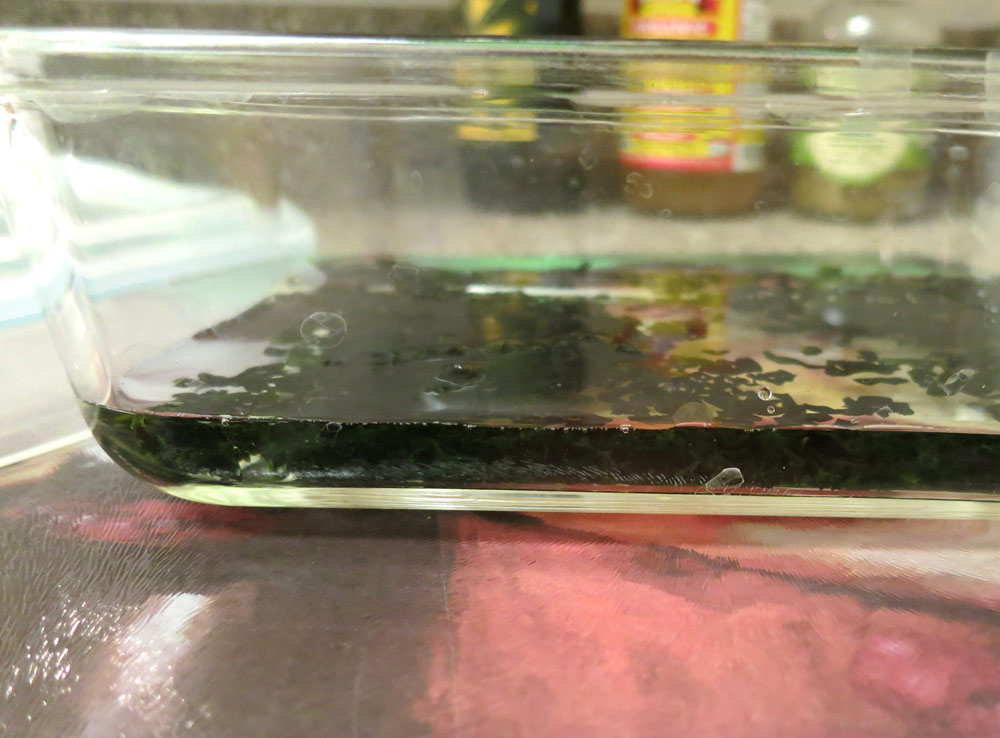
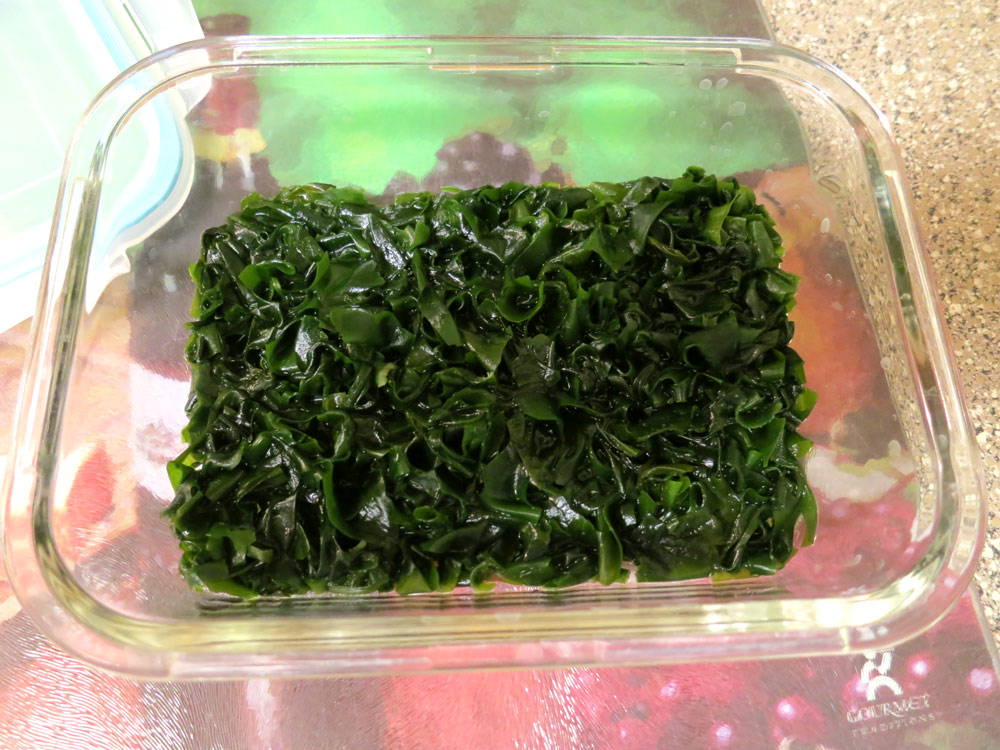
Pour your dried seaweed of whatever type into your glass storage container, just enough to cover the bottom, as in the middle thumbnail shot, above. Next, add about 1/2 – 3/4 inch of spring water. You’ll see the seaweed start to rehydrate, which is cool to watch. Cover loosely with the container’s lid and give it 20-30 minutes to totally rehydrate, stirring it around midway just a bit to distribute the water evenly and make sure there are no dried holdouts. It should look like this:
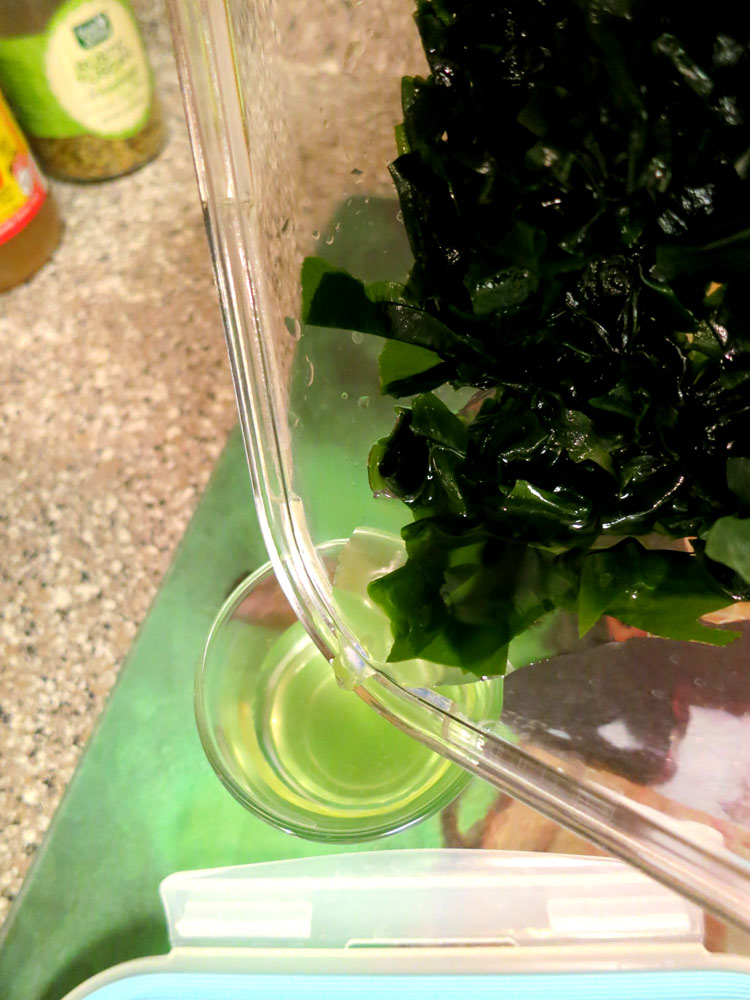
If there’s any excess water, drain it off into a shot glass and drink up – it’s got plenty of minerals, so don’t let ’em go to waste:

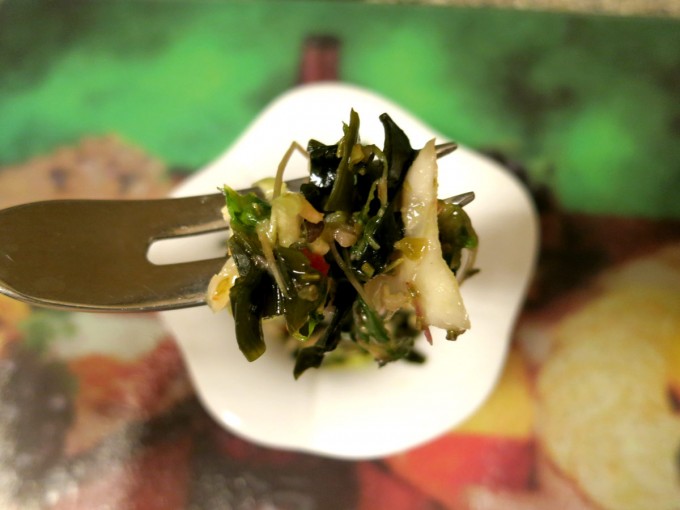
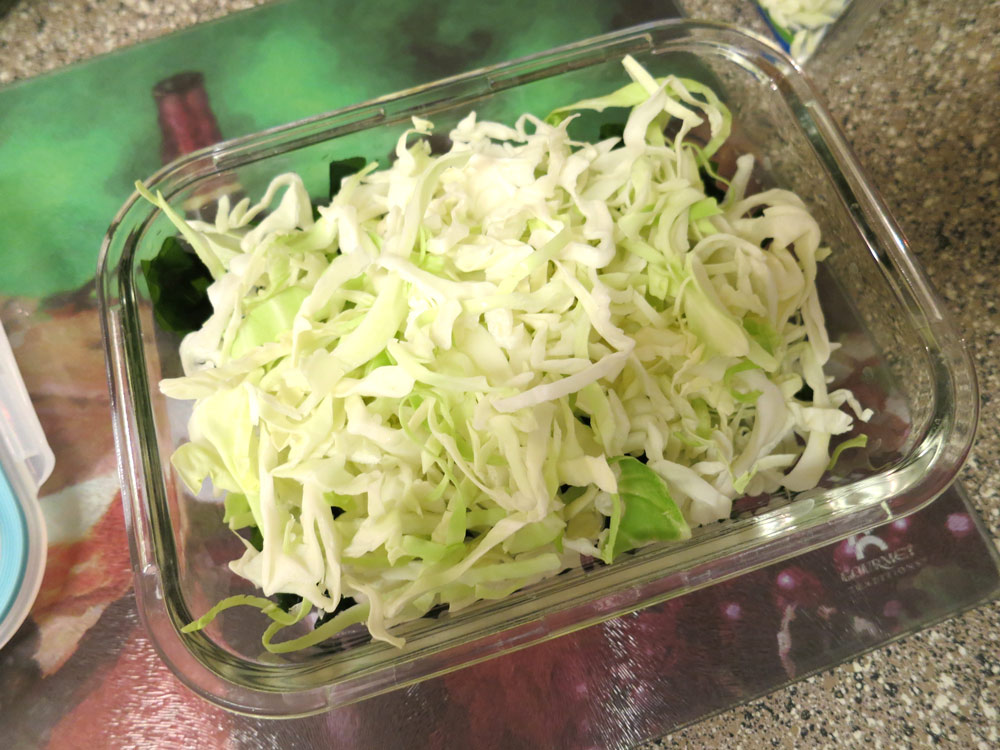
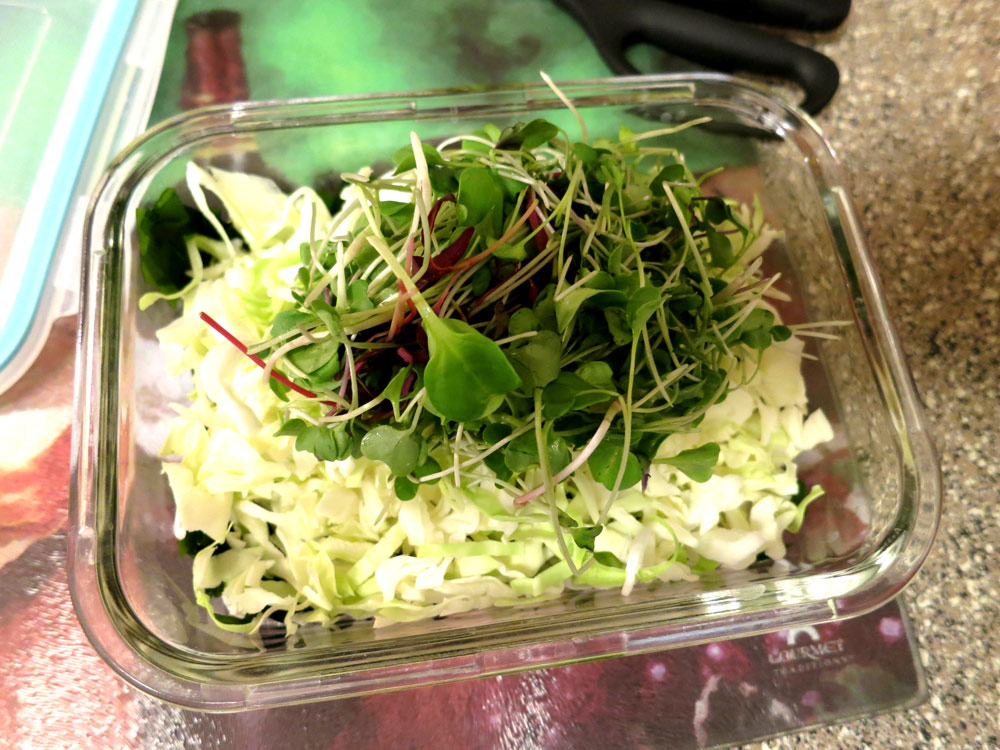
Now you’ll add your greens and/or veggies – if you buy them pre-packaged, it’ll save you loads of time, if you chop ’em yourself, just eyeball the amount you’ll need. I add enough cabbage to fill the container so it’s slightly heaping:
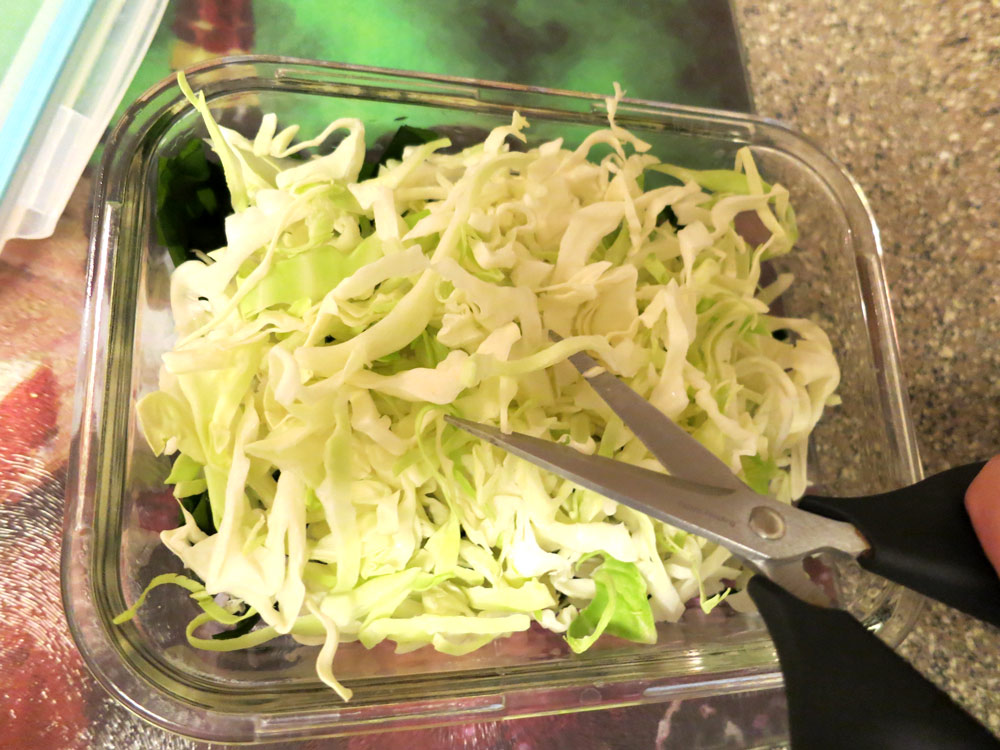
Don’t worry about everything fitting – the next step, you’ll use a pair of kitchen shears (or a very clean pair of office scissors) to “scissor” the cabbage so it starts to reduce in volume – and look more like confetti. I also rinse and add a healthy fistful of mixed salad or microgreens and scissor them a bit as well to de-vol:
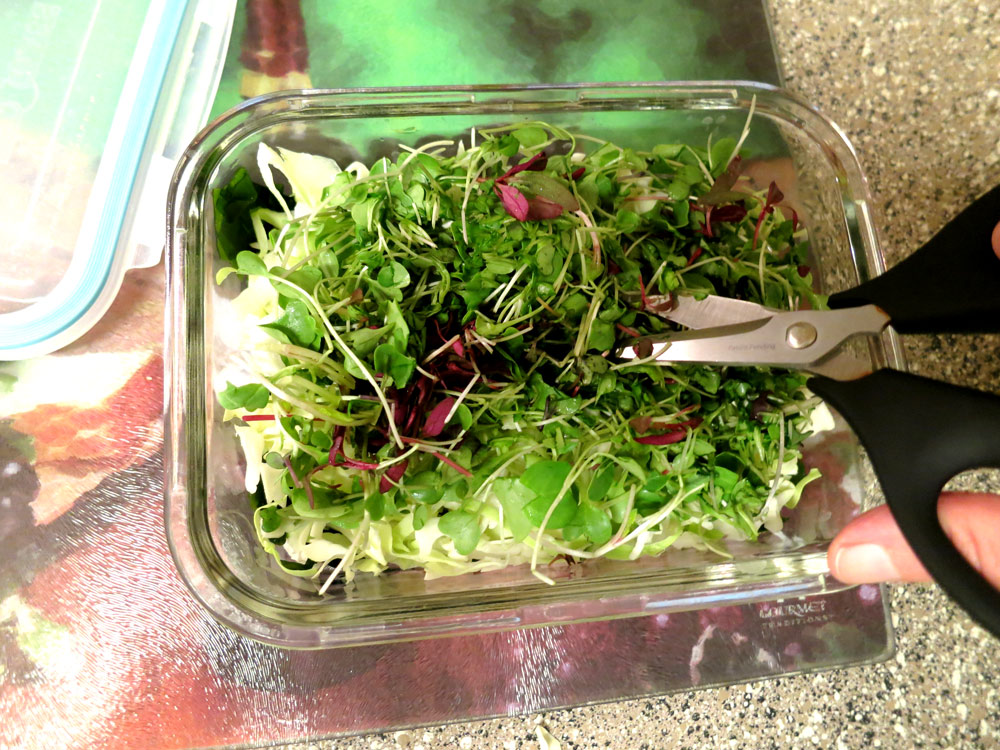
You’ll start noticing how the salad is becoming more dense after adding and scissoring. This creates the best conditions for spicing and marinading. To start, drizzle some olive oil over your scissored veggie-rehydrated seaweed mix:
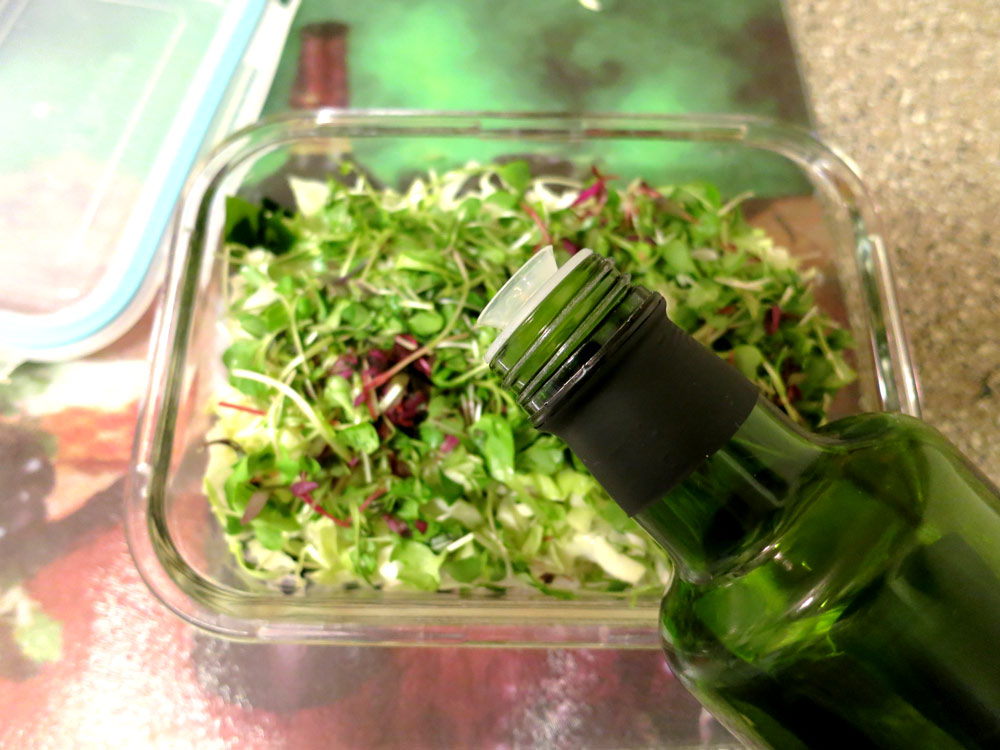
At this point, I’ll show you the spices I like to use at the moment – Fresh & Easy’s Rustic Tuscan, which has a selection of dried Italian herbs, vegetables and sea salt that makes this salad a winner. Pour enough on to give the top a nice coating, for flavor’s sake:
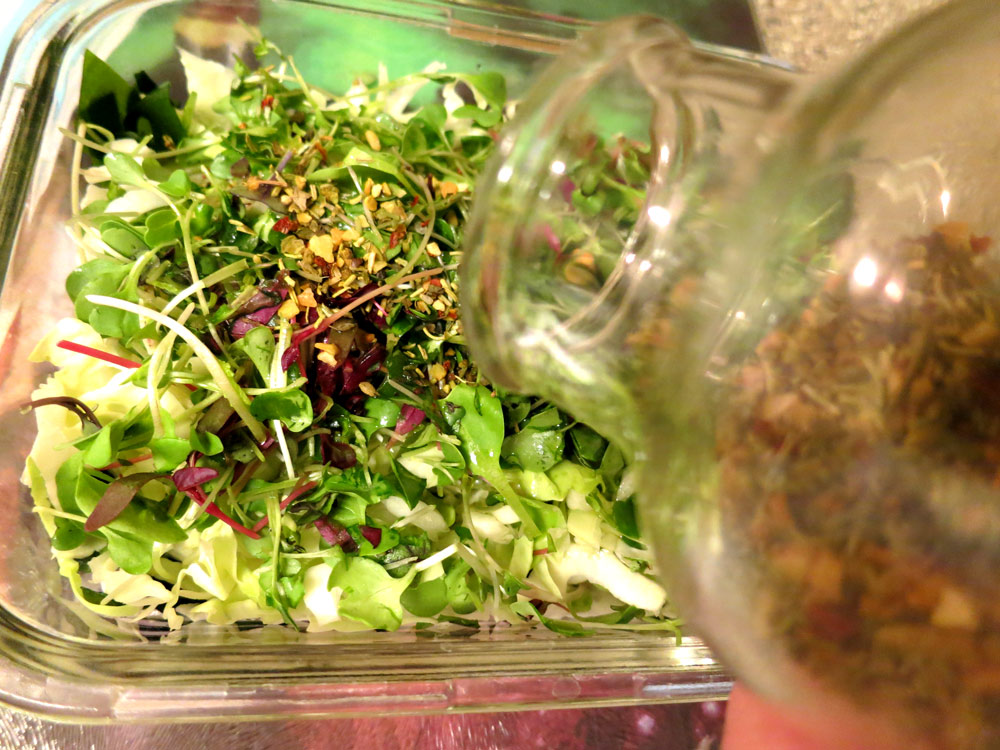
To finish out the marinade, drizzle vinegar over the whole thing. How much olive oil, spices and vinegar do I use? Approximately just under one tablespoon of olive oil, around the same for spices and slightly more for vinegar. It’s pretty scant, but these ingredients are the ones I’d categorize as “add to taste” – so start small, and if you don’t think there’s enough flavor, add a little more vinegar and/or spices later on.
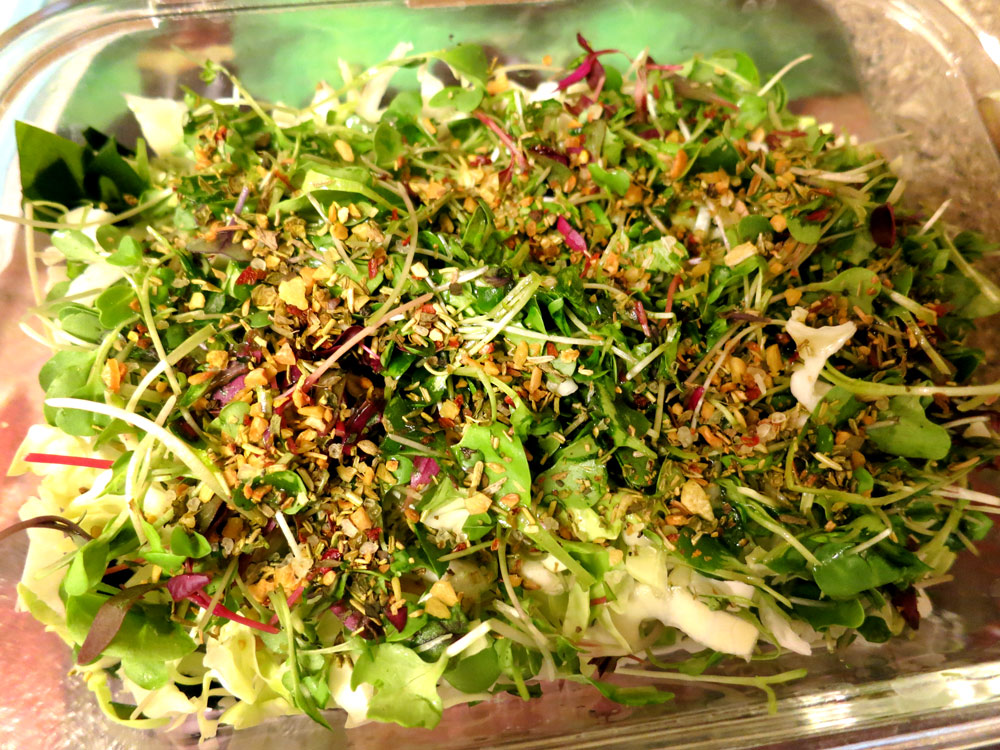
Finally, gently and ever so slightly stir around your salad, just enough that the dried herbs and spices get mixed up in the oil and vinegar – they’ll need time to reconstitute, longer than the seaweed.
Once your mix is slightly stirred, secure the lid onto the container and place the whole container into the fridge for a few hours. At that time, take it out, stir it around so that everything is uniformly mixed together, then place it back into the fridge for another hour or two.
In just a few hours, the marinade will work its wonders and you’ll have a healthy salad to eat for days. And it can be extended or stretched to save you time and money – if you have extra chopped veggies or greens – or any old veggies that need using – you can add them and just a little more vinegar, oil and spices, stir them around, and you have salad for another couple of days.
Enjoy!
Yours in Great Health,
Alison